


Think about you’re knee-deep in your Linux system, desperately attempting to edit a file, and each try looks like deciphering an historic code. If the extra you click on round, the extra misplaced you turn into, why not flip to Vim for Linux?
On this tutorial, you’ll unravel the secrets and techniques of Vim, a broadly acclaimed textual content editor, reworking you from a Linux wanderer right into a command-line virtuoso.
Seize your metaphorical sword (aka your keyboard) and journey into the world of Vim!
Stipulations
Under are a couple of stipulations to set the stage for mastering Vim in your Linux system:
- A Linux OS – This tutorial makes use of an Ubuntu 22.04 LTS.
Creating and Modifying Recordsdata with Vim for Linux
Vim operates in several modes, every providing distinctive enhancing capabilities. However earlier than leaping to these modes, you first must learn to create and edit information with Vim on Linux.
To create and edit a file with Vim, comply with these steps:
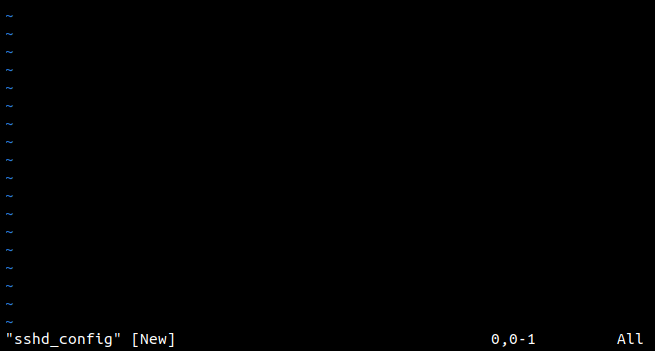
1. Open a terminal and execute the next vim command to create a file known as sshd_config (arbitrary) with Vim. This command mechanically creates the file if it doesn’t exist. In any other case, the prevailing file opens on Vim.
Vim’s interface seems just like the one beneath in case you created a brand new file, which signifies Vim is at present in command mode. The command mode is among the main modes during which you work together with the textual content within the Vim editor.
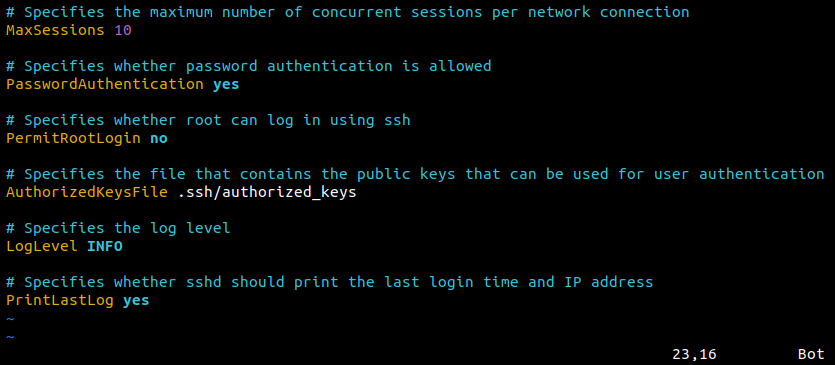
2. Subsequent, copy the textual content beneath to your clipboard, which comprises pattern SSH server settings purely for demonstration and doesn’t mirror precise server configurations.
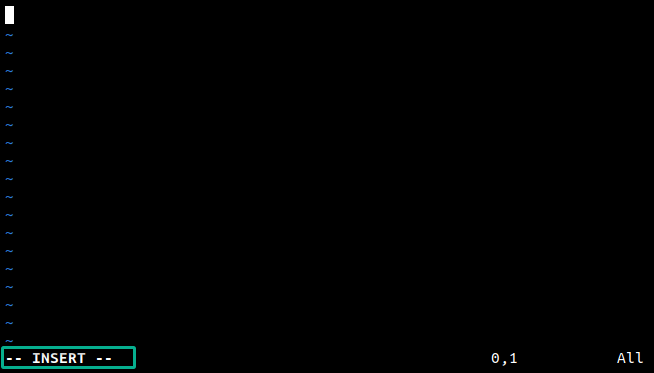
3. On Vim, press i, the command to enter the insert mode. The insert mode can be one of many main modes in Vim, which helps you to sort and modify the content material of your doc.
When you enter the insert mode, you’ll see the standing line shows — INSERT — like within the following.
4. Now, press Ctrl+Shift+V or Shift+Insert to stick the textual content you copied in step two to the Vim editor, and press Esc to exit the insert mode (switches to command mode).
Discover that the — INSERT — standing disappears, which signifies you’re again within the command mode.
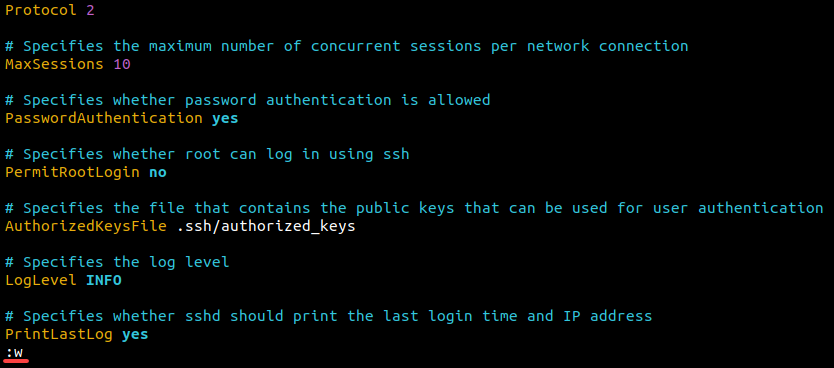
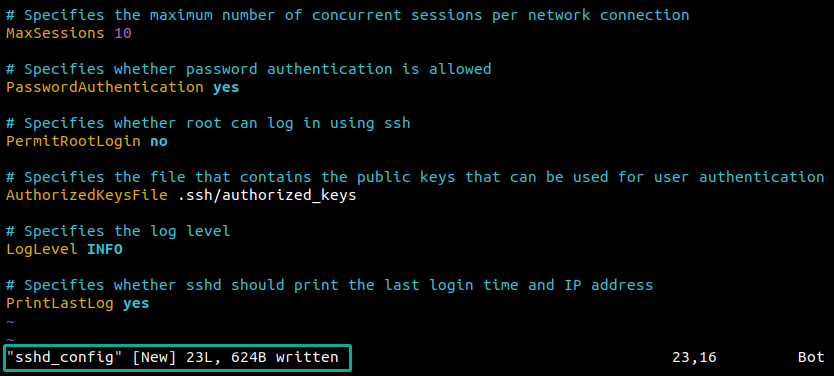
5. Lastly, sort the :w command and press Enter to save lots of the adjustments to the file with out closing the editor.
When needed, you may execute the opposite instructions beneath:
| Command | Particulars |
|---|---|
:q! |
Stop the editor with out saving the adjustments. |
:w! |
Write the present file adjustments forcefully. |
:wq |
Save the adjustments and stop the editor (or :wq! to save lots of and stop forcefully). |
e! |
Revert to the final saved model of the file. |
The standing line shows the information measurement written to the file, which, on this case, is 23 strains (23L) and 624 Bytes (624B).
Navigating By Texts in Vim
After greedy the artwork of making and enhancing information with Vim, you’ll delve into an important talent that can elevate your text-editing prowess — navigating Vim. Efficient navigation is the important thing to unlocking Vim’s potential, like exploring an unlimited panorama.
To see the right way to navigate by way of texts in Vim, proceed with the next:
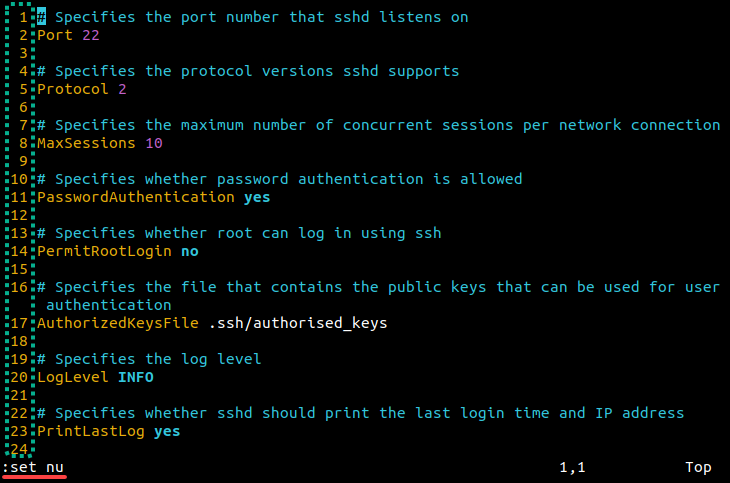
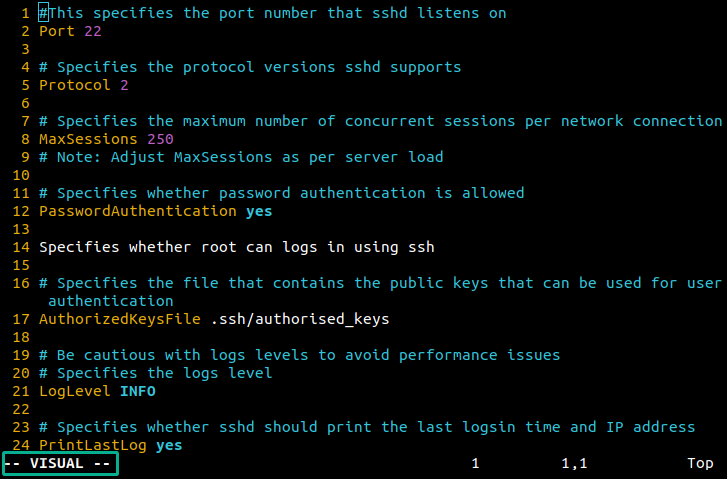
1. Now, sort within the :set nu command and press Enter to set the road numbering on Vim. Line numbering is an important editor function when coping with code or giant paperwork.
If profitable, you’ll see the road numbers within the editor, as proven beneath.
2. Subsequent, swap to the command mode (Esc) and press the gg command to leap to the start of the file.
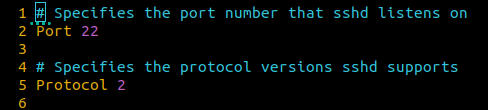
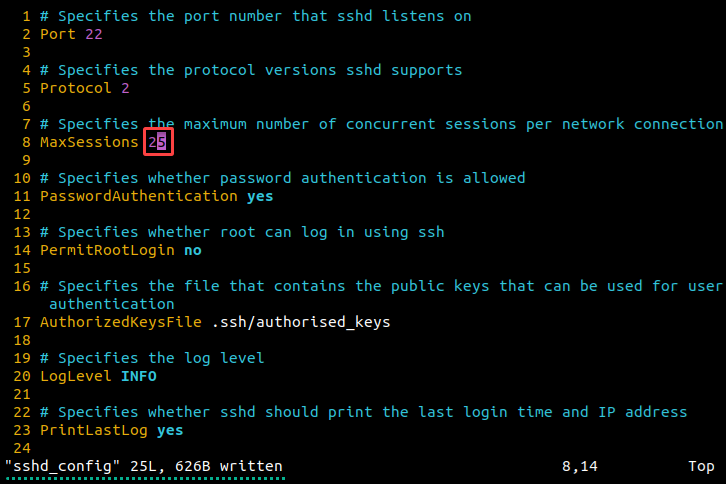
3. Subsequent, press any of the next instructions till you attain the start of the MaxSessions parameter, and press $ to maneuver the cursor to the tip of the road.
| Command | Particulars |
|---|---|
h |
Transfer the cursor to the left or the earlier character. |
j |
Transfer the cursor one line down. |
okay |
Transfer the cursor one line up. |
l |
Transfer the cursor to the best or the subsequent character. |
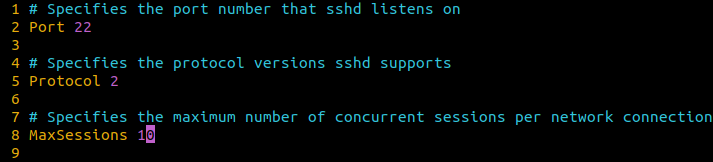
4. Now, change a textual content with the next:
- Press
ito modify to insert mode. - Delete the worth (Backspace or Delete), which is 10, and change it with 25.
- Swap to the command mode (
Esc) and save the adjustments (:w).
Inserting Texts at Particular Factors
Vim presents a spread of instructions that enable exact management over the place and the way you insert new texts (precisely the place you want them). This operate works whether or not you want to insert originally of a line, proper after the present cursor place, or on the finish of a line.
To see how inserting texts at particular factors works, perform the next:
1. Press I (Shift+I) whereas the cursor is on the line’s finish to enter the insert mode and concurrently level the cursor originally of the road.

2. Swap to the command mode (Esc), transfer the cursor to every other character within the present line of textual content (i.e., originally), and press the a command.
This command switches Vim to insert mode and locations the cursor on the subsequent character from its earlier place. This habits is helpful for shortly including textual content in the midst of a line with out disturbing the prevailing textual content.

3. Insert ‘y’ to spell the MaxSession key as MyaxSession, as proven beneath, and return to command mode (Esc).
You’ll discover that the brand new character ‘y’ seems instantly after the primary one.

4. Now, modify the road of textual content as follows:
- Press Shift+A to execute the
Acommand, which lets Vim enter the insert mode and transfer the cursor to the tip of the road. This habits is good for shortly including content material like a semicolon or ending a sentence. - Append 0 on the finish of the road, which adjustments the worth to 250.
- Return to the command mode (
Esc), and save the adjustments (:w).

Opening New Strains
Now that you simply’ve mastered strategically putting textual content inside your Vim information, it’s time to discover a talent that can maintain your content material well-structured and arranged. The flexibility to open new strains in Vim is your ticket to a extra readable and aesthetically pleasing textual content.
To open new strains, above or beneath, full the steps beneath:
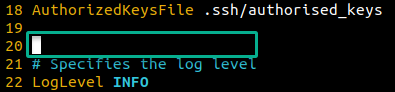
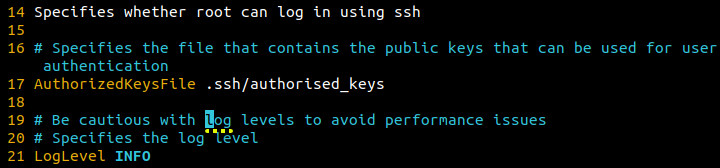
1. Whereas within the command mode, press o to open a brand new line beneath the present line of textual content and add the next remark concerning the MyaxSessions.
# Observe: Alter maxSessions as per server load
2. Swap to the command mode (Esc), level the cursor to a different line of textual content, and press O (Shift+O) so as to add a brand new line above the present line of textual content.
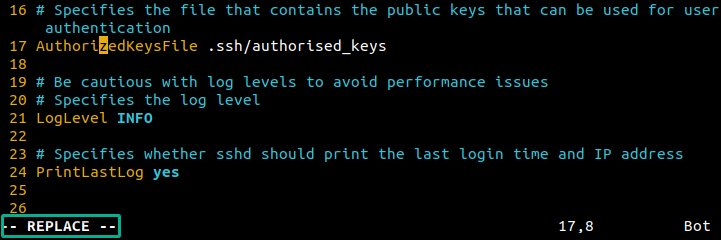
3. Now, add the next command to the file and save the adjustments (:w).
# Be cautious with log ranges to keep away from efficiency points
Deleting Phrases and Strains of Texts
Vim gives environment friendly instructions for deleting and changing textual content past primary Delete or Backspace keys. These instructions are accessible from the command mode, which allows you to shortly make modifications and corrections, permitting you to delete or change characters, phrases, or whole strains.
To delete and change texts in Vim for Linux, execute the next:
1. Transfer your cursor to the MyaxSessions parameter, particularly on the ‘y’ character.

2. Subsequent, press x to immediately take away the character below the cursor, which, on this case, is ‘y’.
The parameter is again to its authentic textual content as MaxSessions, as proven beneath.

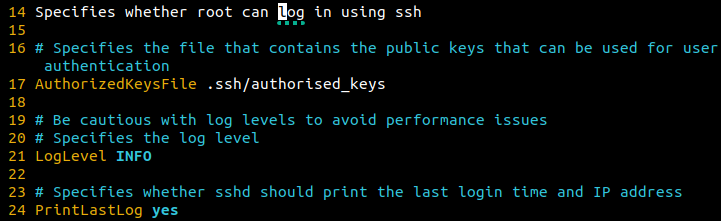
3. Transfer your cursor to the road PermitRootLogin no:.

4. Now, press "_dd to delete all the line of textual content, whatever the cursor place.
The "_ half within the command specifies the black-hole register, which discards the deleted textual content (it received’t be saved in any register).
Vim has its personal set of registers the place you may retailer texts, and never specifying the black-hole register makes the command lower the textual content as an alternative of deleting it.
If profitable, you’ll discover the PermitRootLogin no: line is gone.

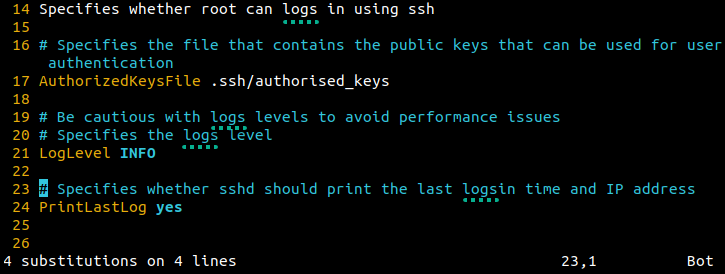
5. Whereas within the command mode, place your cursor originally of the phrase Specifies within the line # Specifies whether or not root can log in utilizing ssh.

6. Lastly, execute the "_dw command, which removes the phrase Specifies as proven beneath:

Optionally, you may decide with the next instructions for extra deletion operations:
| Command | Particulars |
|---|---|
"_d$ |
Delete texts from the cursor place to the tip of the road. |
"_D |
Deletes from the cursor place to the tip of the road. |
"_d^ |
Deletes from the cursor place to the primary non-whitespace character of the road |
"_dgg |
Deletes from the cursor place to the start of the file. |
"_dG |
Deletes from the cursor place to the tip of the file. |
Changing Characters and Strains of Textual content
From strategic deletions in Vim, flip your consideration to the flip aspect of the coin — changing characters and features of textual content. Changing is the brushstroke that permits you to refine and redefine your textual content exactly. The excellent news is that Vim allows you to carry out one-off character replacements or whole strains of textual content.
To exchange characters and features of textual content, proceed with these duties:
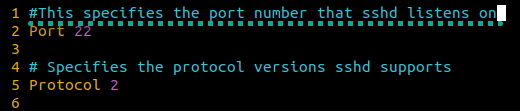
1. Place your cursor on the road AuthorizedKeysFile .ssh/authorized_keys, particularly the ‘z’ character in approved, as proven beneath:

2. As soon as positioned, press r, which tells Vim you’re about to interchange the character below the cursor and enter the ‘s’ character. The r command allows you to change a personality with out getting into the insert mode (i) first.
Discover that the ‘z’ character in approved has been changed with the ‘s’ character, altering the phrase to authorised.

3. Subsequent, place your cursor on the character ’z‘ in AuthorizeKeysFile.

4. Press R (Shift+R ) to enter change mode, sort in ‘s’ to interchange the character, however don’t exit the change mode but.
Not like the r command, which solely allows you to change one character, the R command permits you to overwrite present texts as you sort repeatedly.
5. Finally, copy the next textual content to the clipboard, transfer your cursor to the start of the file, and paste the textual content you copied (Ctrl+Shift+V or Shift+Insert).
Because you’re nonetheless in change mode, pasting the textual content replaces the primary line within the file.
Looking Texts Inside a File
Concerned in redoing or undoing actions, the talent to go looking texts inside a file turns out to be useful. Vim allows you to seek for particular phrases, phrases, or patterns in your file.
Think about the sheer productiveness increase when you may swiftly find and manipulate particular textual content sections with out aimlessly scrolling.
To seek for texts with a file, fulfill these steps:
1. Transfer your cursor to the start of the file (gg command), press / (ahead slash) to start out the search mode, sort the search time period log, and press Enter.
This command searches for the time period you specified (log), transferring the cursor ahead to the subsequent prevalence of the time period.

2. Subsequent, press n to maneuver to the subsequent prevalence of the time period.
3. Now, press N (Shift+N) to return to the earlier prevalence.

Moreover, Vim presents different search shortcuts like the next for extra search flexibility:
| Command | Particulars |
|---|---|
? |
Initiates a reverse search of a time period. |
* |
Performs a ahead seek for the phrase below the cursor. Proceed urgent * to cycle by way of additional occurrences of the phrase till it loops again to the primary occasion. |
# |
Performs a backward seek for the phrase below the cursor. Repeatedly urgent # works equally to the * command however cycles till it loops again to the final occasion. |
Combining Search with Different Instructions on Vim
As you navigate the intricate landscapes of Vim, why not add one other layer to your text-editing mastery — combining search with different instructions?
Vim allows you to carry out actions from changing particular occurrences to deleting strains that match a sample.
To witness the synergy between search and motion in Vim, execute the next:
1. Whereas in command mode, place the cursor at the place to begin from the place you wish to start the deletion (i.e., the primary prevalence of the search time period log).
2. Subsequent, sort d/log and press Enter to delete every thing from the cursor’s place to the subsequent prevalence of the time period log, as proven beneath.

3. Undo the earlier motion (u command), and place the cursor on the first occasion of the search time period log.

4. Now, execute the beneath command to go looking and change texts inside a selected vary, the place:
:.– Enters the command mode (:) on the present line (.).,$– Specifies the vary for the substitution.s/log/logs/g– Substitute all occurrences of the outdated phrase (log) with new (logs) globally (g) inside the specified vary.
Choosing Texts Whereas in Visible Mode in Vim
In addition to mixing the artwork of search with different instructions in Vim, you could unveil a function that transforms your text-editing expertise. Vim’s visible mode permits you to manipulate textual content extra interactively and visually. The visible mode gives a versatile and environment friendly technique for highlighting and working on parts of your textual content.
To pick and edit textual content, you may select to pick and edit particular person characters or choose and edit blocks of textual content, as follows:
1. Transfer your cursor to the start of the file (gg command), and press v to activate the visible mode, as proven beneath.
2. Press $ to maneuver your cursor to the tip of the road. Because you’re within the visible mode, the command highlights the road of textual content.

3. Now, carry out a copy-and-paste motion as follows:
- Press
yto repeat the highlighted textual content to Vim’s register. - Press
G$to maneuver the cursor to the tip of the final line within the file. - Press
pto stick the textual content you copied (particularly after the cursor).
Observe that thepcommand differs from the shortcut keys in pasting texts (Ctrl+Shift+V or Shift+Insert). As you copy the textual content with theycommand, the textual content is saved in Vim’s register, and thepcommand pastes the textual content from the register.


4. Undo (u) your earlier motion, transfer the cursor to the start of the file (gg), and press V (Ctrl+V) to enter the visible line mode.
Not like deciding on a single line within the visible mode, the visible line mode lets you choose a number of strains of textual content, which you’ll see within the following step.
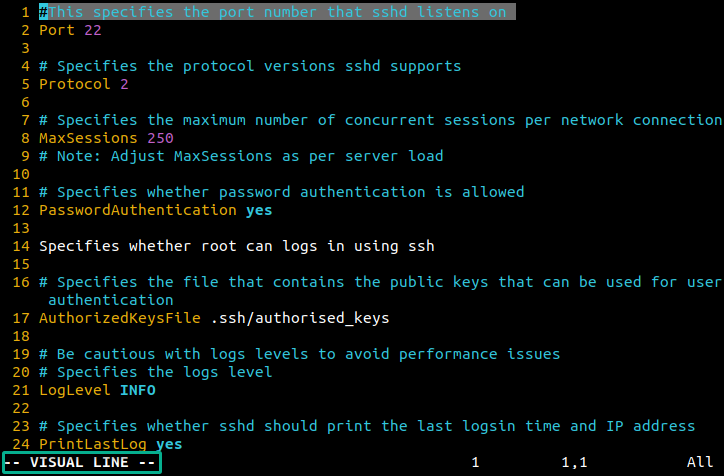
5. Use your down arrow key to pick the characters from the start of the file all the way down to the Protocol 2 line.

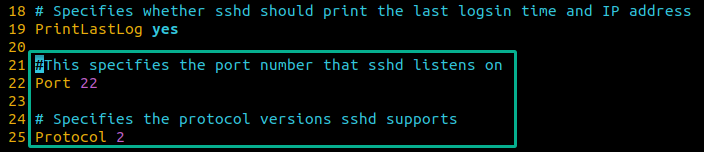
6. Press d to chop the chosen a number of strains of textual content.

7. Lastly, paste the textual content you chop in step six as follows:
- Transfer to the final line within the file (
G), and create a brand new line beneath (o). - Return to command mode (
Esc), and paste the textual content (p).
Conclusion
Congratulations! You’ve navigated the intricate realms of Vim for Linux, unlocking a treasure trove of text-editing knowledge alongside the way in which. From creating and enhancing information to mastering the artwork of visible mode, you’ve donned the hat of a Vim virtuoso.
However your command-line adventures have solely simply begun. Why not discover superior options like macros and plugins to tailor Vim to your wants?
Use these foundational abilities to discover deeper elements of Vim, similar to file administration, complicated search patterns, and Vim scripting for personalization.