


React is among the in style instruments for constructing consumer interfaces and is a ability value understanding. In the event you’re constructing one thing with React, you’ll face the problem of importing recordsdata in the end. Don’t worry; writing a file-uploading logic in React is easy, and this publish will present you precisely the right way to do it.
We’ll cowl the right way to add a single file, add a number of recordsdata, and see how you should use a third celebration library that does the heavy lifting for you. However first, let’s dive into importing a single file in React with fetch.
Importing a single file in React with fetch
Firstly, we’ll create a boilerplate app that we’ll use so as to add the file add markup and logic. We are going to use Vite and TypeScript.
npm create vite@newest react-file-upload -- --template react-tsThen, we’ll create a brand new element referred to as SingleFileUploader in src/elements/SingleFileUploader.tsx. For starters, we’ll present the right way to add a file picker in React and have the consumer work together with it. Right here’s the code:
import React, { useState } from "react"
const SingleFileUploader = () => {
const [file, setFile] = useState<File | null>(null)
const handleFileChange = (e: React.ChangeEvent<HTMLInputElement>) => {
if (e.goal.recordsdata) {
setFile(e.goal.recordsdata[0])
}
}
const handleUpload = async () => {
}
return (
<>
<div>
<label htmlFor="file" className="sr-only">
Select a file
</label>
<enter id="file" kind="file" onChange={handleFileChange} />
</div>
{file && (
<part>
File particulars:
<ul>
<li>Title: {file.title}</li>
<li>Sort: {file.kind}</li>
<li>Measurement: {file.measurement} bytes</li>
</ul>
</part>
)}
{file && <button onClick={handleUpload}>Add a file</button>}
</>
)
}
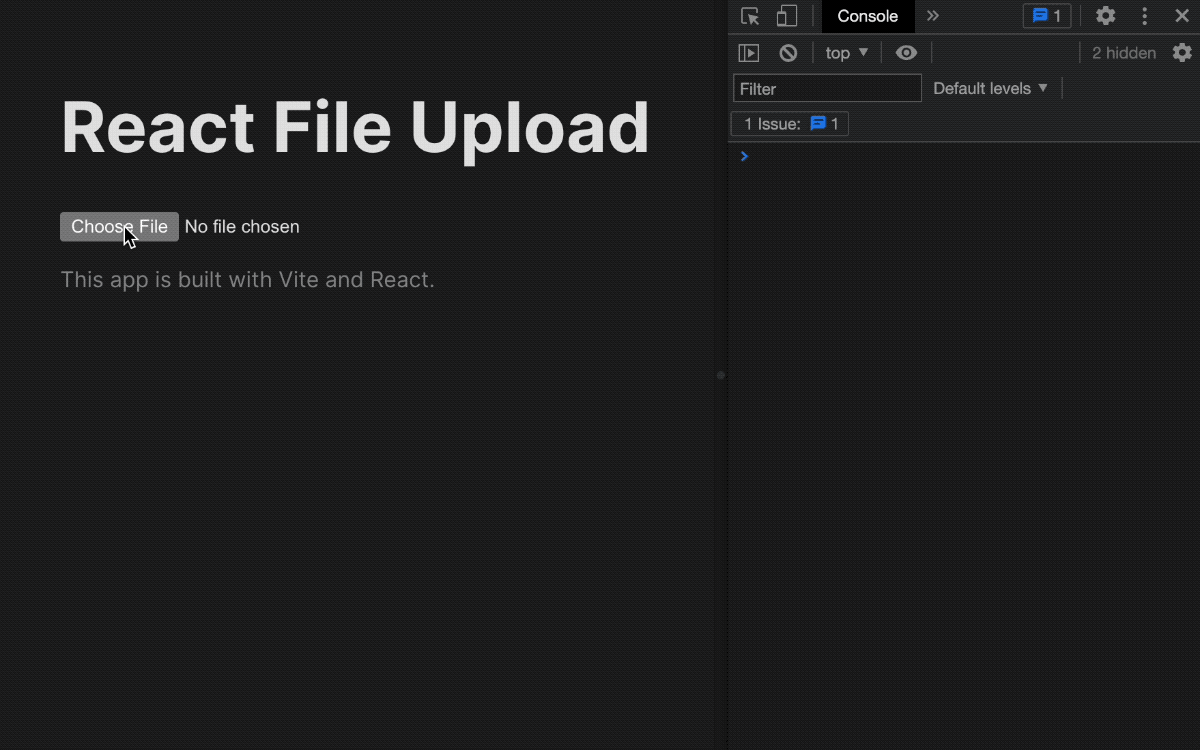
export default SingleFileUploaderNow, a consumer can decide a file they wish to add. When a consumer chooses a file, we present a abstract (file title, file kind, and file zie) of the chosen file below the file enter.
There’s additionally a small class for the label factor referred to as sr-only that makes it accessible for display readers however hidden for folk seeing the file enter. That’s a minor net accessibility touch-up you may learn extra about right here.
However all in all, right here’s how the file enter and the exhibiting of particulars work.

Now, we’ve got to write down the logic contained in the handleUpload operate that may really add the chosen file. For that, we’re going to make use of fetch and FormData. Let’s see what these are under.
Utilizing Fetch API and FormData
To make issues so simple as doable, we’re going to make the most of two APIs which can be accessible in virtually all trendy browsers:
- Fetch API with its fetch technique – a handful technique to make a request name
- FormData interface to simply append recordsdata to the
fetchpayload we’ll ship
Right here’s how these two will look within the code:
const handleUpload = async () => {
  if (file) {
    console.log("Importing file...")

    const formData = new FormData()
    formData.append("file", file)

    attempt {

      const consequence = await fetch("https://httpbin.org/publish", {
        technique: "POST",
        physique: formData,
      })

      const knowledge = await consequence.json()

      console.log(knowledge)
    } catch (error) {
      console.error(error)
    }
  }
}
Right here, we first examine whether or not the file is current so we’ve got one thing to add. After that, we provoke the brand new FormData object with new FormData() and assign it to formData. Now, formData permits us to append a file to it with formData.append(file). Then, we name fetch with the URL endpoint for importing recordsdata. There’s a random URL within the instance, however in actuality, it must be an endpoint you’re working with (often your backend or a third celebration service).
Then, within the fetch name, we merely cross the formData object contained in the physique like so:
const consequence = await fetch("https://httpbin.org/publish", {
  technique: "POST",
  physique: formData,
})
The fetch and FormData work flawlessly collectively, and that’s all you must do to make sure a file is shipped correctly. After we tie the file enter element and the brand new logic we wrote into one piece of code, right here’s the way it will look:
import React, { useState } from "react"

const SingleFileUploader = () => {
  const [file, setFile] = useState<File | null>(null)

  const handleFileChange = (e: React.ChangeEvent<HTMLInputElement>) => {
    if (e.goal.recordsdata) {
      setFile(e.goal.recordsdata[0])
    }
  }

  const handleUpload = async () => {
    if (file) {
      console.log("Importing file...")

      const formData = new FormData()
      formData.append("file", file)

      attempt {

        const consequence = await fetch("https://httpbin.org/publish", {
          technique: "POST",
          physique: formData,
        })

        const knowledge = await consequence.json()

        console.log(knowledge)
      } catch (error) {
        console.error(error)
      }
    }
  }

  return (
    <>
      <div>
        <label htmlFor="file" className="sr-only">
          Select a file
        </label>
        <enter id="file" kind="file" onChange={handleFileChange} />
      </div>
      {file && (
        <part>
          File particulars:
          <ul>
            <li>Title: {file.title}</li>
            <li>Sort: {file.kind}</li>
            <li>Measurement: {file.measurement} bytes</li>
          </ul>
        </part>
      )}

      {file && <button onClick={handleUpload}>Add a file</button>}
    </>
  )
}

export default SingleFileUploader
And right here’s the way it works:
We choose a file, view its particulars and click on “Add a file” button. Then, after a while, within the browser’s console, we will view the results of the file add request which means our file obtained uploaded efficiently. To make issues simpler to comply with by means of and keep away from counting on the browser’s console, we will make a easy part within the UI to indicate whether or not the add began and if it was profitable or not.
Present add consequence indicator
We are able to make the consequence indicator based mostly on state of the importing. I created 4 states:
- Preliminary – the add hasn’t began but
- Importing – the add began
- Success – the add completed correctly
- Failure – the add, sadly, failed
And right here’s the code that makes the add standing indicator work:
import React, { useState } from "react"

const SingleFileUploader = () => {
  const [file, setFile] = useState<File | null>(null)
  const [status, setStatus] = useState<
    "preliminary" | "importing" | "success" | "fail"
  >("preliminary")

  const handleFileChange = (e: React.ChangeEvent<HTMLInputElement>) => {
    if (e.goal.recordsdata) {
      setStatus("preliminary")
      setFile(e.goal.recordsdata[0])
    }
  }

  const handleUpload = async () => {
    if (file) {
      setStatus("importing")

      const formData = new FormData()
      formData.append("file", file)

      attempt {
        const consequence = await fetch("https://httpbin.org/publish", {
          technique: "POST",
          physique: formData,
        })

        const knowledge = await consequence.json()

        console.log(knowledge)
        setStatus("success")
      } catch (error) {
        console.error(error)
        setStatus("fail")
      }
    }
  }

  return (
    <>
      <div className="input-group">
        <label htmlFor="file" className="sr-only">
          Select a file
        </label>
        <enter id="file" kind="file" onChange={handleFileChange} />
      </div>
      {file && (
        <part>
          File particulars:
          <ul>
            <li>Title: {file.title}</li>
            <li>Sort: {file.kind}</li>
            <li>Measurement: {file.measurement} bytes</li>
          </ul>
        </part>
      )}

      {file && (
        <button onClick={handleUpload} className="submit">
          Add a file
        </button>
      )}

      <Outcome standing={standing} />
    </>
  )
}

const Outcome = ({ standing }: { standing: string }) => {
  if (standing === "success") {
    return <p>✅ File uploaded efficiently!</p>
  } else if (standing === "fail") {
    return <p>❌ File add failed!</p>
  } else if (standing === "importing") {
    return <p>⏳ Importing chosen file...</p>
  } else {
    return null
  }
}

export default SingleFileUploader
Now, we will shut the browser console and think about the add state within the UI immediately like so:
Nice, now that we coated the fundamentals on the right way to present file enter, chosen file particulars, the right way to add a single file in React – let’s present the right way to add a number of recordsdata.
Add a number of recordsdata in React with fetch
Nearly all of the code will keep the identical from the earlier part the place we present the right way to add the only file. The one half that may change is the half the place the consumer can select a number of recordsdata to add. For that function, we’ll create a brand new element referred to as MultipleFileUploader.tsx in src/elements:
import React, { useState } from "react"

const MultipleFileUploader = () => {
  const [files, setFiles] = useState<FileList | null>(null)
  const [status, setStatus] = useState<
    "preliminary" | "importing" | "success" | "fail"
  >("preliminary")

  const handleFileChange = (e: React.ChangeEvent<HTMLInputElement>) => {
    if (e.goal.recordsdata) {
      setStatus("preliminary")
      setFiles(e.goal.recordsdata)
    }
  }

  const handleUpload = async () => {
    if (recordsdata) {
      setStatus("importing")

      const formData = new FormData()

      ;[...files].forEach((file) => {
        formData.append("recordsdata", file)
      })

      attempt {
        const consequence = await fetch("https://httpbin.org/publish", {
          technique: "POST",
          physique: formData,
        })

        const knowledge = await consequence.json()

        console.log(knowledge)
        setStatus("success")
      } catch (error) {
        console.error(error)
        setStatus("fail")
      }
    }
  }

  return (
    <>
      <div className="input-group">
        <label htmlFor="file" className="sr-only">
          Select recordsdata
        </label>
        <enter id="file" kind="file" a number of onChange={handleFileChange} />
      </div>
      {recordsdata &&
        [...files].map((file, index) => (
          <part key={file.title}>
            File quantity {index + 1} particulars:
            <ul>
              <li>Title: {file.title}</li>
              <li>Sort: {file.kind}</li>
              <li>Measurement: {file.measurement} bytes</li>
            </ul>
          </part>
        ))}

      {recordsdata && (
        <button onClick={handleUpload} className="submit">
          Add {recordsdata.size > 1 ? "recordsdata" : "a file"}
        </button>
      )}

      <Outcome standing={standing} />
    </>
  )
}

const Outcome = ({ standing }: { standing: string }) => {
  if (standing === "success") {
    return <p>✅ Uploaded efficiently!</p>
  } else if (standing === "fail") {
    return <p>❌ Add failed!</p>
  } else if (standing === "importing") {
    return <p>⏳ Importing began...</p>
  } else {
    return null
  }
}

export default MultipleFileUploader
Now, we set recordsdata contained in the element’s state and have it as FileInput kind as an alternative of File kind beforehand. With that, we get all of the e.goal.recordsdata and put it aside within the state. Then, within the handleUpload logic, we iterate by means of recordsdata with a easy trick append every file to formData with formData.append('recordsdata', file). The trick to iterate by means of FileList is to destructure it into an JavaScript array like so:
Sadly, we’ve got to do this as a result of the FileList doesn’t have the standard Array strategies like map or forEach. Later, within the markup, we do the identical trick when exhibiting every file’s knowledge.
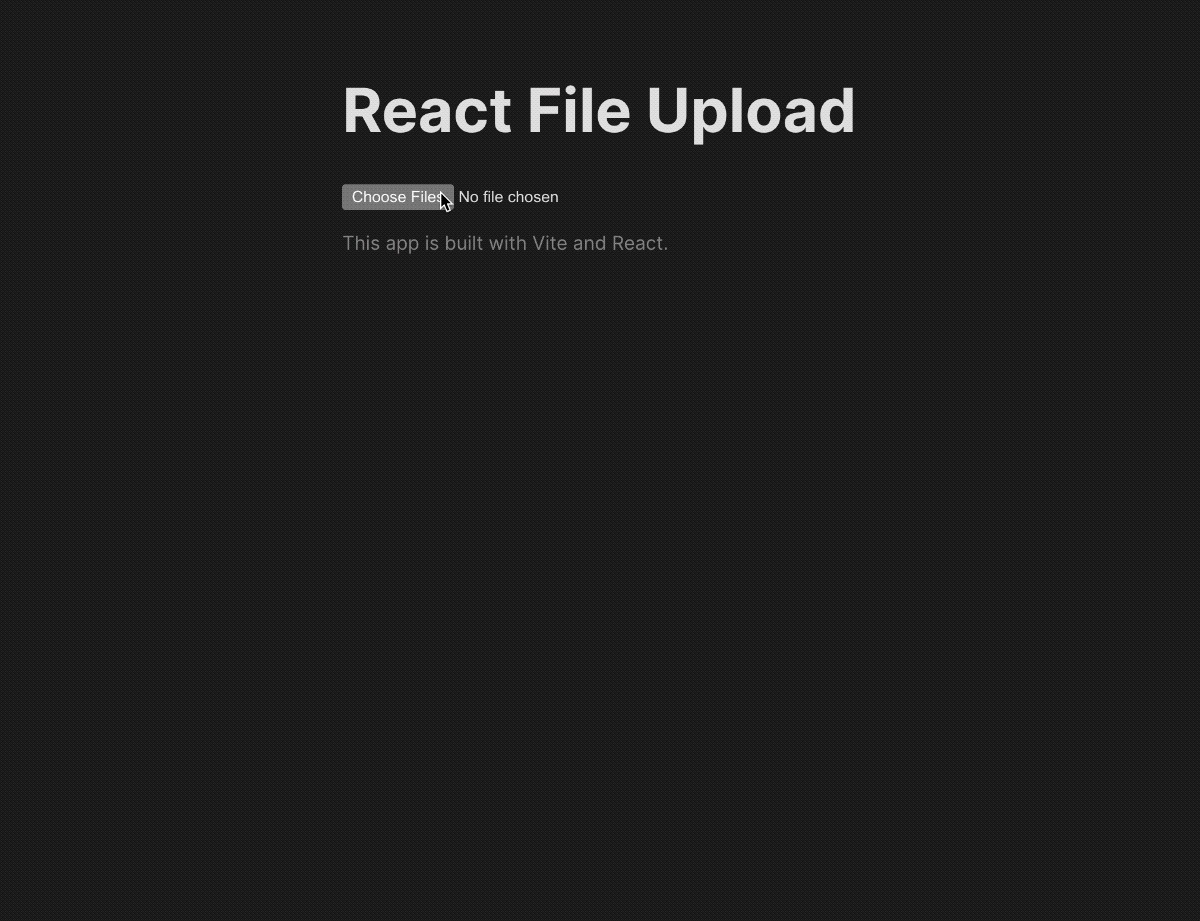
Superior, we arrange the whole lot, and now that is how multi-file add works in React:
However, what if we will make that simpler and if we attempt to use an already-baked resolution? Let’s check out Uploadcare’s File Uploader for file add within the subsequent part.
Uploadcare made a model new uploader that’s absolutely customizable. The brand new uploader is constructed with Net Parts and a part of the Uploadcare Blocks elements.
To get began, you might want to set up the Uploadcare Blocks with the next command:
npm set up @uploadcare/blocksAnd add varieties configuration to tsconfig.json within the root of the mission:
{
  "compilerOptions": {

    "varieties": ["@uploadcare/blocks/types/jsx"]

  }
}
Then, we’ll create a small element for the Uploadcare File Uploader referred to as UploadcareUploader in src/elements. It’ll appear to be this:
import React, { useCallback, useEffect, useRef, useState } from "react";

import * as LR from "@uploadcare/blocks";
import { PACKAGE_VERSION } from "@uploadcare/blocks/env";

import "./UploadcareUploader.css";

LR.registerBlocks(LR);

const UploadcareUploader = () => {
  const dataOutputRef = useRef<LR.DataOutput>();
  const [files, setFiles] = useState<any[]>([]);

  const handleUploaderEvent = useCallback((e: CustomEvent<any>) => {
    const { knowledge } = e.element;
    setFiles(knowledge);
  }, []);

  useEffect(() => {
    const el = dataOutputRef.present;

    el?.addEventListener(
      "lr-data-output",
      handleUploaderEvent as EventListenerOrEventListenerObject
    );
    return () => {
      el?.removeEventListener(
        "lr-data-output",
        handleUploaderEvent as EventListenerOrEventListenerObject
      );
    };
  }, [handleUploaderEvent]);

  return (
    <part
      model={
        {
          "--uploadcare-pubkey": `"${import.meta.env.VITE_UPLOADCARE_API_KEY}"`,
        } as React.CSSProperties
      }
    >
      <lr-file-uploader-regular
        class="uploaderCfg"
        css-src={`https://unpkg.com/@uploadcare/blocks@${PACKAGE_VERSION}/net/file-uploader-regular.min.css`}
      >
        <lr-data-output
          ref={dataOutputRef}
          use-event
          hidden
          class="uploaderCfg"
          onEvent={handleUploaderEvent}
        ></lr-data-output>
      </lr-file-uploader-regular>

      <div className="img-gallery">
        {recordsdata.map((file) => (
          <img
            key={file.uuid}
            src={file.cdnUrl}
            alt="Preview"
            className="img-preview"
          />
        ))}
      </div>
    </part>
  );
};

export default UploadcareUploader;
There’s loads to unravel from the code above, however don’t fear. We are going to do it progressively. First off, we have to import LR from @uploadcare/blocks and name registerBlocks on it. That is wanted so we will register the elements which can be going for use on this UploadcareUploader React element.
Then, we see this a part of the code:
const UploadcareUploader = () => {
  const dataOutputRef = useRef<LR.DataOutput>()
  const [files, setFiles] = useState<any[]>([])

  const handleUploaderEvent = useCallback((e: CustomEvent<any>) => {
    const { knowledge } = e.element
    setFiles(knowledge)
  }, [])

  useEffect(() => {
    const el = dataOutputRef.present

    el?.addEventListener(
      "lr-data-output",
      handleUploaderEvent as EventListenerOrEventListenerObject
    )
    return () => {
      el?.removeEventListener(
        "lr-data-output",
        handleUploaderEvent as EventListenerOrEventListenerObject
      )
    }
  }, [handleUploaderEvent])


}
There, we’re setting a method to get the recordsdata from the Uploadcare File Uploader and set them contained in the React element state. We create a ref, state for the recordsdata, and register occasions for when the file is uploaded and eliminated.
After that, we come to the markup a part of the element.
const UploadcareUploader = () => {


  return (
    <part
      model={
        {
          "--uploadcare-pubkey": `"${import.meta.env.VITE_UPLOADCARE_API_KEY}"`,
        } as React.CSSProperties
      }
    >
      <lr-file-uploader-regular
        class="uploaderCfg"
        css-src={`https://unpkg.com/@uploadcare/blocks@${PACKAGE_VERSION}/net/file-uploader-regular.min.css`}
      >
        <lr-data-output
          ref={dataOutputRef}
          use-event
          hidden
          class="uploaderCfg"
          onEvent={handleUploaderEvent}
        ></lr-data-output>
      </lr-file-uploader-regular>

      <div className="img-gallery">
        {recordsdata.map((file) => (
          <img
            key={file.uuid}
            src={file.cdnUrl}
            alt="Preview"
            className="img-preview"
          />
        ))}
      </div>
    </part>
  )
}

export default UploadcareUploader
Now we get to the enjoyable half. First off, we wrap the whole lot right into a part HTML factor (this may be another factor of your alternative) and we set a CSS variable with our Uploadcare mission API key. You possibly can retrieve the important thing simply from the Uploadcare mission dashboard. We used an atmosphere variable VITE_UPLOADCARE_API_KEY to retailer it, however you should use your individual resolution for that. This step is vital as a result of later, we’ll configure the Uploadcare File Uploader by means of CSS 🤯
Then, we put two elements offered by Uploadcare Blocks:
<lr-file-uploader-regular
  class="uploaderCfg"
  css-src={`https://unpkg.com/@uploadcare/blocks@${PACKAGE_VERSION}/net/file-uploader-regular.min.css`}
>
  <lr-data-output
    ref={dataOutputRef}
    use-event
    hidden
    class="uploaderCfg"
    onEvent={handleUploaderEvent}
  ></lr-data-output>
</lr-file-uploader-regular>
The lr-file-uploader-regular and lr-data-output. The lr-file-uploader-regular gives the precise UI for importing recordsdata, and lr-data-output is there so we will monitor what will get uploaded and brought down by the consumer within the UI.
As you may discover, each of those parts have the class attribute and the “uploaderCfg” worth. It’s because Uploadcare Blocks are custom-made through CSS. We put the CSS in UploadcareUploader.css and imported it on the high. Right here’s how the CSS appears to be like:
.uploaderCfg {
  --ctx-name: "uploader";

  --cfg-pubkey: var(--uploadcare-pubkey);
}
The --ctx-name is to ensure each lr-file-uploader-regular and lr-data-output are related. Each parts must have the identical --ctx-name. Then, the --cfg-pubkey is the place the place we put the Uploadcare mission API key. You possibly can hardcode it there, however we added it by means of a atmosphere variables so it isn’t exhibiting within the code. Vite helps .env recordsdata so there’s an entry there like this VITE_UPLOADCARE_API_KEY=my_key. Then, within the code, we set it as a CSS variable --uploadcare-pubkey within the guardian factor after which learn it as var(--uploadcare-pubkey) in CSS and set it for --cfg-pubkey so Uploadcare File Uploader can decide it up.
After that, we present the uploaded recordsdata from the recordsdata within the React element state. All recordsdata (on this case, pictures) are rendered within the gallery under the uploader.
To get a greater thought of all of it, let’s see the way it works under:
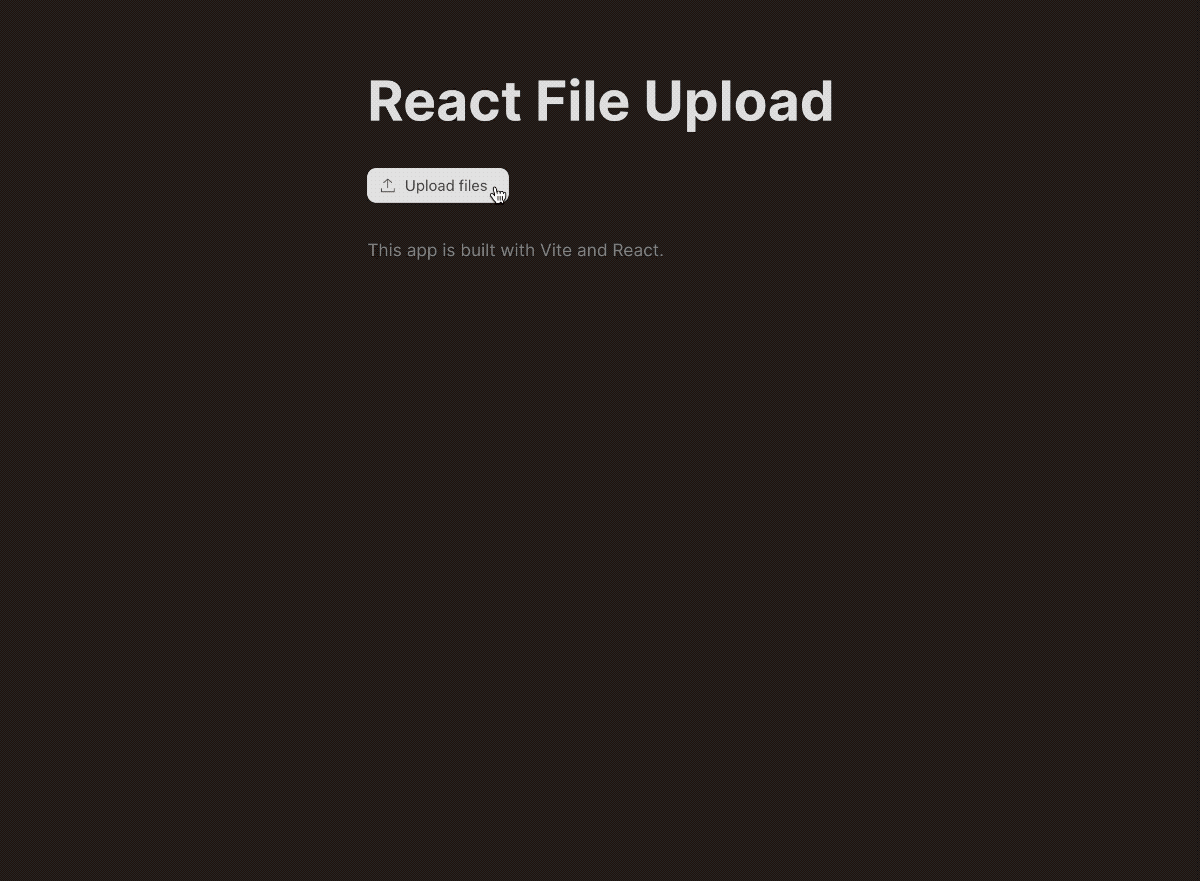
And that’s it, Uploadcare will handle the importing for you and make it sooner with its importing community (it really works like CDN). You additionally get the monitoring of importing of every file and the choice to decide on the place you’d prefer to add recordsdata from (from the gadget, from a hyperlink, native digital camera, Dropbox, Google Drive and so on.)
You possibly can checkout the official docs on File Uploader right here and see how one can configure it and tailor it to your wants.
Conclusion
On this weblog publish, we went by means of a couple of issues associated to importing recordsdata in React. We coated:
- the right way to present a correct file enter and present chosen file particulars,
- the right way to work with FormData interface and
fetchto add one or a number of recordsdata, - the right way to present a easy add indicator within the UI,
- the right way to iterate over
FileListwith a neat trick, - and the right way to effectively use Uploadcare File Uploader to add knowledge with out writing a lot code.
I hope you loved and realized one thing from this publish. All of the code you’ve seen right here is on the GitHub repository right here and there’s a reside playground right here.
Thanks for studying, and catch you within the subsequent one.