


When you’re new to Linux, you could be questioning how you can set up or replace software program packages. Nicely, you’ve come to the correct place to get your head over managing software program packages with Ubuntu Apt Get instructions.
On this tutorial, you’ll learn to replace or improve current software program packages and set up new ones or eliminate them if you don’t want them anymore.
Now learn on and begin managing software program packages!
Stipulations
This tutorial might be a hands-on demonstration however doesn’t require particular instruments, as long as you’re on Ubuntu 16 or greater model, you’re good to go. This tutorial makes use of Ubuntu 20.04.3 LTS model for the demos.
Updating System Package deal Repositories
One of the vital frequent makes use of of the apt-get command is to replace the checklist of packages accessible in your system. And doing so is really helpful earlier than putting in, updating, or upgrading any software program.
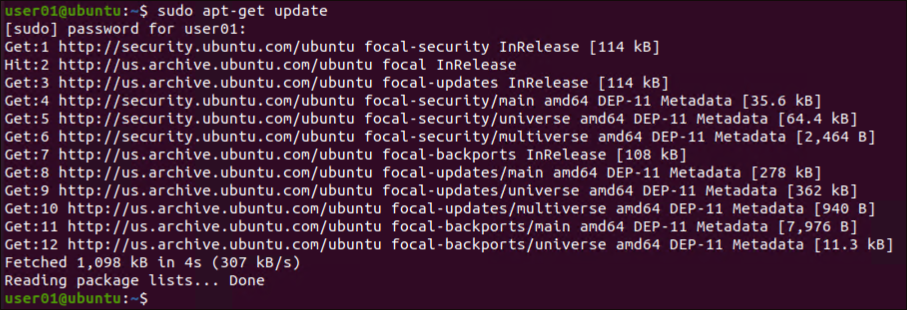
Open your terminal and run the under apt-get command to replace the bundle checklist in your system. Enter your sudo password when prompted.
The under command checks for newer software program variations from the entries in /and so on/apt/sources.checklist file, and updates the system bundle checklist.
When there is no such thing as a bundle model replace, you’ll see a observe that claims Hit. In any other case, you’ll see a observe saying Get, and the command downloads the bundle info (not the entire bundle). When there may be an error in retrieving the bundle info, it reveals ign.
Upgrading Software program Packages
You’ve simply up to date your machine’s software program bundle checklist primarily based on sources.checklist, however software program packages will keep of their present model until you run an improve. Improve software program packages which have accessible updates primarily based on the entries within the sources.checklist file.
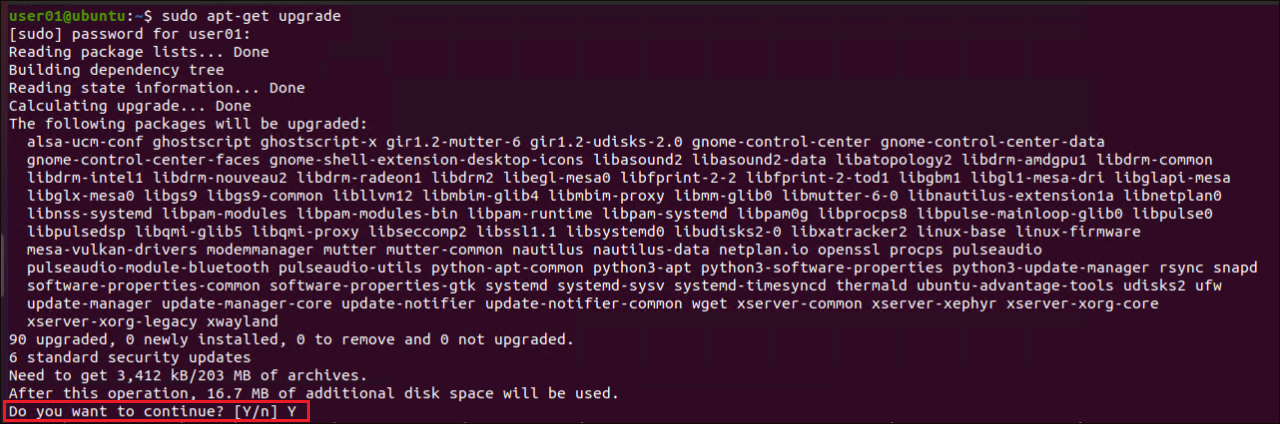
Run the Ubuntu Apt Get command under to improve all put in software program packages in your machine with newer variations accessible. You’re prompted to verify, and enter Y to proceed.
You may bypass the affirmation immediate with the
-ypossibility. This will replace/set up packages that you just didn’t intend to you probably have not verified the checklist.
Maybe you favor to improve a particular software program solely. If that’s the case, specify the bundle identify together with the apt-get improve command, as proven under.
sudo apt-get improve vsftpd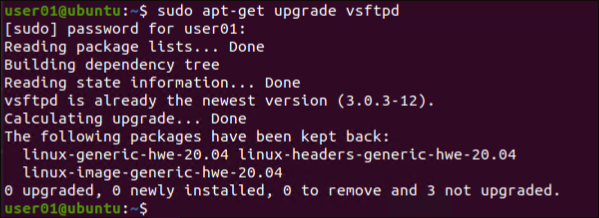
When you have 2-3 software program to improve, you possibly can specify them within the
apt-get improvecommand separated by area, just like the one under:sudo apt-get improve vsftpd google-chrome firefox
Intelligently Upgrading Utility Packages with Ubuntu Apt Get
Other than upgrading put in software program packages, how do you intelligently handle software program bundle conflicts? The apt-get improve bundle solely upgrades current packages however the dist-upgrade command will even take away current packages if they’re in battle with the brand new variations.
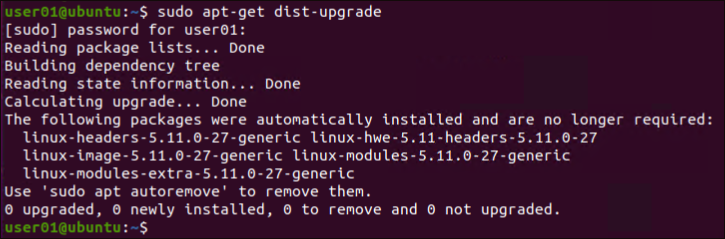
Run the under command to improve current software program packages in your machine. This command additionally provides or removes any packages to meet any dependencies.
sudo apt-get dist-upgradeThe
apt-get dist-upgradecommand has an clever battle decision system. If there’s a battle when upgrading the packages, the command chooses the crucial packages to improve first after which the decrease precedence packages.
To improve an Ubuntu model to the following launch model, you’ll run the command
do-release-upgrade. This runsapt-get dist-upgradeas properly to replace the packages.
Looking and Putting in Particular Software program Packages
Up to now, you’ve realized to replace bundle repositories and the working system itself. However how do you seek for new software program packages to put in? The apt-cache command allows you to seek for all accessible or particular software program packages.
Run the command under to show all domestically identified accessible software program packages (pkgnames). This checklist is derived from the final replace in opposition to the sources.checklist configuration file.
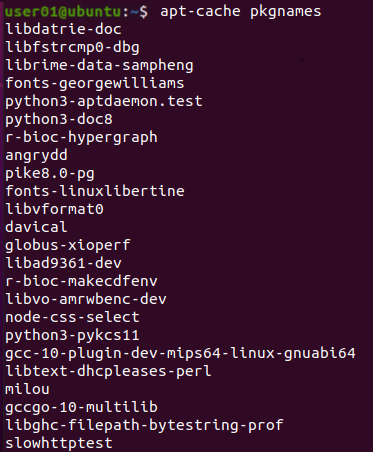
The apt-cache pkgnames command naturally returns tons of software program packages, and it’s a ache to scroll by means of them. So why not particularly seek for one in the event you’re aware of the software program bundle’s identify?
Run the under command to search for particular software program bundle repositories, on this case, for vsftpd. Because you’re solely looking for a software program bundle, you do not want to prepend the sudo command.
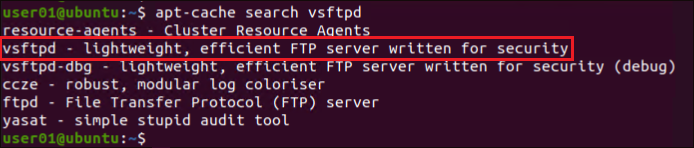
If you understand the precise bundle identify, exchange
searchwith thepresentparameter, like this:apt-cache present PackageName. SubstitutePackageNamewith the precise bundle identify. This command allows you to view the bundle particulars, such because the origin, structure, model, and so forth.
As soon as you discover the software program bundle, run the command under to set up that software program bundle (vsftpd) in your machine.
sudo apt-get set up vsftpd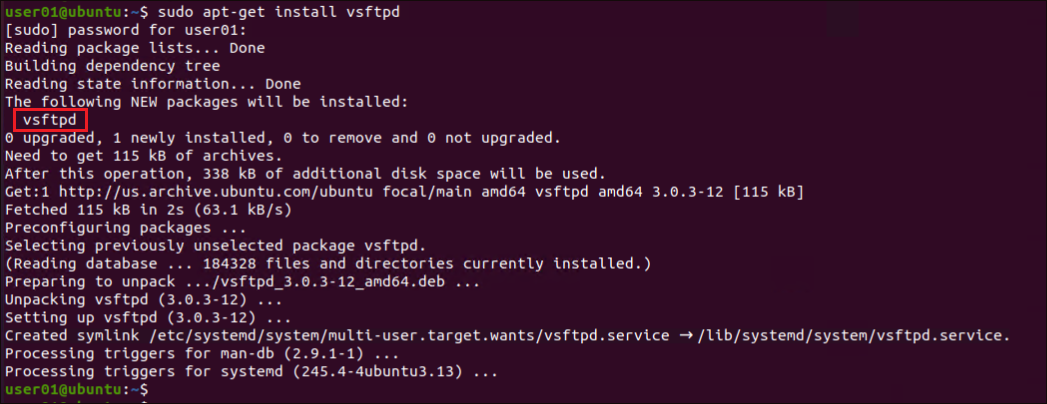
Reinstalling a Software program
Maybe you’re having bother with some software program, and also you’re not into breaking issues down simply to see what’s unsuitable with it. If that’s the case, reinstalling the software program is one factor you possibly can try to repair the software program difficulty.
Run the next apt-get set up command to --reinstall the software program (vsftpd) in your system.
sudo apt-get set up vsftpd --reinstall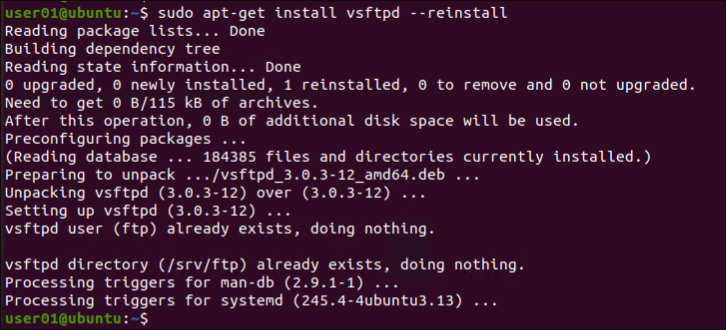
Eradicating Put in Software program
Put in software program in your system naturally consumes your storage. What if the software program not serves a function? Eradicating that software program is the perfect factor to do. Doing so allows you to optimize your system’s efficiency.
Run the next command to take away a particular software program (vsftpd) out of your machine.
sudo apt-get take away vsftpd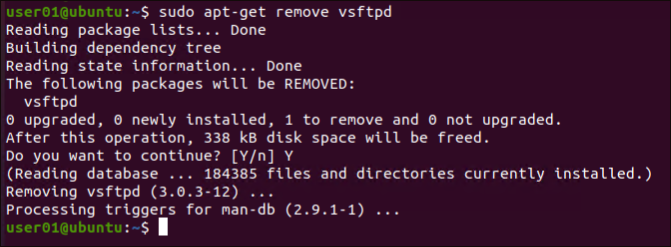
Eradicating Software program and Any Supporting Information with Ubuntu Apt Get
Many of the software program put in in your machine leaves residues, equivalent to folders or configuration information, even after eradicating them. These residues additionally contribute to your storage working out, so how do you take away them? Let the Ubuntu Apt Get command take away these residues for you.
Maybe you already uninstalled a software program however its configuration information stay. If that’s the case, utilizing the purge parameter with the apt-get command will suffice.
Run the under command to uninstall the software program (vsftpd) and take away the left-over information and folders (purge) out of your machine.
sudo apt-get purge vsftpd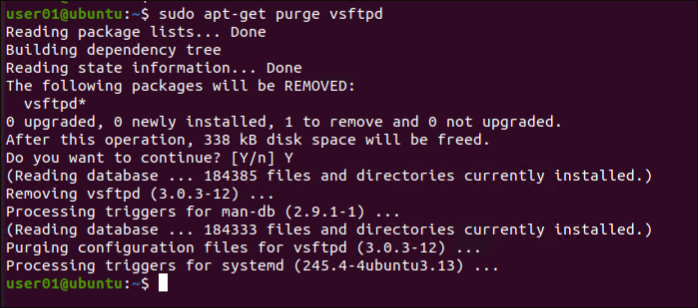
Alternatively, run the command under in the event you desire to uninstall (take away) the software program and rid (--purge) its configuration information in a single go.
sudo apt-get take away --purge vsftpd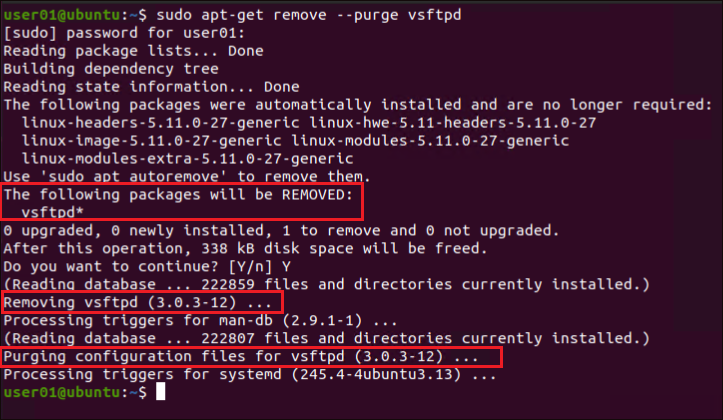
Resolving Dependency Errors
Putting in, updating, or upgrading software program doesn’t at all times find yourself completely accomplished. You are inclined to get errors sooner or later, like dependency errors because of a corrupted bundle database. However don’t fear! The Ubuntu Apt Get command allows you to clear your native repository of retrieved bundle information that aren’t required which can be inflicting the dependency error.
Utility packages themselves are saved in .deb information that are downloaded and put in in your machine if you set up any software program. Now, in the event you take away a particular software program and reinstall it, apt makes use of the .deb information out of your native repo for reinstallation, somewhat than redownload from the web.
But when a more moderen model of the software program is on the market and also you attempt to reinstall the software program, the prevailing information in your native repo will not be usable. Because of this, you get a dependency error.
Run the apt-get clear command under to take away downloaded and cached bundle information in your native repo (/var/cache/apt/archives).
The
apt-get clearcommand doesn’t take away the lock information from /var/cache/apt/archives and /var/cache/apt/archives/partial folders. Lock information are meant to forestall two totally different bundle managers from working on the identical information in battle.

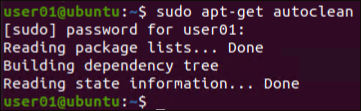
To take away downloaded packages of software program which can be not referenced by put in software program use the autoclean parameter.
Run the under command to take away residual information (.deb information) (autoclean) from the /var/cache/apt/archives listing.
Conclusion
On this tutorial, you’ve realized how you can use Ubuntu Apt Get instructions to put in or improve software program packages and replace the working system itself. You’ve additionally touched on resolving set up errors by eradicating pointless bundle information of earlier model set up of software program packages.
At this level, you already know how you can handle software program packages in your machine successfully. Now, why not automate upgrading software program packages with a Bash script? Or would possibly as properly add cron jobs with a PHP script?