


Are you trying to supercharge your Raspberry Pi 4? Say hiya to Docker! All through the event lifecycle for fast and moveable utility growth, Docker certain turns out to be useful. Unsure the best way to set up Docker on Raspberry Pi? Properly, you will have come to the correct place!
This tutorial will stroll you thru the Docker set up course of in your Raspberry Pi 4, permitting you to faucet into the total potential of this small but highly effective computing companion!
Learn on and unlock the capabilities of your Raspberry Pi!
Conditions
This tutorial contains hands-on demonstrations, and beneath are some things you will want in place to observe alongside:
- A Raspberry Pi 4 (4GB or 8GB mannequin) with Raspbian put in.
- You could have desktop entry or SSH entry to your Raspberry Pi 4.
- A secure web connection.
Putting in Docker on Raspberry Pi 4
Docker is an open-source platform that automates the deployment and administration of functions inside light-weight, remoted software program containers. Benefiting from Docker in a Raspberry Pi 4 provides quite a few benefits, particularly contemplating Pi’s low energy consumption and minimal useful resource necessities.
Docker containers are light-weight, making them well-suited for operating on low-power units just like the Raspberry Pi 4, which possesses restricted computing energy and reminiscence.
To start utilizing Docker in your Raspberry Pi 4, you need to first set up it as follows:
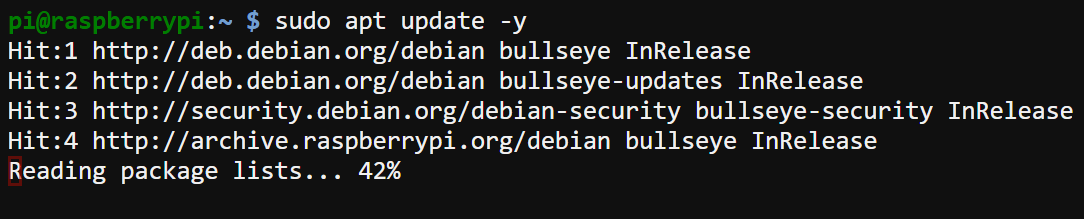
1. Open a terminal, and run the beneath apt replace command to make sure your Pi is updated with the newest enhancements, bug fixes, and safety updates.
2. As soon as up to date, run the next curl command to put in Docker in your Raspberry Pi 4.
This command downloads and runs (sh) the official Docker set up script obtainable at https://get.docker.com.
Docker simplifies the set up course of with a handy Bash script that automates every little thing. This script simplifies the set up of Docker on varied Linux distributions, together with Debian-based techniques like Raspbian (used on Raspberry Pi).
sudo curl -sSL https://get.docker.com | shAssociated: CURL Linux Command : Studying By Instance
The Docker set up script performs the next actions:
- Detects the Linux distribution and model of your system.
- Provides the Docker GPG key to make sure the authenticity of the Docker packages.
- Provides the Docker repository to your system’s package deal supervisor configuration.
- Updates the package deal lists to incorporate the Docker repository.
- Installs the required packages to put in Docker, similar to docker-ce and docker-ce-cli.
- Begins the Docker service.
At this level, the Docker daemon is began and operating in your Raspberry Pi 4

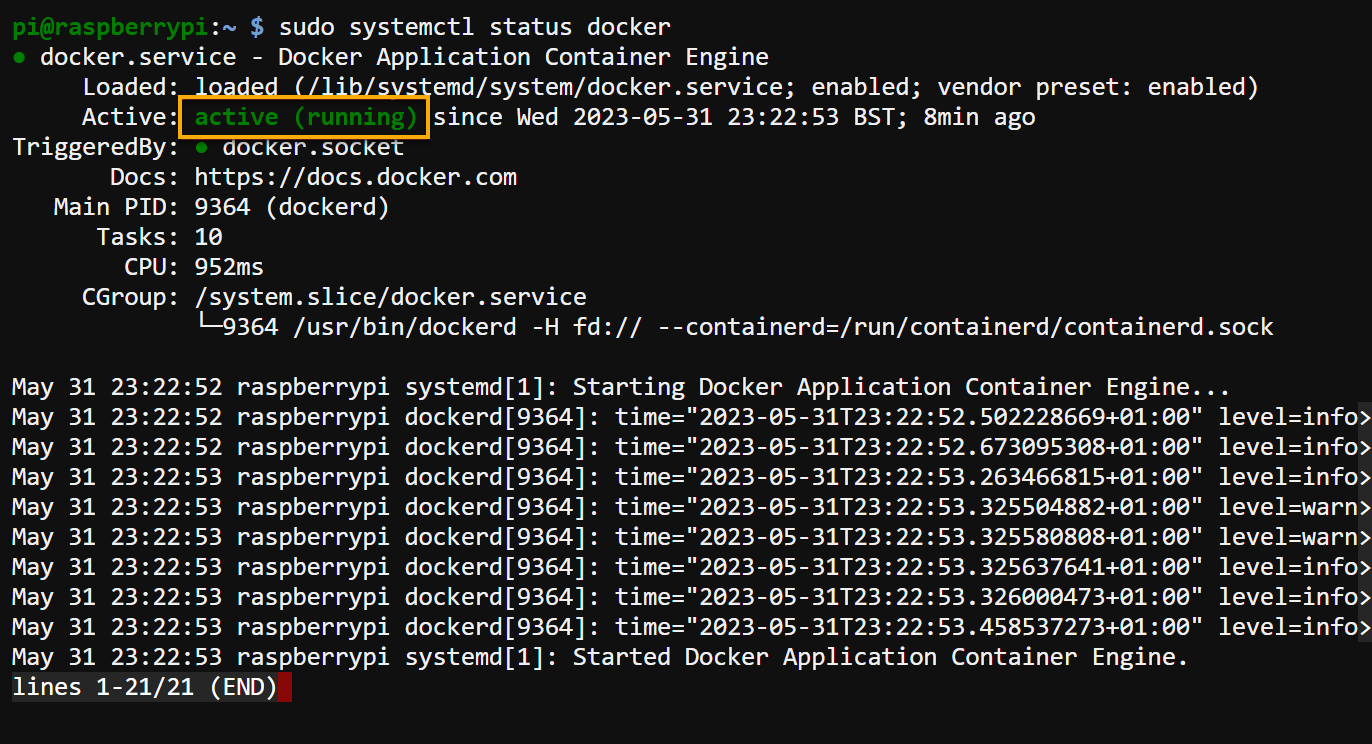
3. Lastly, run the systemctl command beneath to confirm the docker daemon’s standing.
sudo systemctl standing dockerThe output will show a message resembling the next, which confirms the Docker daemon standing is energetic (operating).
Including a Pi Person Account to the docker Group
With Docker added to your arsenal, are you able to begin utilizing it already? Not but! You continue to want so as to add your Pi consumer account to the docker group. Doing so enables you to run the docker command as a totally privileged consumer.
So as to add your Pi consumer account to the Docker group:
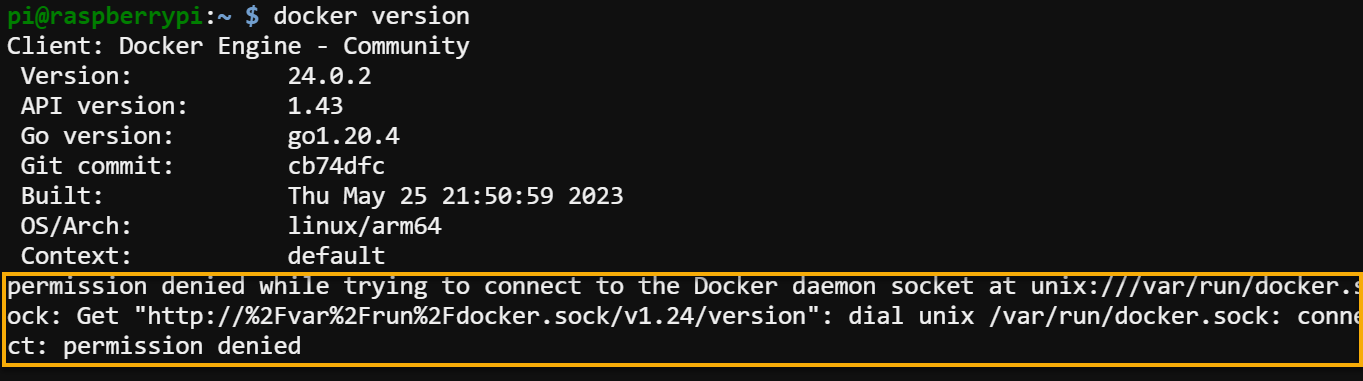
1. Run the beneath docker model command (because the common pi consumer account) to test the Docker model put in in your system. This command enables you to check your consumer account’s Docker permissions.
The output shows model info, together with any related particulars. However you may additionally discover a permission denied error on the finish. This error is predicted because you lack permission to entry the Docker socket.
2. Subsequent, run the next teams pi command to test the consumer teams the place your Pi consumer account belongs.
Discover that the output beneath doesn’t embody “docker” within the listing, which signifies your consumer account just isn’t but a member of the docker group.

3. Now, run the usermod command beneath, which doesn’t present output, however provides your pi consumer account to the docker group (-aG).
sudo usermod -aG docker pi4. As soon as added, sign off of your Raspberry Pi 4, and log again in for the modifications to take impact.
5. Execute the beneath command to substantiate every little thing is configured accurately.
This time, the docker group is current within the output, as proven beneath, which confirms your pi consumer account is now a member of the docker group.

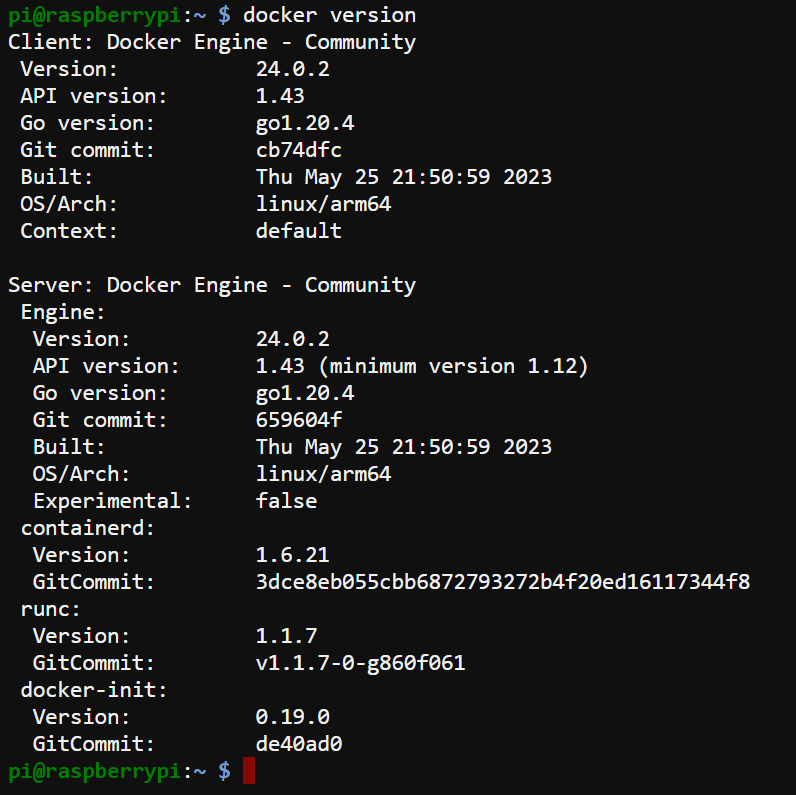
6. Lastly, run the identical docker model command beneath to check your Docker permissions.
As proven beneath, the command executes efficiently, as you at the moment are a totally privileged consumer.
Working a Net Server in a Docker Container
You could have efficiently put in and configured Docker in your Raspberry Pi, however how are you aware it truly works? On this instance, you’ll run an internet server like NGINX in a Docker container to check that every little thing works correctly.
To run an internet server in a Docker container, observe these steps:
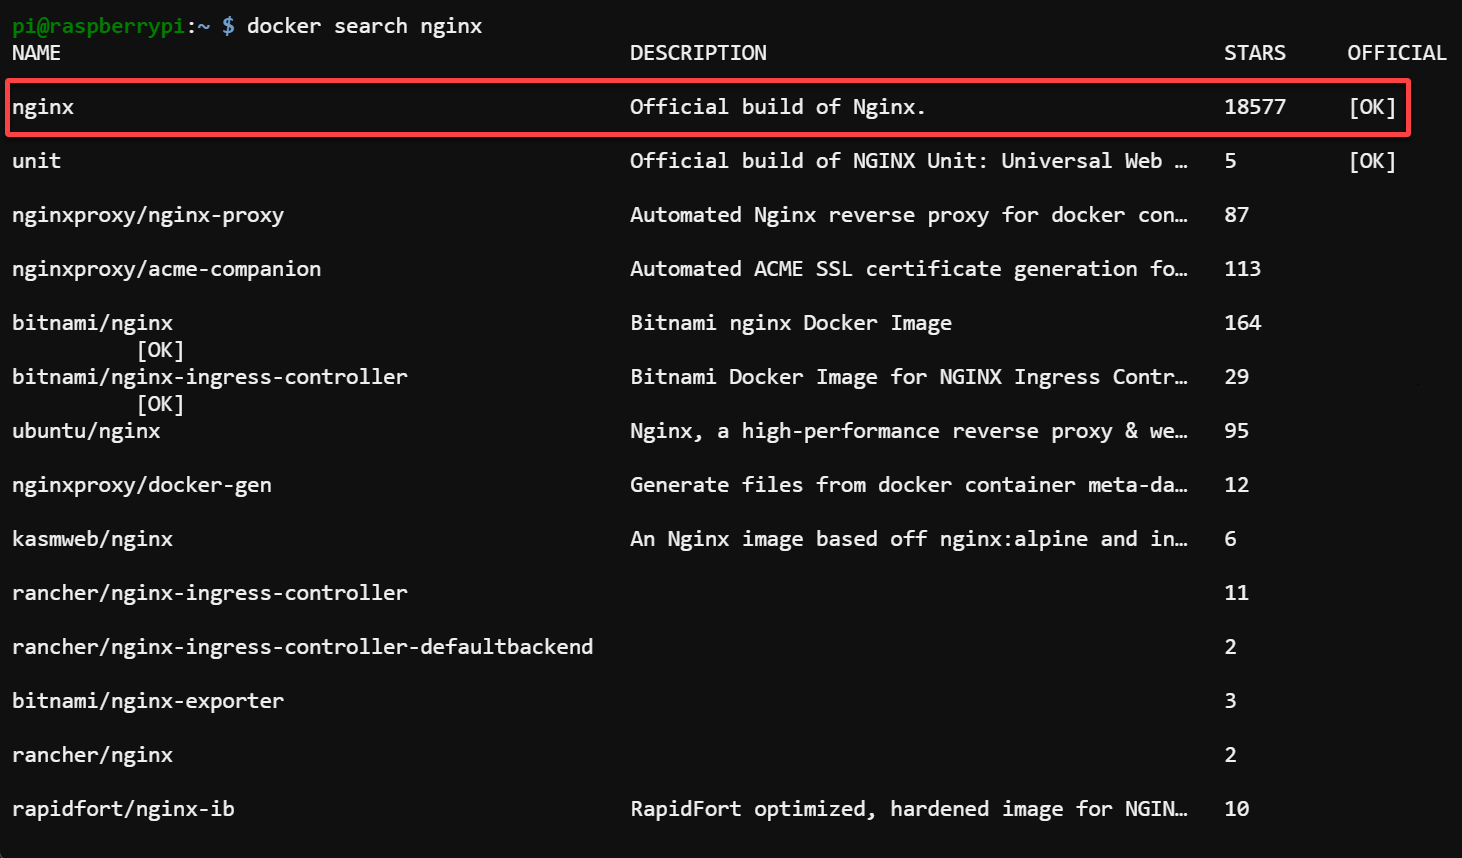
1. Run the beneath docker search command to seek for the nginx Docker picture within the official Docker Hub registry.
A Docker picture is a self-contained package deal holding all essential parts to run an utility. A registry, however, is a centralized repository the place Docker photographs and related information are saved and shared.
Combining photographs and registries kinds the muse for Docker’s portability, scalability, and ease of deployment.
Select your required NGINX picture from the search outcomes, as proven beneath, and word down its precise title. Sometimes, the official construct is an efficient alternative.
2. Subsequent, execute the next docker pull command to drag (obtain) the nginx picture you picked in the 1st step from the Docker Hub to your native Raspberry Pi.

3. After pulling, execute the beneath docker photographs command to listing all Docker photographs in your native system to confirm your downloaded picture.
Your downloaded NGINX picture is listed within the output, as proven beneath.

4. Now, run the docker run command beneath to carry out the next:
- Create a container out of your NGINX picture within the background (
-dflag). - Maps port
80of the container to port80on the host (-p 80:80flag). The net server will probably be accessible on port80of your Raspberry Pi.
Look forward to just a few moments to permit the container to begin.
docker run -d -p 80:80 nginx
5. Run the docker ps command to confirm if the container is efficiently operating and examine its particulars.
You will note the same output because the one beneath, which comprises a number of columns of knowledge as follows:
| Column | Info |
|---|---|
| CONTAINER ID | A singular identifier assigned to the container. |
| IMAGE | The Docker picture used to create the container, on this case, nginx. |
| COMMAND | The command executed throughout the container. |
| CREATED | The time when the container was created. |
| STATUS | The present standing of the container signifies that it’s operating. |
| PORTS | The mapping of container ports to host ports, permits entry to the container’s companies. On this instance, port 80 of the container is mapped to port 80 of the host machine. |
| NAMES | A randomly generated title is assigned to the container. |

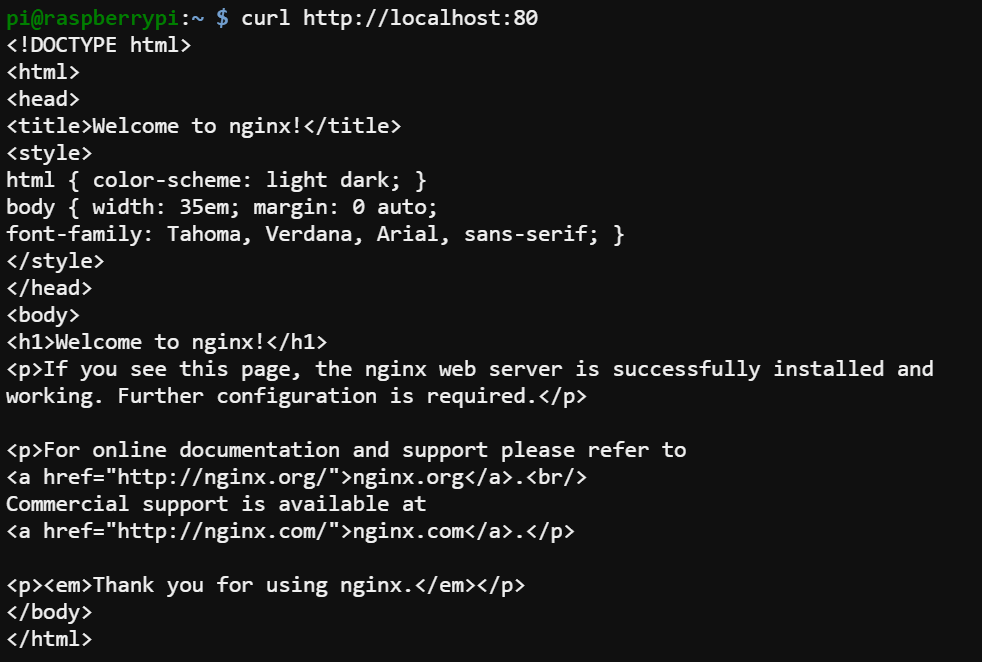
6. Lastly, run the beneath curl command to make an HTTP GET request to your net server to substantiate that the webserver is operating contained in the Docker container.
If the webserver capabilities accurately, you’ll obtain a response, which is the default Welcome to nginx! web page, as proven beneath.
Conclusion
Congratulations! You could have efficiently put in Docker on Raspberry Pi 4 and at the moment are able to harness its energy. With Docker and Raspberry Pi’s highly effective mixture, now you can leverage the advantages of containerization by operating functions in Docker containers.
However the journey doesn’t cease right here. Why not take a step additional and containerize your individual functions? Unleash the ability of Docker on Raspberry Pi 4, and let your productiveness soar!