

While you wish to construct web sites as a Python programmer, there’s no method round HTML and CSS.
Virtually each web site on the Web is constructed with HTML markup to construction the web page.
To make an internet site look good, you may model HTML with CSS.
When you’re considering internet growth with Python, then understanding HTML and CSS will assist you to perceive internet frameworks like Django and Flask higher.
However even when you’re simply getting began with Python, HTML and CSS can allow you to create small web sites to impress your folks.
You’ll get an introduction to HTML and CSS you can comply with together with.
All through this tutorial, you’ll construct an internet site with three pages and CSS styling:
Whereas creating the online undertaking, you’ll craft a boilerplate HTML doc that you need to use in your upcoming internet initiatives.
You might discover that the supply code will turn out to be useful if you’re engaged on future initiatives.
You may obtain it right here:
After studying the fundamentals of HTML and CSS, you’ll discover concepts on how you can proceed your journey on the finish of the tutorial.
Create Your First HTML File
Consider any web site that you simply’ve just lately visited.
Perhaps you learn some information, chatted with mates, or watched a video.
It doesn’t matter what sort of web site it was, you may guess that its supply code has a fundamental <html> tag initially.
HTML stands for HyperText Markup Language.
HTML was created by Tim Berners-Lee, whose title may additionally ring a bell for you because the inventor of the World Broad Net.
The hypertext a part of HTML refers to constructing connections between totally different HTML pages.
With hyperlinks, you may bounce between pages and surf the Net.
You utilize markup to construction content material in a doc.
In distinction to formatting, the markup defines the which means of content material and never the way it appears to be like.
On this part, you’ll find out about HTML components and their roles.
Writing semantic HTML code will make your paperwork accessible for a variety of holiday makers.
In spite of everything, you wish to allow everyone to devour your content material, whether or not they’re visiting your web page with a browser or utilizing display studying instruments.
For every HTML component, there’s a regular that defines its meant use.
Right now, the requirements of HTML are outlined by the Net Hypertext Utility Expertise Working Group (WHATWG).
The WHATWG performs an identical position for HTML because the Python Steering Council does for Python.
Roughly 95 p.c of internet sites use HTML, so that you’ll be hard-pressed to keep away from it if you wish to do any internet growth work in Python.
On this part, you’ll begin by creating your first HTML file.
You’ll learn to construction your HTML code to make it readable in your browser and for people.
The HTML Doc
On this part, you’ll create a fundamental HTML file.
The HTML file will include the bottom construction that the majority web sites are constructed with.
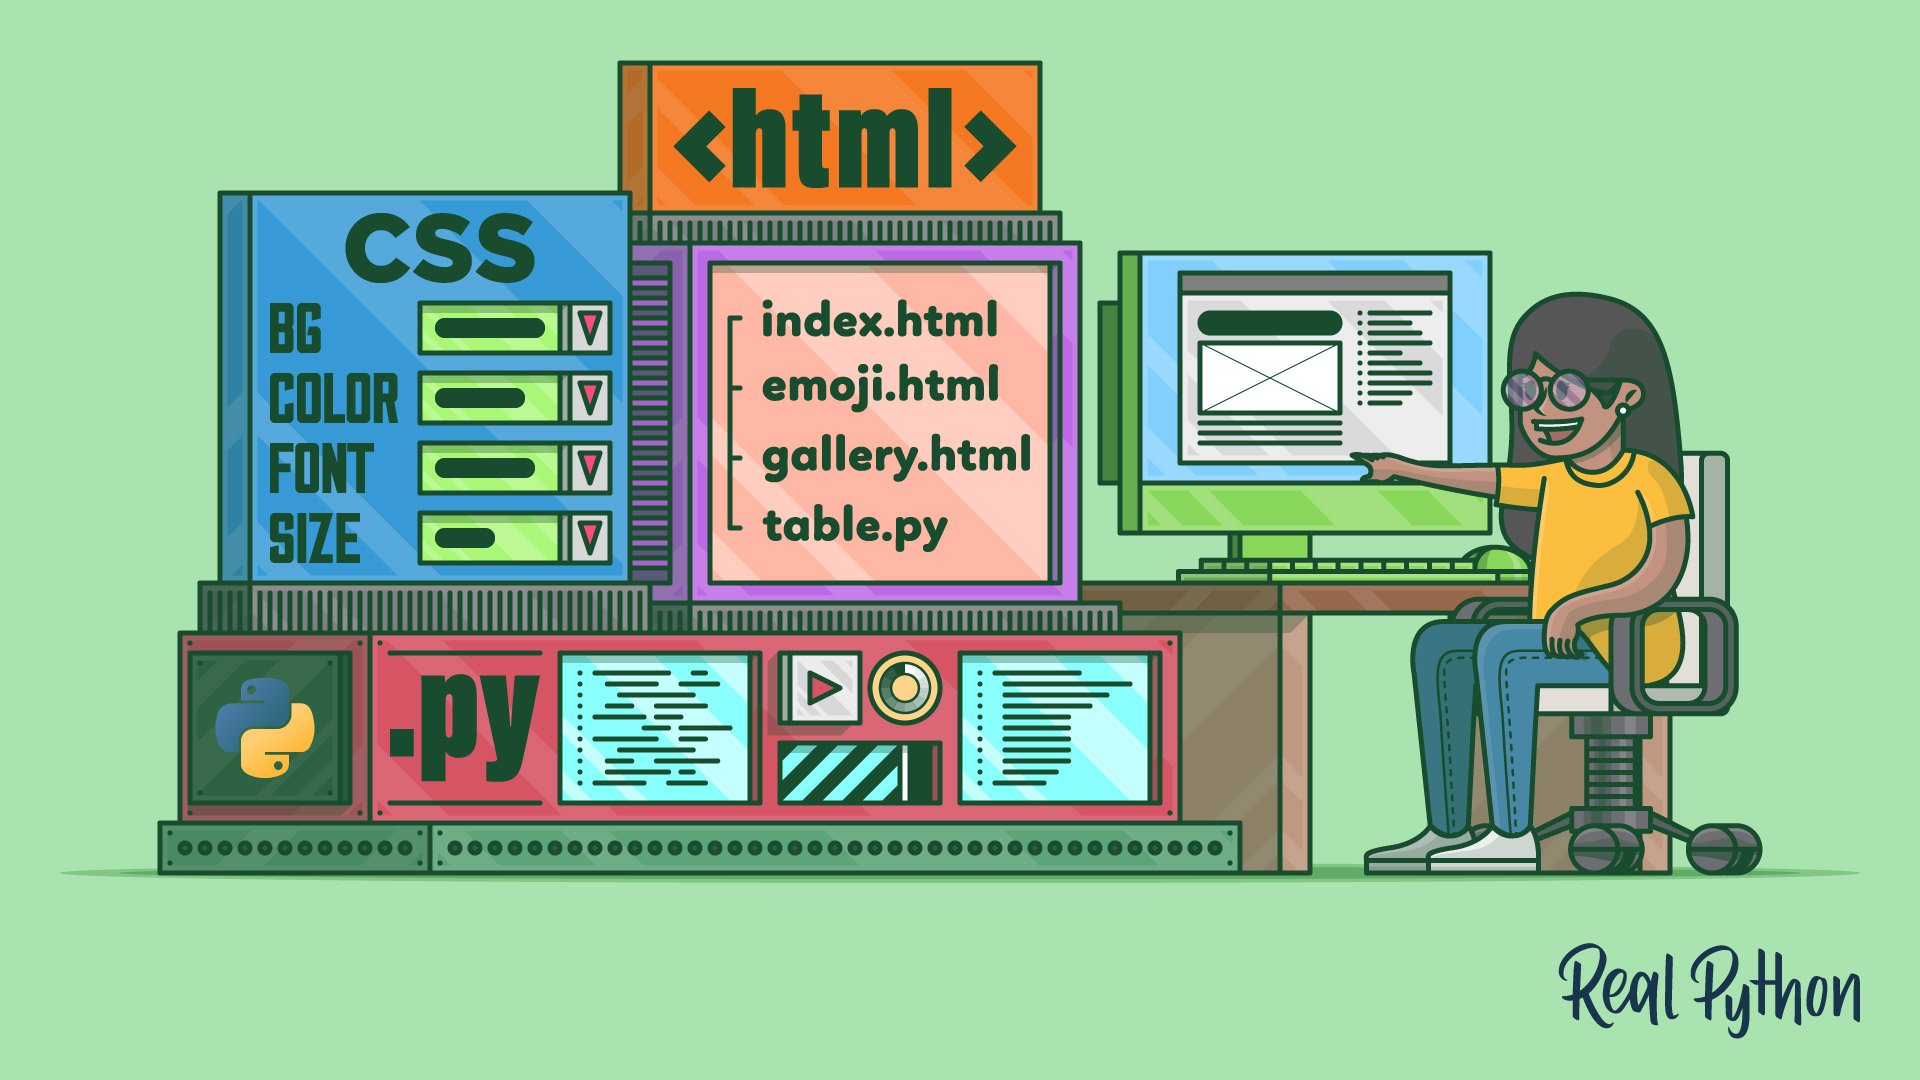
To begin issues off, create a file named index.html with some textual content:
 1<!-- index.html -->
 2
 3Am I HTML already?
Historically, the primary file of your web site known as index.html.
You may consider the index.html web page as akin to the major.py or app.py file in a Python undertaking.
Up to now, the one content material of index.html is a plain Am I HTML already? string.
You haven’t added any HTML syntax but, besides an HTML remark on line 1.
Much like the Python interpreter not executing feedback in your Python code, the browser received’t render the contents of your HTML feedback.
Nonetheless, go forward and open index.html in your browser:
Your browser shows the textual content with out complaining.
It appears the browser can deal with an HTML file, even when its solely cue is the extension.
That’s good to know, however this habits additionally has a draw back.
Browsers will all the time attempt to render HTML paperwork,
even when the HTML syntax of your doc is just not legitimate.
Very seldomly, the browser itself will present you one thing like a SyntaxError, just like what Python does if you attempt to run invalid code.
This implies that you could be not discover when you’ve shipped invalid code, which may trigger points in your web site guests.
Replace index.html and create a minimal legitimate HTML doc by including the code beneath:
 1<!-- index.html -->
 2
 3<!DOCTYPE html>
 4<html lang="en">
 5<head>
 6    <meta charset="utf-8">
 7    <title>Am I HTML already?</title>
 8</head>
 9</html>
This code is probably the most minimal legitimate HTML doc you can get away with.
Strictly talking, you would even ditch the lang attribute in line 4.
However including the proper language subtag is really helpful to declare which pure language your doc incorporates.
Be aware: On this tutorial, you’ll keep on with English and use the en language tag.
You may go to the official language subtag registry to seek out all the opposite language tags.
The language attribute makes it simpler for translation instruments to work along with your web site and can make your web site extra accessible.
Display readers particularly rely closely on the language declaration of an HTML doc to decide on the proper language mode for synthesizing the content material.
At its root, any HTML doc that you simply construct will most likely comply with the construction of the instance above.
However there’s one necessary HTML component lacking.
Open index.html and add <physique> beneath <head>:
1<!-- index.html -->
2
3<!DOCTYPE html>
4<html lang="en">
5<head>
6 <meta charset="utf-8">
7 <title>Am I HTML already?</title>
8</head>
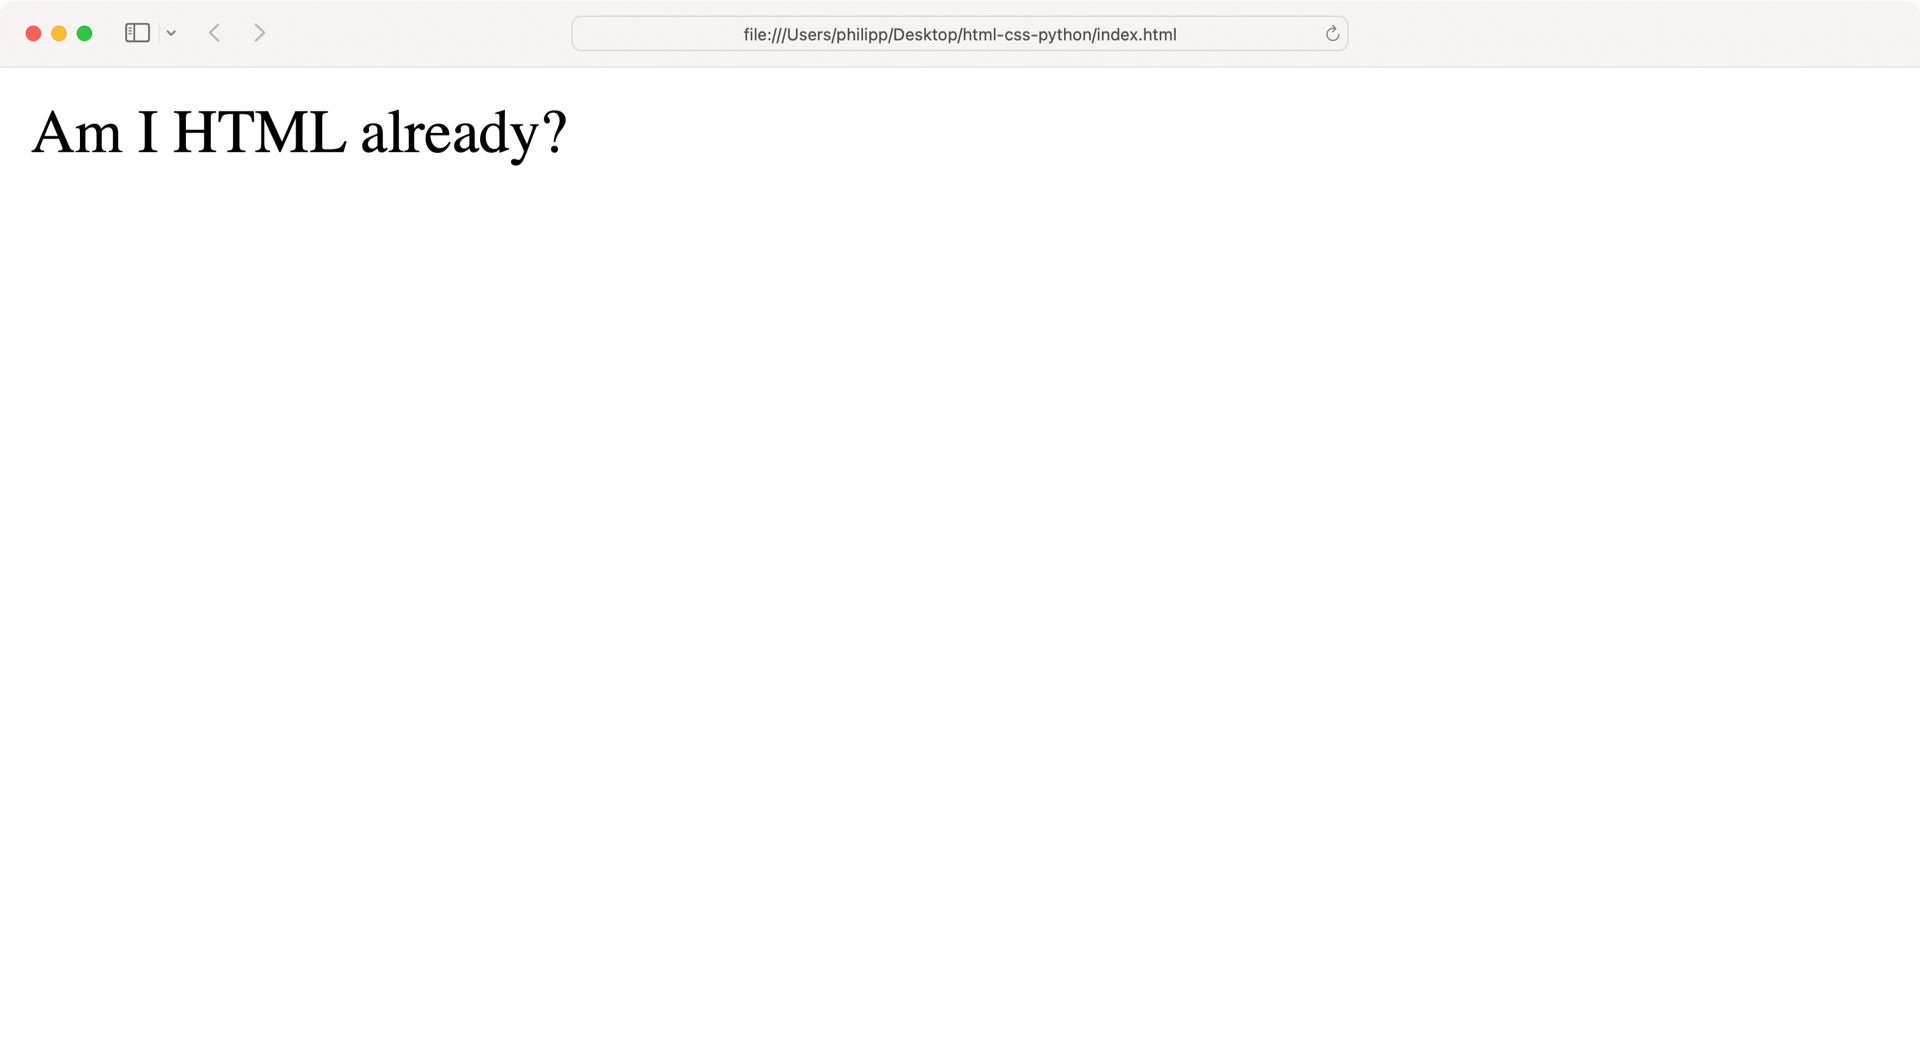
9<physique>
10Sure,<br>I'm!
11</physique>
12</html>
Any legitimate HTML file should begin with a doctype declaration.
On this tutorial, you’ll be utilizing <!DOCTYPE html>, which tells the browser that the doc incorporates HTML5 code and will render your web page in commonplace mode:
If a browser finds an outdated, incomplete or lacking doctype firstly of the web page, they use “quirks mode”, which is extra backwards appropriate with previous practices and previous browsers. (Supply)
After the doctype declaration, you could have a gap <html> tag.
In line 12, you could find the corresponding closing </html> tag.
Most components in HTML have an opening tag, some content material in between, and a closing tag on the finish.
These elements may even be on the identical line, just like the <title> component in line 7.
Different components, like <meta> in line 6, don’t have an identical closing tag, so that they don’t include any content material.
These empty components are so-called void components.
They stand independently and will not even include attributes. One such instance is <br> in line 10, which creates a line break.
HTML tags begin with an angle bracket (<) and finish with an angle bracket (>).
The tag names in between the angle brackets are often fairly descriptive and state what the HTML component is supposed for.
A superb instance is <title> in line 7, during which the content material defines the title of your web page.
The <physique> block incorporates the mass of your content material.
You may consider <physique> because the a part of the HTML doc you can work together with in your browser.
Generally the tag names are abbreviated, like the road break component <br> in line 10.
To get an outline of different HTML tag names, go to Mozilla’s HTML components reference.
When you’ve familiarized your self with the construction of your HTML doc, reload index.html in your browser and take a look at how your web site appears to be like:
Superior, you’re now displaying the content material of your first correct web site!
There’s a superb probability that you simply’ll begin any internet undertaking with a construction just like the one that you simply’ve constructed on this part.
To save lots of your self some work sooner or later, you may obtain the HTML boilerplate code by clicking the hyperlink beneath:
Within the subsequent part, you’ll enhance the bottom construction that you simply’ve created up to now.
To discover why HTML known as a markup language, you’ll add content material and construction to your web site.
Whitespace and Textual content Formatting
The one markup that your HTML doc has up to now is the bottom skeleton of your web site.
Now it’s time to dive in deeper and construction some actual content material.
To have one thing to work with, add the textual content beneath to the <physique> block of index.html:
 1<!-- index.html -->
 2
 3<!DOCTYPE html>
 4<html lang="en">
 5<head>
 6    <meta charset="utf-8">
 7    <title>Am I HTML already?</title>
 8</head>
 9<physique>
10Hiya, World Broad Net!
11That is my first web site.
12
13About me
14
15I am a Python programmer and a bug collector.
16
17Random information
18
19I do not identical to emoji,
20I like emoji!
21
22My most-used emoji are:
23    1. 🐞
24    2. 🐍
25    3. 👍
26
27Hyperlinks
28
29My favourite web sites are:
30    * realpython.com
31    * python.org
32    * pypi.org
33</physique>
34</html>
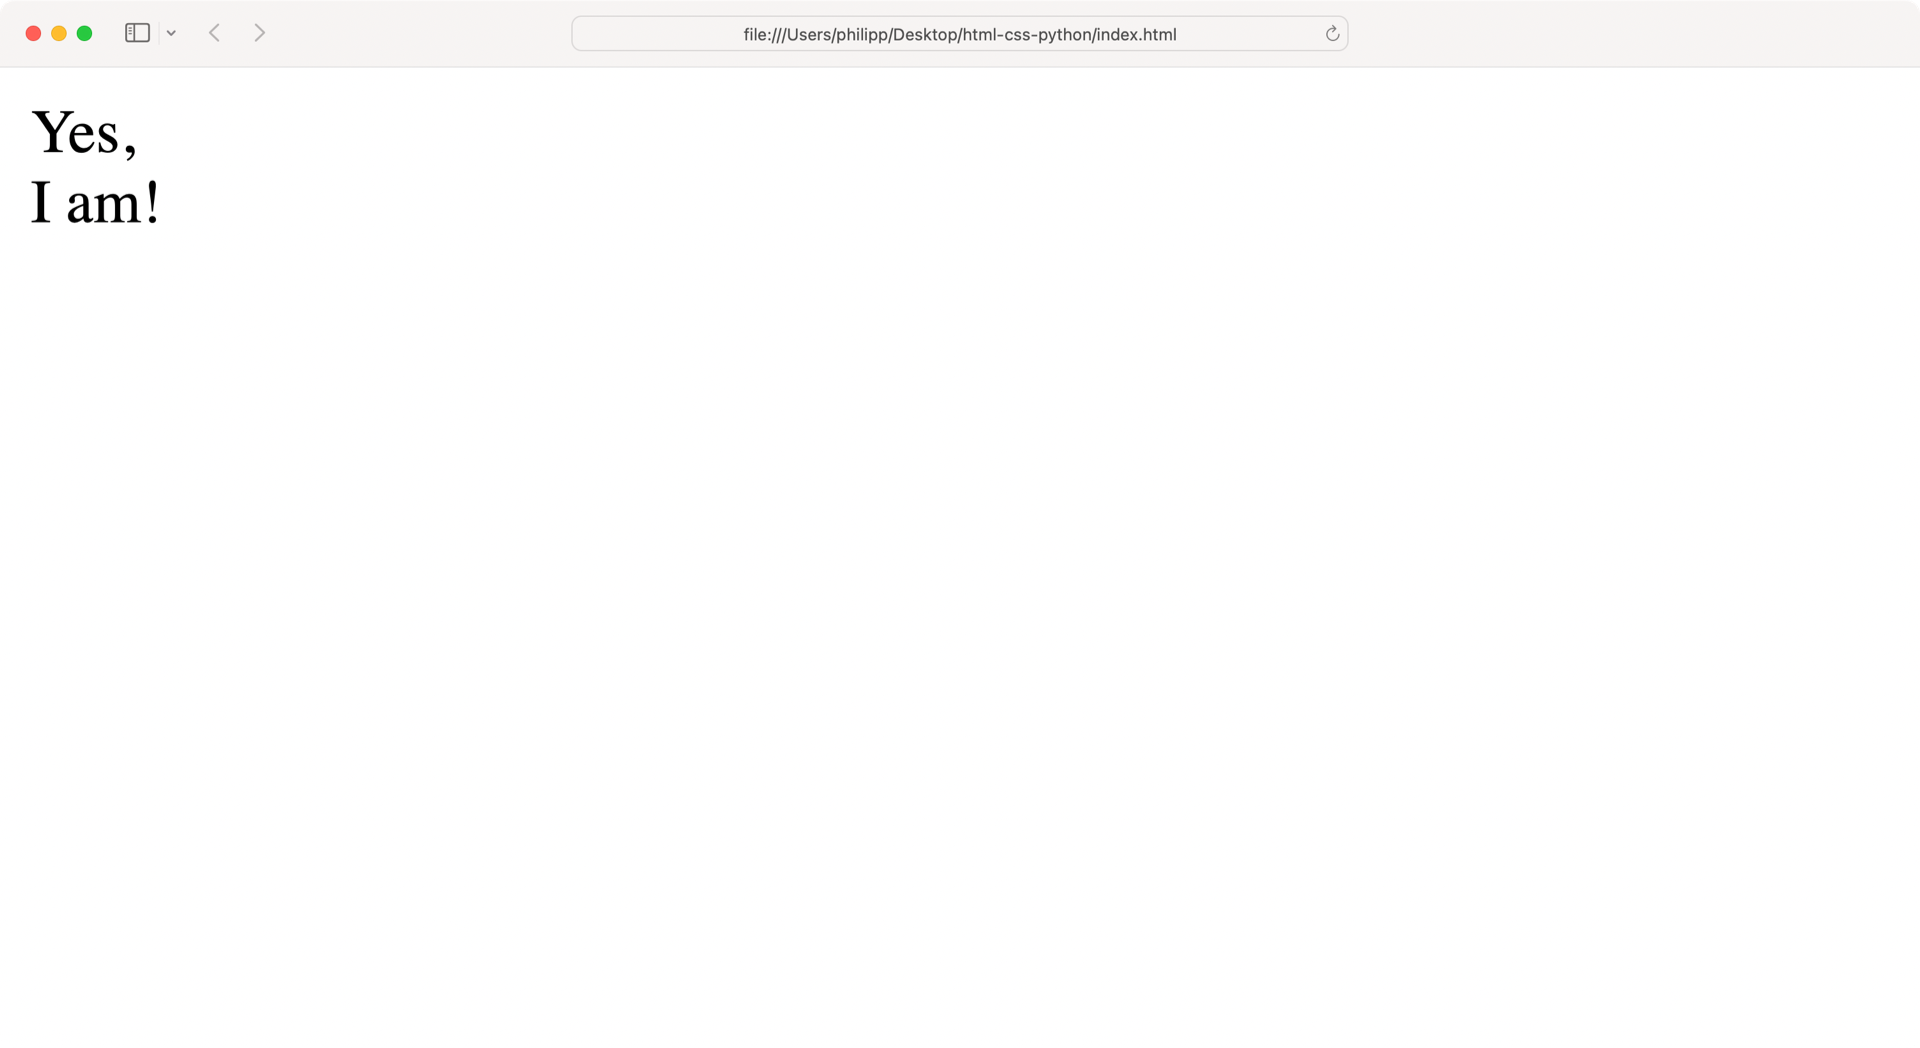
While you open the web site in your browser, evidently the browser didn’t acknowledge any whitespace in any respect.
Though you distributed your content material on a number of traces inside <physique>, the browser shows every little thing as one steady line:
As a Python developer, you understand that whitespace is an important ingredient in writing stunning Python code.
The indentation of your Python code makes a distinction in how Python executes your code.
With none further changes, browsers collapse a number of areas, line breaks, or indentation to 1 area character.
To format your content material otherwise, you will need to present additional data to the browser.
Go forward and construction index.html by including HTML tags to your content material:
1<!-- index.html -->
2
3<!DOCTYPE html>
4<html lang="en">
5<head>
6 <meta charset="utf-8">
7 <title>Am I HTML already?</title>
8</head>
9<physique>
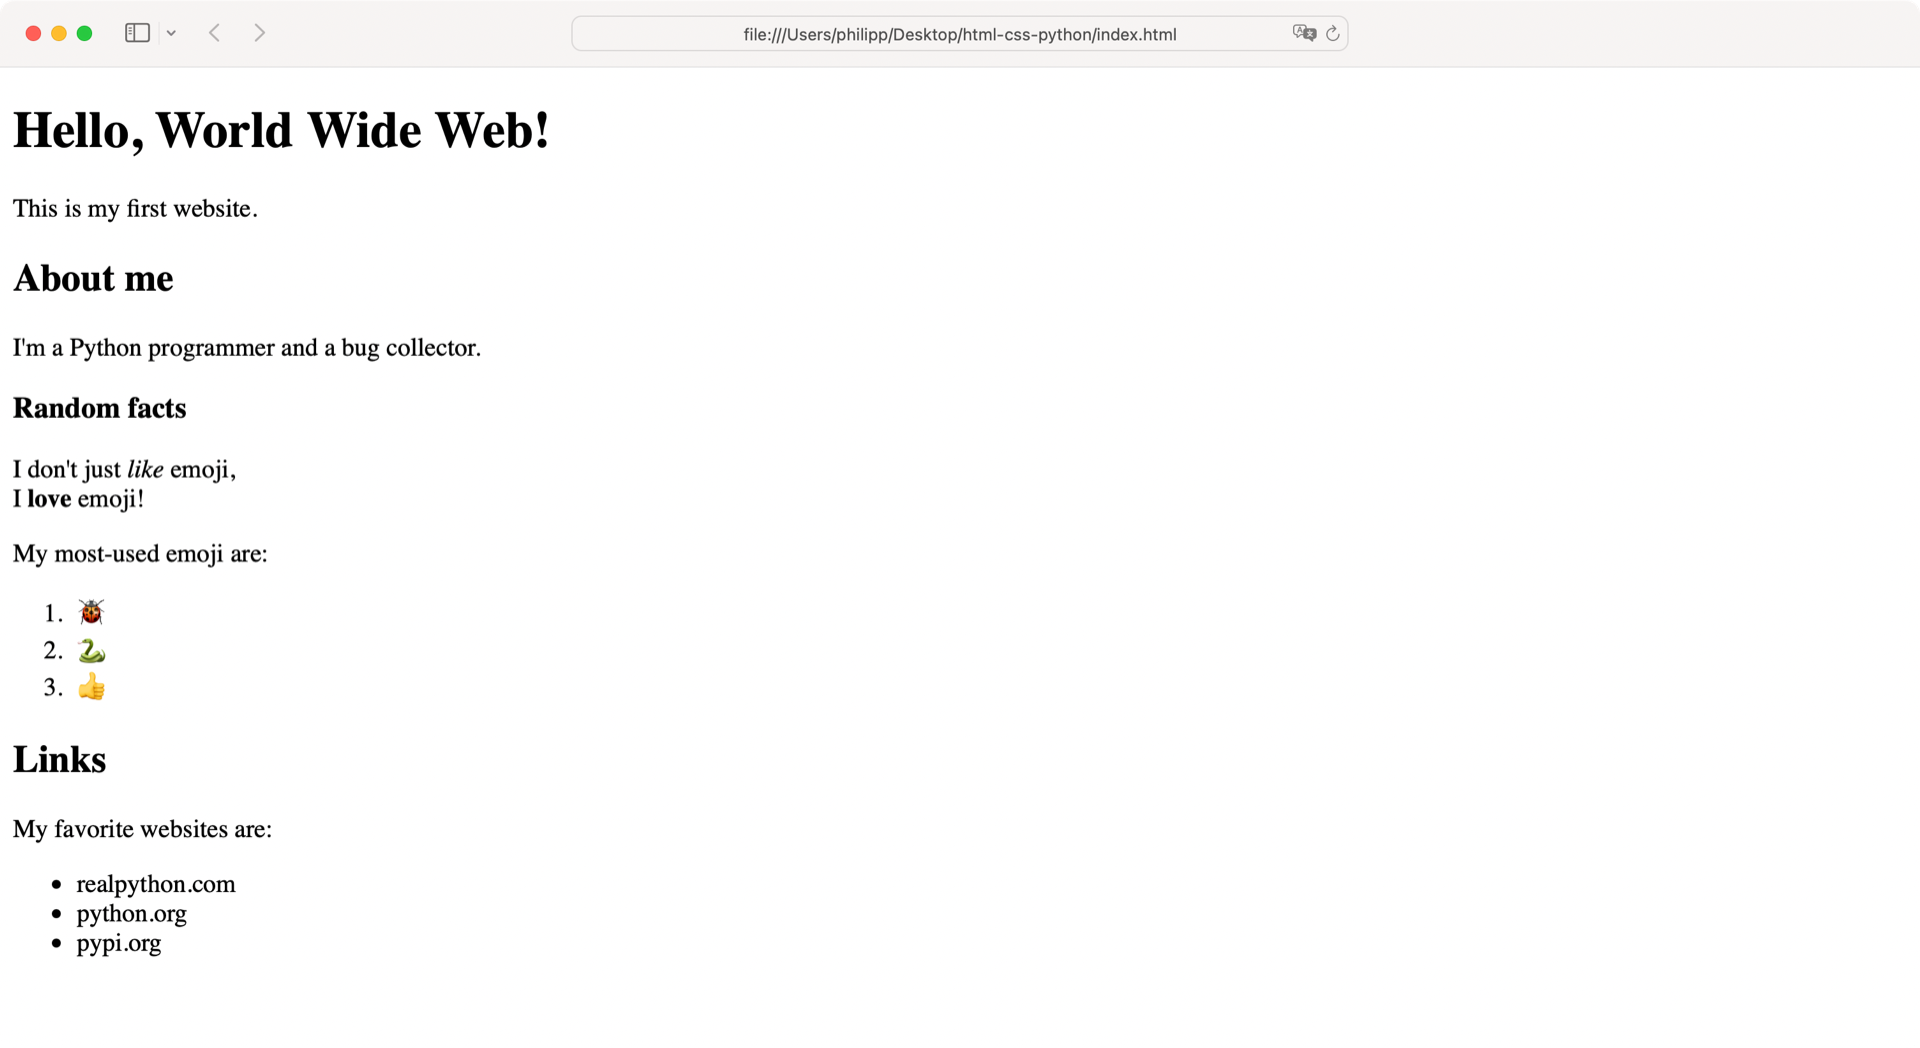
10<h1>Hiya, World Broad Net!</h1>
11<p>That is my first web site.</p>
12
13<h2>About me</h2>
14<p>I am a Python programmer and a bug collector.</p>
15
16<h3>Random information</h3>
17<p>I do not simply <em>like</em> emoji,<br>
18I <robust>love</robust> emoji!</p>
19<p>My most-used emoji are:</p>
20<ol>
21 <li>🐞</li>
22 <li>🐍</li>
23 <li>👍</li>
24</ol>
25
26<h2>Hyperlinks</h2>
27<p>My favourite web sites are:</p>
28<ul>
29 <li>realpython.com</li>
30 <li>python.org</li>
31 <li>pypi.org</li>
32</ul>
33</physique>
34</html>
By wrapping your textual content in HTML blocks, you give the browser further details about your intentions for the content material.
First, take a look on the HTML components that wrap greater chunks of textual content:
| Line | HTML Ingredient | Description |
|---|---|---|
| 10 | <h1> |
Important headline of your web site |
| 11 | <p> |
Paragraph, to construction textual content and associated content material |
| 13 | <h2> |
Second-level headline, nested beneath <h1> |
| 16 | <h3> |
Third-level headline, nested beneath <h2> |
| 20 | <ol> |
Ordered listing, usually rendered as a numbered listing |
| 28 | <ul> |
Unordered listing, usually rendered with bullets (•) |
You may nest headline components six ranges deep.
When you often solely have one <h1> component, you’ll have a number of <h2> to <h6> tags.
Headline components part your HTML doc and are vitally necessary for display readers.
For instance, readers could wish to bounce from headline to headline to navigate your content material.
To write down legitimate and accessible HTML, you will need to make sure that you don’t skip a headline stage in your code.
You may consider the headline tags like doorways that open onto totally different flooring of a constructing.
One flooring can have a number of exits to different flooring.
However bear in mind, you may’t construct a 3rd flooring when you don’t have a second flooring but.
In different phrases, there can by no means be an <h3> component in your web page except you’ve first declared <h2>.
A number of the HTML components that you simply used above include textual content solely.
Others include further HTML components that construction the content material additional:
| Line | HTML Ingredient | Description |
|---|---|---|
| 17 | <em> |
Emphasizes content material |
| 18 | <robust> |
Signifies necessary content material |
| 21 | <li> |
Record merchandise, have to be contained in an inventory component |
All HTML tags convey which means.
Due to this fact, it’s vitally necessary to fastidiously select which markup you utilize for parts of your content material.
While you use the proper semantics, you then allow everyone to devour your content material the best way that you simply meant.
You make your web site accessible for all:
The Net is basically designed to work for all folks, no matter their {hardware}, software program, language, location, or means. When the Net meets this objective, it’s accessible to folks with a various vary of listening to, motion, sight, and cognitive means. (Supply)
Some HTML components are fairly simple.
For paragraphs, you utilize <p>.
Different components are a bit tougher to understand:
Kushagra Gour offers an important abstract in his weblog entry Robust vs Em:
If it’s simply visible significance, you need
robust. If it alters the sentence which means, useem.
In different phrases, em means that you’d emphasize the phrase whereas talking. For instance, if somebody mentioned, “You don’t look unhealthy,” you would possibly surprise, “However do I odor unhealthy?” The location of emphasis is essential to the which means of the sentence.
When you merely wish to draw the reader’s consideration to a bit of vocabulary, for instance, you then’d most likely wish to use robust as a substitute.
When unsure, don’t hesitate to seek for HTML names on the Net.
You’ll discover discussions and utilization notes about any HTML component.
Moreover, your browser’s default styling of HTML can provide a good impression by styling components otherwise:
With markup, you add which means to your web site’s content material.
Writing semantically right HTML is necessary for understanding your content material.
Utilizing correct semantics in your HTML doc isn’t simply useful for the browser. It additionally makes the rendered HTML web page accessible for customers who devour your content material with text-to-speech software program.
If you wish to be taught extra about trendy HTML, then HTML5 Physician is a good useful resource.
To be taught extra about accessibility, you may try Google’s course on making the Net accessible to all.
Hyperlinks, Pictures, and Tables
Leaping from one web site to a different is a vital a part of the Web.
These references are known as hyperlinks, generally known as hyperlinks.
With out hyperlinks, web sites would exist in a silo, and you would solely entry them when you knew the online deal with.
Additionally, you wouldn’t have the ability to navigate amongst a number of pages of an internet site when you didn’t have hyperlinks that linked the pages.
To attach the HTML paperwork that you simply’ve created up to now, add a navigation menu to your HTML supply code:
<!-- index.html-->

<!DOCTYPE html>
<html lang="en">
<head>
    <meta charset="utf-8">
    <title>Am I HTML already?</title>
</head>
<physique>
<nav>
    <a href="emoji.html">Emoji</a>
</nav>
<!-- ... -->
</physique>
</html>
With the <nav> component, you declare a piece that gives navigation.
Inside <nav>, you add a hyperlink with an <a> tag, which is brief for anchor.
The href attribute stands for Hypertext Reference, containing the hyperlink’s goal.
With relative hyperlinks, you may reference information in your listing tree.
You might anticipate to see a URL at any time when you could have a hyperlink, however that’s not the case with relative hyperlinks.
On this case, you hyperlink to a file named emoji.html.
The browser understands that it may well discover emoji.html in the identical listing and completes the complete URL for you.
That method, you don’t want to fret about altering any absolute paths if you determine to deploy your internet undertaking in some unspecified time in the future.
Up to now, emoji.html doesn’t exist.
To repair this, create a brand new file named emoji.html subsequent to index.html:
<!-- emoji.html-->

<!DOCTYPE html>
<html lang="en">
<head>
    <meta charset="utf-8">
    <title>My favourite emoji</title>
</head>
<physique>
<nav>
    <a href="index.html">Dwelling</a>
</nav>
<h1>My favourite emoji</h1>
<p>I do not simply <em>like</em> emoji,<br>
I <robust>love</robust> emoji!</p>
<p>Here is an inventory of my most-used emoji:</p>
<ol>
    <li>🐞</li>
    <li>🐍</li>
    <li>👍</li>
</ol>
</physique>
</html>
The construction of emoji.html is just like index.html.
The content material of <physique> in emoji.html is nearly equivalent to the random information part of index.html, besides that you simply modified the headline and moved it up one stage to be <h1>.
On the high of <physique>, you even have a <nav> component.
This time, nonetheless, you’re linking to index.html.
Subsequent, create a brand new folder named pictures/ within your undertaking listing and add a file named gallery.html:
 1<!-- pictures/gallery.html -->
 2
 3<!DOCTYPE html>
 4<html lang="en">
 5<head>
 6    <meta charset="utf-8">
 7    <title>Picture gallery</title>
 8</head>
 9<physique>
10<nav>
11    <a href="../index.html">Dwelling</a>
12    <a href="../emoji.html">Emoji</a>
13</nav>
14<h1>Picture gallery</h1>
15</physique>
16</html>
You’ll add some pictures to gallery.html in a second.
However first, take a look at traces 11 and 12, the place you hyperlink to your different pages.
As a result of index.html and emoji.html are one folder above gallery.html, you will need to prefix the hyperlink goal with two dots (..) and a slash (/).
For extra handy entry, it’s also possible to add a hyperlink to your gallery within the navigation menu of index.html:
<!-- index.html -->

<!DOCTYPE html>
<html lang="en">
<head>
    <meta charset="utf-8">
    <title>Am I HTML already?</title>
</head>
<physique>
<nav>
    <a href="emoji.html">Emoji</a>
    <a href="pictures/gallery.html">Gallery</a>
</nav>
<!-- ... -->
You can even hyperlink to your gallery in emoji.html:
<!-- emoji.html -->

<!DOCTYPE html>
<html lang="en">
<head>
    <meta charset="utf-8">
    <title>My favourite emoji</title>
</head>
<physique>
<nav>
    <a href="index.html">Dwelling</a>
    <a href="pictures/gallery.html">Gallery</a>
</nav>
<!-- ... -->
When you add a hyperlink to an HTML web page, you then all the time have to consider navigating there from the file that you simply’re in proper now.
The gallery.html file is one listing beneath index.html in a folder named pictures/.
So if you’re linking to gallery.html, then that you must embrace the subfolder within the hyperlink, which you’ve carried out above.
Relative hyperlinks are helpful for linking pages of your web site.
While you wish to add exterior hyperlinks, you then use absolute hyperlinks:
<!-- index.html -->

<!-- ... --->
<h2>Hyperlinks</h2>
<p>My favourite web sites are:</p>
<ul>
    <li><a href="https://www.realpython.com">realpython.com</a></li>
    <li><a href="https://www.python.org">python.org</a></li>
    <li><a href="https://www.pypi.org">pypi.org</a></li>
</ul>
<!-- ... --->
As a substitute of linking to HTML information, you’re linking to absolute internet addresses in your listing of favourite web sites.
These hyperlinks are the identical ones that you simply’d sort into your browser’s deal with bar.
Hop to the browser and navigate round your web site with the hyperlinks that you simply simply added:
Hyperlinks aren’t simply useful for connecting the pages of your web site—they’re an important a part of the Web’s infrastructure.
If you wish to be taught extra about hyperlinks, then try this HTML anchors tutorial.
One other important component of the Net is pictures.
With out the power to share trip footage and cat GIFs, the Web could be boring.
You connect pictures to your HTML doc with an <img> component that incorporates an src attribute.
Identical to with href in a hyperlink, you reference the picture supply in src.
Moreover, you must all the time use the alt attribute so as to add different textual content that describes the picture.
That method, you make your web site accessible to folks utilizing display readers.
Replace gallery.html and hyperlink to 3 pictures:
<!-- pictures/gallery.html -->

<!DOCTYPE html>
<html lang="en">
<head>
    <meta charset="utf-8">
    <title>Picture Gallery</title>
</head>
<physique>
<nav>
    <a href="../index.html">Dwelling</a>
    <a href="../emoji.html">Emoji</a>
</nav>
<h1>Picture Gallery</h1>
<img src="sky_1.png" alt="Cloudy sky.">
<img src="sky_2.png" alt="Solar shining by means of a cloudy sky.">
<img src="sky_3.png" alt="Sky with nearly no clouds.">
</physique>
</html>
You’ll discover the sky pictures within the pictures/ folder after downloading the supplies by clicking the code beneath:
When you use your individual pictures, then that you must modify the filenames accordingly.
Don’t neglect to additionally replace the alt textual content to explain the content material of the photographs to make your pictures accessible.
The alt textual content is broadly corresponding to docstrings in Python.
Whereas a docstring could describe the aim of an object, the alt textual content describes the content material of a picture.
Identical to a docstring, an alt textual content ought to finish with a dot (.).
Including further data to your pictures is additional work, but it surely’s price doing.
If there’s a cute canine in an image, everyone deserves to know that there’s a cute canine within the image.
In case you want any convincing, head over to Alt-texts: The Final Information on axess lab.
While you open gallery.html within the browser, your web page ought to look just like this:
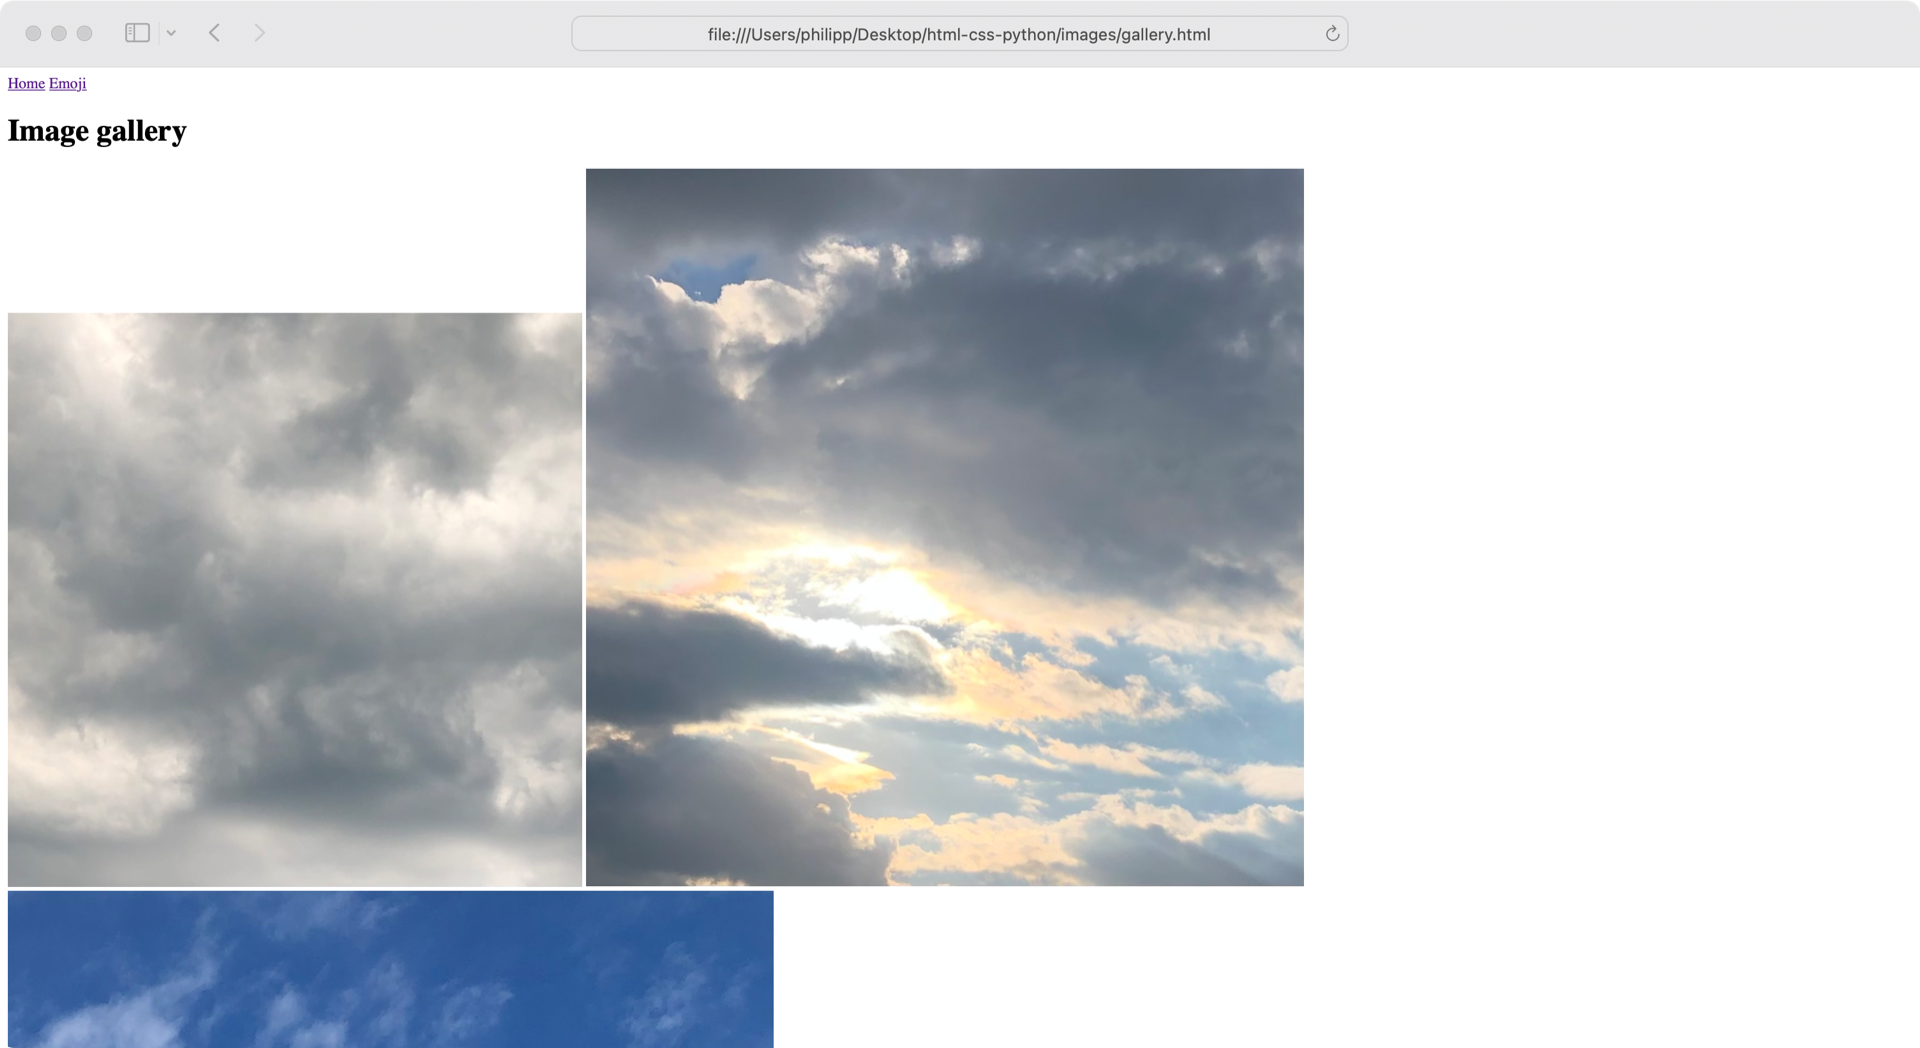
Pictures are a good way to make your web site extra visually interesting.
Nonetheless, the picture gallery is a bit far and wide, and with none further styling, the web site appears to be like relatively old-school.
It’s time to vary that!
Within the subsequent part, you’ll add styling guidelines to your HTML and acquire higher management over how the weather in your web site look.
Type Your Content material With CSS
While you open a plain HTML file within the browser, the browser provides some styling by default.
That’s why you had been capable of differentiate the weather within the earlier part though you didn’t add any styling your self.
That’s mainly a service from the browser to you as a human.
However strictly talking, if you write HTML, you solely outline the markup of your web site.
Pure HTML doesn’t present any styling for the weather in your web page.
To model components, that you must add CSS.
CSS stands for Cascading Type Sheets.
As you’ll see later, you may mix and nest your CSS styling guidelines,
therefore the title cascading model sheets.
Identical to HTML, it’s a cornerstone expertise of the Web.
It lets you separate the look of your web site from the precise content material:
Along with having good semantics and a pretty structure, your content material ought to make logical sense in its supply order — you may all the time place it the place you need utilizing CSS afterward, however you must get the supply order proper to start out with, so what display reader customers get learn out to them will make sense. (Supply)
On this part, you’ll learn to take management of your web site’s styling by including CSS.
Add Colour to Your Web site
Up to now, you’ve solely used the browser to load your HTML file.
However internet browsers are highly effective instruments, and so they may help you tremendously if you develop an internet site.
You may examine any web site with the developer software pane of your browser.
Particularly if you work with CSS, your browser’s developer instruments turn out to be useful:
Be aware that the adjustments in your developer instruments don’t persist.
While you reload your web page, all adjustments are gone.
So when you’re comfortable along with your model changes, that you must copy and paste the code right into a <model> tag in your HTML file.
Open index.html and add the <model> component within <head>:
<!-- index.html -->

<!DOCTYPE html>
<html lang="en">
<head>
    <meta charset="utf-8">
    <title>Am I HTML already?</title>
    <model>
        physique {
            background-color: rgb(20, 40, 60);
            colour: rgb(240, 248, 255);
        }

        a {
            colour: rgb(255, 111, 111);
        }
    </model>
</head>

<physique>
    <!-- ... -->
</physique>
</html>
With the <model> component, you may add CSS code to your HTML doc.
Though browsers aren’t strict about it, you must place the <model> component within <head> solely.
In any other case, the browser would possibly attempt to render components earlier than making use of any CSS guidelines, which may trigger a flash of unstyled content material.
The content material of <model> isn’t HTML code, however CSS.
With CSS, you outline guidelines on how you can model components on the web page.
With selectors, you outline which components you wish to goal, adopted by a declaration block.
Within the CSS code above, you’re utilizing sort selectors to focus on <physique> and all <a> components.
You’ll use another sorts of CSS selectors later within the tutorial.
If you wish to be taught extra about CSS selectors already, then head over to Mozilla’s CSS selectors web page.
The declaration block is delimited by a gap brace ({) and a closing brace (}).
You separate the declarations inside a block with semicolons (;).
The declaration itself is structured in two elements:
- Property: The identifier defining the function
- Worth: The outline of how the function ought to be dealt with
The property and the worth are separated by a colon (:).
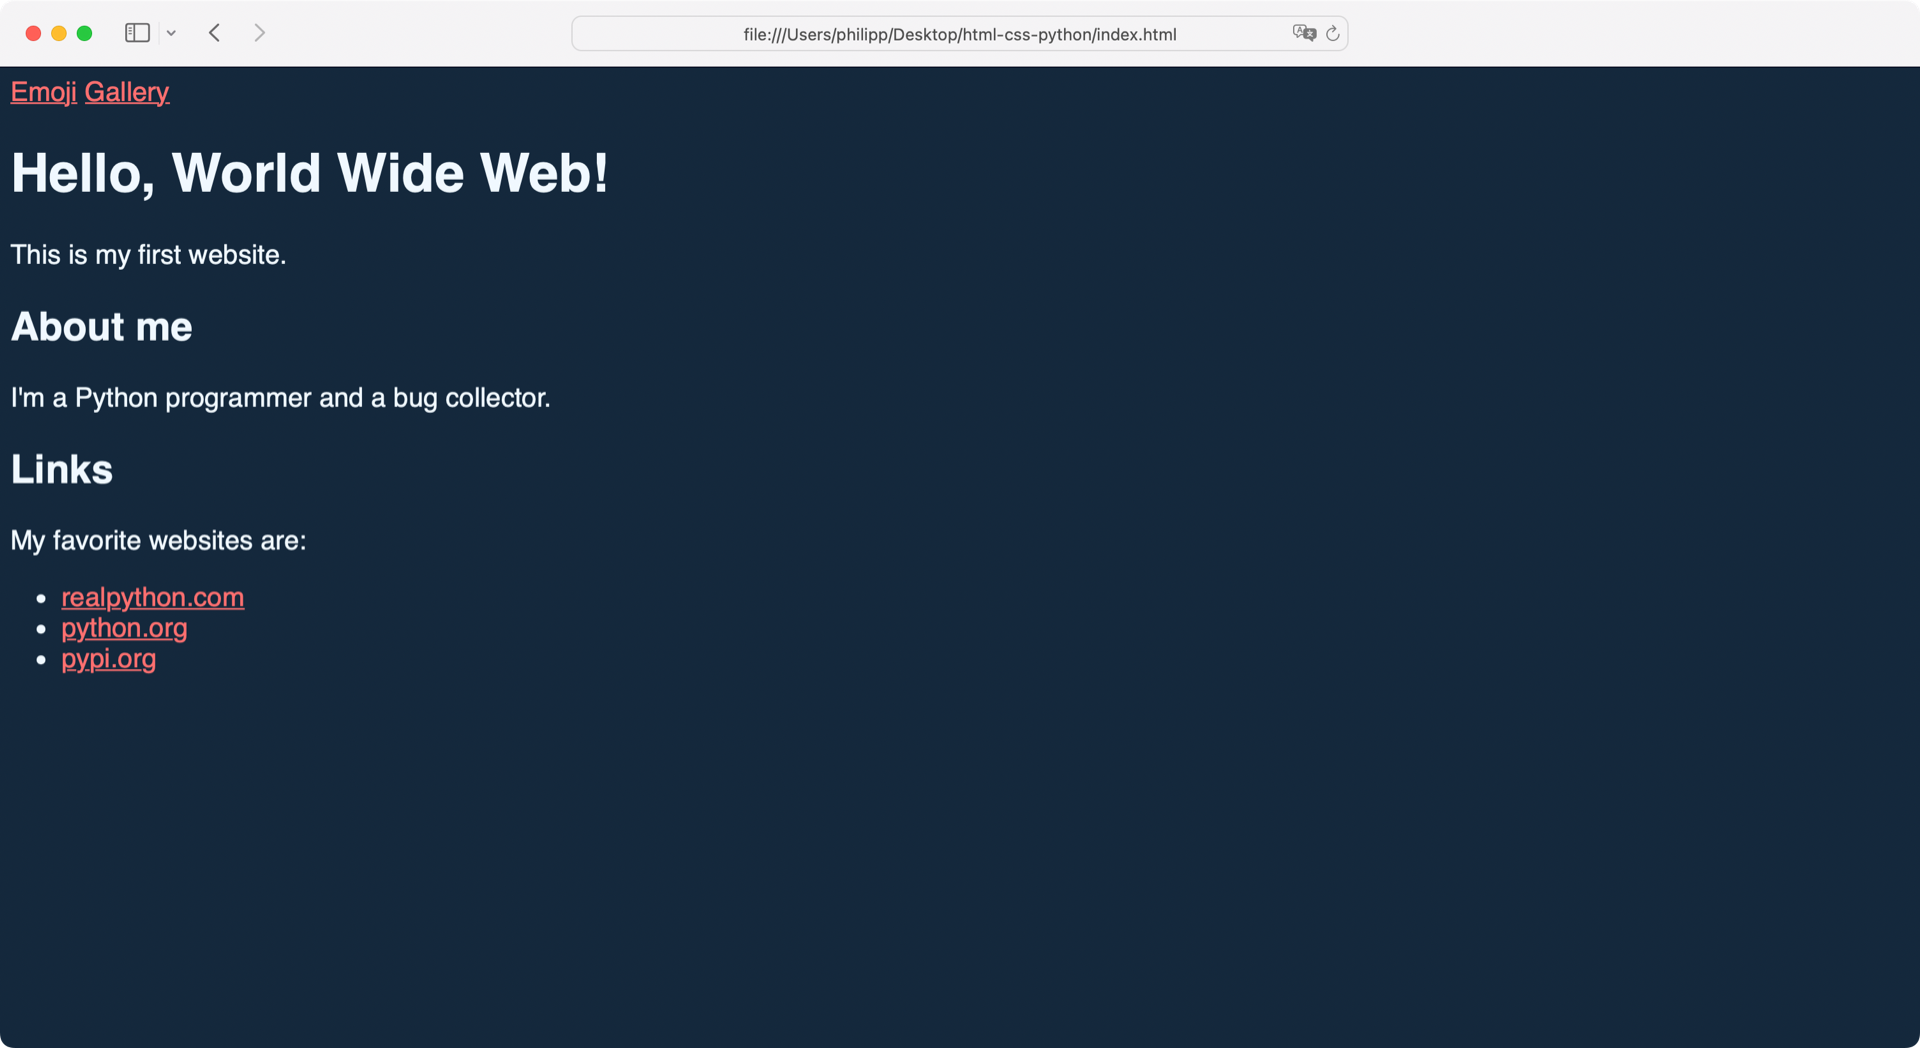
Within the instance above, you’re altering the background colour of <physique> to a darkish blue and the textual content to a really gentle grey by specifying their RGB values.
Within the second CSS ruleset, you’re coloring all hyperlinks in a contemporary salmon hue.
Colours are an necessary a part of controlling the feel and appear of your web site.
In CSS, you could have a number of methods of describing a colour.
You may try Smashing Journal’s information to trendy CSS colours to broaden your data about using colours in CSS.
Be aware: There are greater than a hundred totally different properties that you need to use and loads of values you can assign to them. However identical to with Python, the extra CSS you write, the extra you find out about its capabilities, quirks, and basic syntax.
Apart from the collection of colours, you may change the face of your web site with fonts.
You already modified the colour of the textual content.
Subsequent, modify the textual content measurement of physique with the font-size property:
<!-- index. html -->

<!-- ... -->
<model>
    physique {
        background-color: rgb(20, 40, 60);
        colour: rgb(240, 248, 255);
        font-size: 1.3em;
    }

    a {
        colour: rgb(255, 111, 111);
    }
</model>
<!-- ... -->
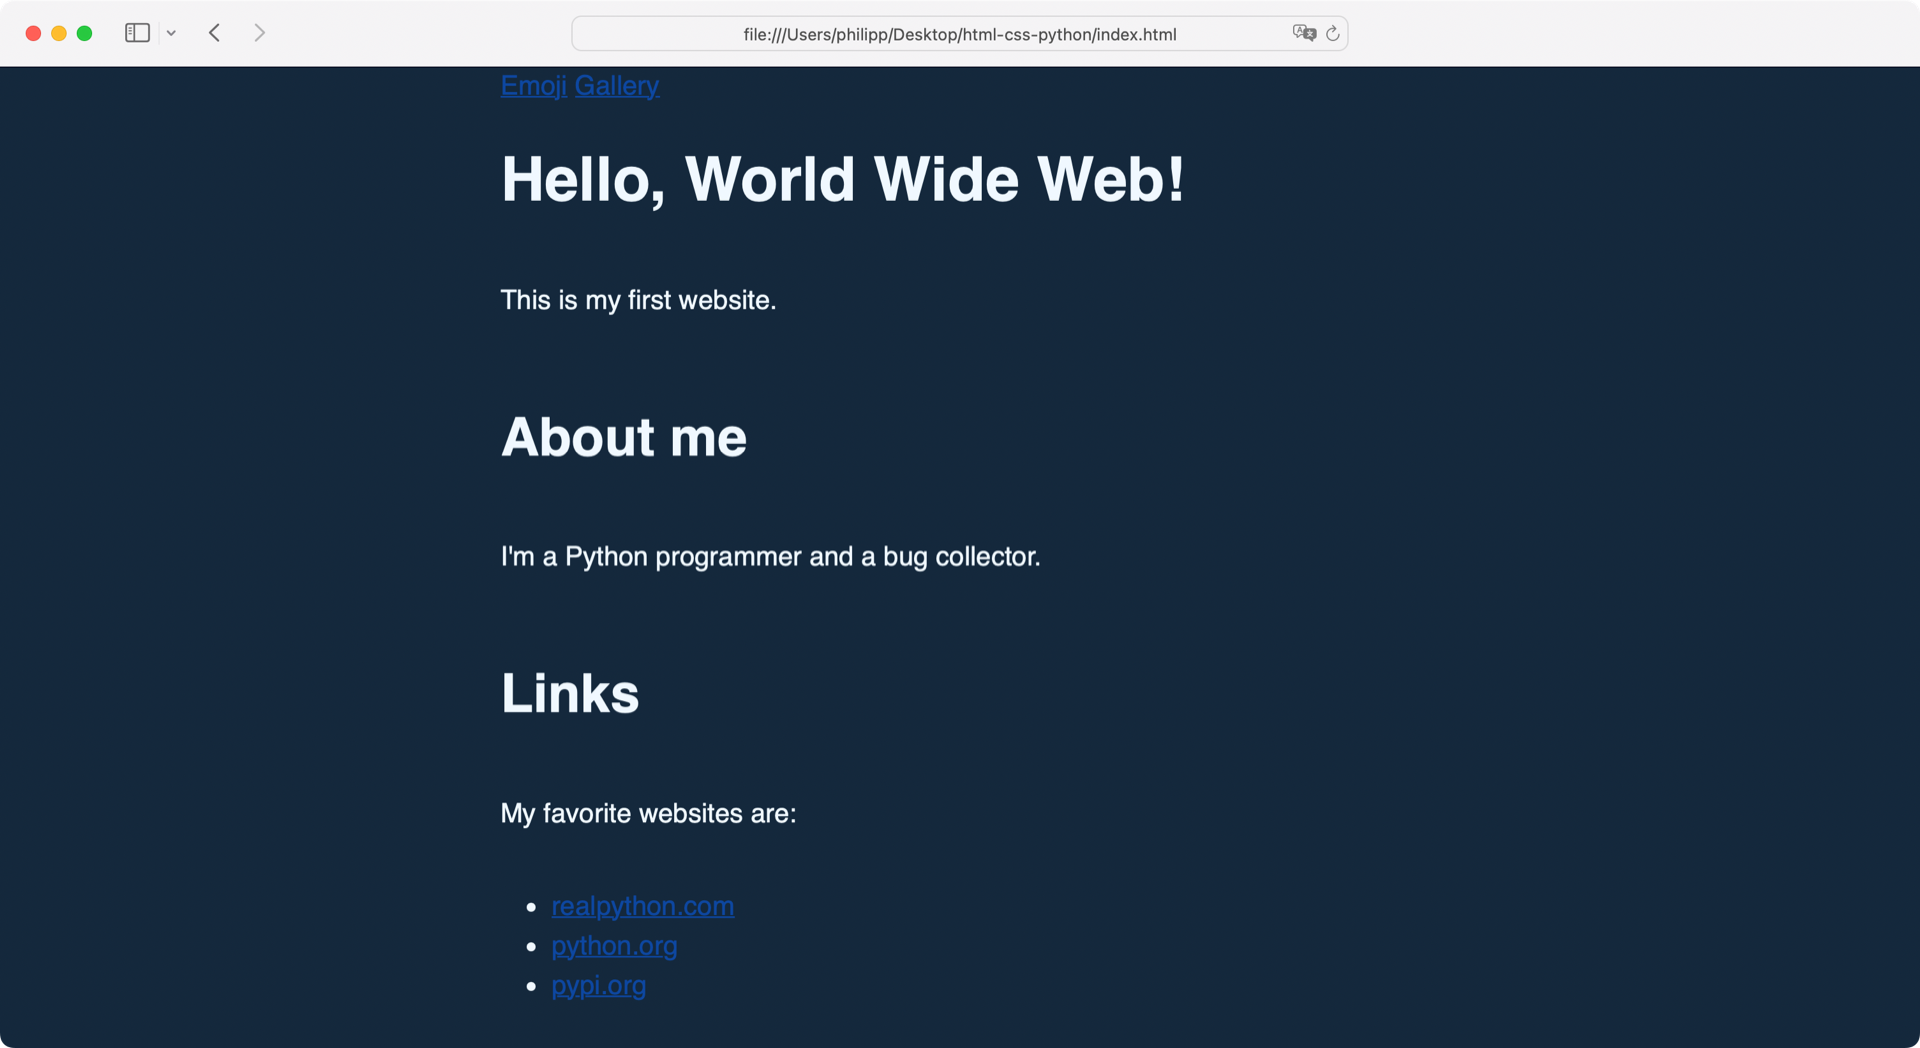
With font-size: 1.3em; you inform the browser to show the textual content 1.3 occasions greater than the font measurement of the mother or father component.
The mother or father component of <physique> is <html>, so the textual content can be displayed 1.3 occasions bigger than the default font measurement in a browser.
The default font measurement is often sixteen pixels, so the textual content can be displayed at a measurement of round twenty-one pixels.
You could possibly outline the font measurement with pixels instantly.
Nonetheless, it’s frequent to make use of both percentages or em for textual content sizes:
Named after the letter “M,” the em unit has a long-standing custom in typography the place it has been used to measure horizontal widths. (Supply)
Again if you needed to solid letters into steel blocks, the letter M often took the entire horizontal width of the solid block.
In CSS, you need to use em for vertical lengths too, and it’s a superb unit for creating scalable designs.
Which means your customers can zoom in in your web site with out breaking the design.
That is necessary when customers wish to enhance the font measurement to raised learn your content material or once they go to your web site from a cell machine.
Pixels and em are solely two of many size models in CSS that you need to use.
While you begin specializing in designing your web site, it’s price taking a look at these models and taking part in round with various kinds of models.
Apart from the scale of the textual content, the font that you simply’re displaying the textual content in is one other cornerstone that impacts the design of your web site tremendously.
Change the Font
Fonts are an exceptional software for altering the character of your paperwork.
When utilizing fonts in your web site, you could have two choices:
- Depend on the fonts your customer has put in on their system.
- Load customized internet fonts from both your server or exterior sources.
With both choice, it’s a good suggestion to outline a font stack.
While you listing a couple of font for font-family, the browser then tries to load the fonts from left to proper:
<!-- index. html -->

<!-- ... -->
<model>
    physique {
        background-color: rgb(20, 40, 60);
        colour: rgb(240, 248, 255);
        font-family: "Helvetica", "Arial", sans-serif;
        font-size: 1.3em;
    }

    a {
        colour: rgb(255, 111, 111);
    }
</model>
<!-- ... -->
While you declare a font stack as proven above, the browser first tries to load the Helvetica typeface.
If the browser can’t discover a font within the font stack, then it continues by attempting to load the subsequent fallback font.
On this case, the browser will load any sans-serif font if neither Helvetica nor Arial is current.
Selecting the best font in your undertaking is an effective begin to making your content material understandable.
However needless to say moreover the font, there are different elements that affect the legibility of your texts.
You may mess around with the feel and appear of your internet typography by adjusting the font measurement, line peak, and colours.
The extra readable your texts are, the extra accessible they’re for everybody!
Be aware: You may kind your CSS properties any method you want. An alphabetical order could be extra maintainable in the long term, whereas grouping properties by their performance is likely to be extra intuitive to put in writing.
Some CSS builders even kind their CSS properties by size.
Open index.html in your browser and take a look at which font shows for you:
You need to use your browser’s developer instruments to examine which font was loaded.
What if it’s not Helvetica or Arial?
Hop to the feedback beneath and let the Actual Python group know which font your system masses!
If you wish to have extra management over the displayed font, then that you must load customized internet fonts.
Learn how to use @font-face in CSS is a good information on implementing customized internet fonts in your web site.
With the CSS that you simply’ve added to your HTML, you’re solely scratching the floor of designing your web site.
There are nearly infinite methods of styling your content material with CSS.
If you wish to dive in deeper, then you may try Mozilla’s CSS reference.
Separate Your Considerations
You added the CSS code from the earlier part instantly into index.html with the assistance of the <model> component.
When you wished to model emoji.html the identical method, you then’d want to repeat and paste the code.
As a Python developer, you understand that duplicate and pasting code isn’t the very best concept.
You find yourself with the identical code in two locations, which makes updating your code cumbersome.
In your Python code, you may import modules to forestall repeating your self.
HTML affords related performance to load exterior sources into your HTML code.
This lets you load an exterior CSS file and confer with this model sheet out of your HTML information.
Create a brand new file named model.css subsequent to index.html and emoji.html.
Then, reduce the content material of <model> from index.html and paste it into model.css:
 1/* model.css */
 2
 3physique {
 4    background-color: rgb(20, 40, 60);
 5    colour: rgb(240, 248, 255);
 6    font-family: "Helvetica", "Arial", sans-serif;
 7    font-size: 1.3em;
 8}
 9
10a {
11    colour: rgb(255, 111, 111);
12}
Be aware that your CSS file incorporates solely the CSS declarations.
In a CSS file, you don’t want the <model> tag that you simply used to wrap your CSS code in index.html.
Additionally, spot the syntax of CSS feedback in line 1.
A ahead slash adopted by an asterisk (/*) signifies the beginning of a remark.
You may distribute a CSS remark over a number of traces.
You shut the remark with one other asterisk adopted by a ahead slash (*/).
Now you may reference model.css within the head of your index.html file:
<!-- index.html -->

<!DOCTYPE html>
<html lang="en">
<head>
    <meta charset="utf-8">
    <title>Am I HTML already?</title>
    <hyperlink rel="stylesheet" href="model.css">
    <!-- Eliminated: <model> ... </model> -->
</head>

<!-- ... -->
The <hyperlink> component is just like the anchor tag (<a>).
It additionally incorporates an href attribute that defines the hyperlink.
Nonetheless, it’s an empty component that incorporates attributes solely and received’t render a clickable hyperlink.
Add the stylesheet hyperlink to emoji.html as nicely:
<!-- emoji.html -->

<!DOCTYPE html>
<html lang="en">
<head>
    <meta charset="utf-8">
    <title>My favourite emoji</title>
    <hyperlink rel="stylesheet" href="model.css">
</head>

<!-- ... -->
To mirror the adjustments in gallery.html too, add the relative hyperlink to model.css:
 1<!-- gallery.html -->
 2
 3<!DOCTYPE html>
 4<html lang="en">
 5<head>
 6    <meta charset="utf-8">
 7    <title>Picture Gallery</title>
 8    <hyperlink rel="stylesheet" href="../model.css">
 9</head>
10
11<!-- ... -->
Do not forget that model.css is one listing above gallery.html, which is in your pictures/ listing.
So as a substitute of simply linking to model.css, you will need to hyperlink to ../model.css.
When you’ve up to date the CSS references, take a look at your pages within the browser:
All of your pages share the identical styling now.
While you change the CSS code in model.css, you may see the adjustments showing on all pages.
As a Python internet developer, you’ll most likely want to put in writing a superb little bit of HTML your self in internet initiatives.
For CSS, nonetheless, it’s pretty frequent to make use of exterior CSS frameworks to maintain your design.
A CSS framework offers you with ready-made CSS code.
With a view to use a CSS framework to its full benefit, it’s possible you’ll want to regulate your HTML code to adjust to its ruleset.
However when you’ve gotten used to a CSS framework, it may well prevent the work of explicitly styling HTML components in the long term.
One of the fashionable CSS frameworks is Bootstrap.
You’ll additionally encounter Easy.css or Bulma, together with in Actual Python tutorials on managing your to-do lists and making a flashcards app.
Be aware: If you wish to begin your CSS designs from scratch, it’s also possible to load an exterior reset model sheet. By including a reset model sheet earlier than loading your types, you reset all the browser’s default types. This offers you full management over styling any HTML component in your web page.
You may add exterior, non-local CSS model sheets identical to your native model sheet with the <hyperlink> component.
When you reference a couple of model sheet in your web site, the order issues.
You’ll examine this habits in a second.
First, go forward and add one other model sheet hyperlink to your HTML pages.
Right here’s the instance code for index.html:
<!-- index.html -->

<!DOCTYPE html>
<html lang="en">
<head>
    <meta charset="utf-8">
    <title>Am I HTML already?</title>
    <hyperlink rel="stylesheet" href="https://cdn.simplecss.org/easy.css">
    <hyperlink rel="stylesheet" href="model.css">
</head>

<!-- ... -->
Because the C in CSS implies, it’s also possible to cascade model sheets.
While you open index.html in your browser, you may see that the design has modified:
You mixed the model guidelines of your native model.css and the exterior easy.css.
Mess around with the order of the way you load the exterior model sheets.
While you reload your pages, you’ll spot that the looks of your web site adjustments.
Much like overwriting variables in Python, CSS properties overwrite one another.
Usually talking, the final worth that’s utilized to a component wins.
On this part, you discovered that you need to use an exterior model sheet as a substitute of the <model> component.
There’s even a 3rd method so as to add CSS guidelines to your HTML.
You need to use a model HTML attribute to model HTML components instantly. That is known as inline CSS styling.
Being extra specific in connecting your CSS declarations with particular HTML components can provide the management that that you must excellent your design.
Within the subsequent part, you’ll learn to model components extra flexibly with CSS courses.
Use Courses for Larger Flexibility
The CSS guidelines that you simply’ve set up to now have solely focused generic HTML components.
However you could be rather more particular along with your CSS code if you set guidelines for HTML attributes.
Including a class attribute to an HTML component allows you to use CSS class selectors to model components based mostly on their class values.
A necessary attribute of CSS courses is that they let you group frequent components and apply a algorithm to all of them in a single go, after which doubtlessly replace them whereas protecting the model constant.
For instance, you may outline a category that applies rounded nook to photographs. However as a substitute of concentrating on all picture components by utilizing the img title, you may assign a category to solely these pictures that ought to have rounded corners.
This offers you the extra benefit of with the ability to add rounded corners to different components by giving them the identical class.
To find out how CSS class selectors work, modify the code in gallery.html so it appears to be like like this:
 1<!-- pictures/gallery.html -->
 2
 3<!-- ... -->
 4<head>
 5    <meta charset="utf-8">
 6    <title>Picture Gallery</title>
 7    <hyperlink rel="stylesheet" href="https://cdn.simplecss.org/easy.css">
 8    <hyperlink rel="stylesheet" href="../model.css">
 9</head>
10
11<!-- ... -->
12
13<h1>Picture Gallery</h1>
14<div class="gallery rounded">
15    <img src="sky_1.png" alt="Cloudy sky." class="rounded">
16    <img src="sky_2.png" alt="Solar shining by means of a cloudy sky." class="rounded">
17    <img src="sky_3.png" alt="Sky with nearly no clouds." class="rounded">
18</div>
19<!-- ... -->
First, bear in mind so as to add a hyperlink to your exterior model sheets.
Don’t neglect to prepend the 2 dots to hyperlink to ../model.css as a result of the model sheet is one folder above gallery.html.
Then, you’re wrapping the <img> components in a <div> block.
The <div> component is a generic component for structuring your web page.
It doesn’t include any semantic which means, and you must solely use it when no different HTML tag is extra applicable to make use of.
You additionally add class attributes to your HTML components.
In line 14, you’re even chaining courses in a space-separated listing.
Which means you apply two CSS courses to the <div> component.
In distinction, the <img> components in traces 15 to 17 solely include one CSS class.
To create the courses, head over to model.css and add this CSS code:
 1/* model.css */
 2
 3/* ... */
 4
 5.gallery {
 6    background: rgba(255, 255, 255, 0.2);
 7    padding: 1em;
 8}
 9
10.rounded {
11    border-radius: 15px;
12}
13
14.gallery img {
15    margin-right: 0.2em;
16    width: 150px;
17}
You confer with CSS courses within the HTML class attribute with out a dot (.).
In your CSS code, nonetheless, you will need to add a dot initially of a selector to specify that you simply’re concentrating on the class attributes.
If you wish to learn extra about CSS selectors, then head over to Mozilla’s CSS selectors documentation.
In traces 6 and seven, you set the principles for .gallery, like a partly clear background and a 1em padding so as to add area to all sides within the gallery component.
With the .rounded selector, you give all HTML components that include this class a rounded nook with a radius of fifteen pixels.
You may even chain your CSS selectors as you do in line 14.
With the space-separated selector listing .gallery img, you’re including a rule for all img components inside an HTML component with the category gallery.
Along with your CSS declarations in traces 15 and 16, you give them some area to the proper aspect with margin-right and make the gallery pictures 150 pixels broad.
With padding, margin, and border properties, you outline the spacing of CSS components.
You may consider these components as bins which have a sure area round them and area within them the place the content material is saved.
This idea known as the field mannequin:
All the pieces in CSS has a field round it, and understanding these bins is essential to with the ability to create extra complicated layouts with CSS, or to align objects with different objects. (Supply)
If you wish to dive deeper into CSS, then studying concerning the field mannequin is essential.
You may comply with Mozilla’s be taught to model HTML utilizing CSS tutorial to get a greater understanding of all of the constructing blocks that CSS incorporates.
You may take off from right here and discover the world of markup and design that HTML and CSS supply.
However particularly with HTML, you’ll quickly discover that it’s a really verbose language, and it may be cumbersome to put in writing it by hand.
That’s the place you may let your abilities as a Python developer shine.
Within the subsequent part, you’ll find out how Python may help you to work with HTML information extra successfully.
Deal with HTML With Python
As a Python developer, you understand that Python is usually a useful gizmo to automate duties that you simply’d in any other case have to do by hand.
Particularly when working with massive HTML information, the ability of Python can prevent some work.
Programmatically Write HTML
With all of the opening and shutting tags, HTML could be cumbersome to put in writing.
Fortunately, Python is ideal that can assist you programmatically create massive HTML information.
On this part, you’ll prolong emoji.html to show extra details about your favourite emoji.
Substitute the ordered listing with a desk:
 1<!-- emoji.html -->
 2
 3<!-- ... -->
 4<h1>My favourite emoji</h1>
 5<p>I do not simply <em>like</em> emoji,<br>
 6I <robust>love</robust> emoji!</p>
 7<p>Here is a desk of my most-used emoji:</p>
 8
 9<desk>
10    <thead>
11        <tr>
12            <th>#</th>
13            <th>Emoji</th>
14            <th>Identify</th>
15        </tr>
16    </thead>
17    <tbody>
18        <tr>
19            <td>1.</td>
20            <td>🐞</td>
21            <td>Girl Beetle</td>
22        </tr>
23        <tr>
24            <td>2.</td>
25            <td>🐍</td>
26            <td>Snake</td>
27        </tr>
28        <tr>
29            <td>3.</td>
30            <td>👍</td>
31            <td>Thumbs Up Signal</td>
32        </tr>
33    </tbody>
34</desk>
35<!-- ... -->
You outline an HTML desk with the <desk> component and desk rows with <tr>.
Identical to a desk in a spreadsheet, HTML tables can have a desk head and a desk physique.
Whereas utilizing <thead> and <tbody> isn’t compulsory for a desk to work, it’s good observe so as to add them to your desk markup.
In your desk head, you outline three desk columns by including three <th> components to the primary row.
The desk physique incorporates the identical variety of columns and a number of rows.
For the desk knowledge cells, you utilize the identical <td> component as you do within the desk header.
The emoji desk lists your three favourite emoji with their Unicode descriptions.
After all, no person has solely three favourite emoji!
Even with a average quantity like twelve favourite emoji, it’d be annoying to create the HTML desk by hand.
So that you add Python into the combination!
Create a brand new Python file named emoji_table.py in your undertaking listing, and let Python do the give you the results you want:
# emoji_table.py

import unicodedata

all_emoji = "🐞🐍👍🎉🤩😂🐶🍿😎✨💬😘"
columns = ["#", "Emoji", "Name"]

table_head = f"<thead>n<tr><th>{'</th><th>'.be part of(columns)}</th></tr>n</thead>"

table_body = "n<tbody>n"
for i, emoji in enumerate(all_emoji, begin=1):
    emoji_data = [f"{i}.", emoji, unicodedata.name(emoji).title()]
    table_body += f"<tr><td>{'</td><td>'.be part of(emoji_data)}</td></tr>n"
table_body += "</tbody>n"

print(f"<desk>n{table_head}{table_body}</desk>")
With the assistance of the built-in unicodedata module and enumerate(), Python can programmatically construct an emoji desk for you.
Be aware: The newline symbols (n) within the strings are optionally available. The browser will ignore any whitespace that’s a couple of area. However utilizing n will make your HTML code a bit prettier.
Run emoji_table.py in your terminal, copy the HTML code, and paste it into emoji.html:
 1<!-- emoji.html -->
 2
 3<!-- ... -->
 4<h1>My favourite emoji</h1>
 5<p>I do not simply <em>like</em> emoji,<br>
 6I <robust>love</robust> emoji!</p>
 7<p>Here is a desk of my most-used emoji:</p>
 8
 9<desk>
10<thead>
11<tr><th>#</th><th>Emoji</th><th>Identify</th></tr>
12</thead>
13<tbody>
14<tr><td>1.</td><td>🐞</td><td>Girl Beetle</td></tr>
15<tr><td>2.</td><td>🐍</td><td>Snake</td></tr>
16<tr><td>3.</td><td>👍</td><td>Thumbs Up Signal</td></tr>
17<tr><td>4.</td><td>🎉</td><td>Occasion Popper</td></tr>
18<tr><td>5.</td><td>🤩</td><td>Grinning Face With Star Eyes</td></tr>
19<tr><td>6.</td><td>😂</td><td>Face With Tears Of Pleasure</td></tr>
20<tr><td>7.</td><td>🐶</td><td>Canine Face</td></tr>
21<tr><td>8.</td><td>🍿</td><td>Popcorn</td></tr>
22<tr><td>9.</td><td>😎</td><td>Smiling Face With Sun shades</td></tr>
23<tr><td>10.</td><td>✨</td><td>Sparkles</td></tr>
24<tr><td>11.</td><td>💬</td><td>Speech Balloon</td></tr>
25<tr><td>12.</td><td>😘</td><td>Face Throwing A Kiss</td></tr>
26</tbody>
27</desk>
28<!-- ... -->
With emoji_table.py, now you can broaden your HTML emoji desk to incorporate all of your favourite emoji.
If you wish to make your desk look a bit higher, then you may add further styling with the :nth-child() pseudo-class in model.css:
/* model.css */

/* ... */

th, tr:nth-child(even) {
    background-color: rgba(255, 255, 255, 0.2);
}

td:nth-child(1) {
    text-align: proper;
}

td:nth-child(2) {
    text-align: middle;
}
HTML tables are a good way to construction tabular knowledge in your web site.
You may try Mozilla’s documentation about HTML tables and styling tables to be taught extra about working with tables in HTML.
Though emoji_table.py helps you construct bigger tables, it’s nonetheless a sophisticated course of.
At the moment, that you must copy the terminal output into your HTML file.
That’s not ultimate.
However now it’s time to discover different ways in which Python may help you along with your HTML code.
Create HTML Entities With Python
HTML comes with a giant listing of named character references that you need to use to encode your texts in HTML.
So, for instance, you would write the euro foreign money signal because the HTML entity € as a substitute of the UTF-8 € character.
Previously, encoding characters like this was necessary as a result of there was no approach to sort them instantly.
With the appearance of UTF-8 character encoding, you need to use the precise UTF-8 character as a substitute.
More often than not, that’s even really helpful as a result of it’s extra readable.
Nonetheless, there are conditions the place HTML encodings are the higher selection.
As a rule of thumb, you utilize HTML entities when characters:
- Are visually not distinguishable
- Intrude with HTML syntax
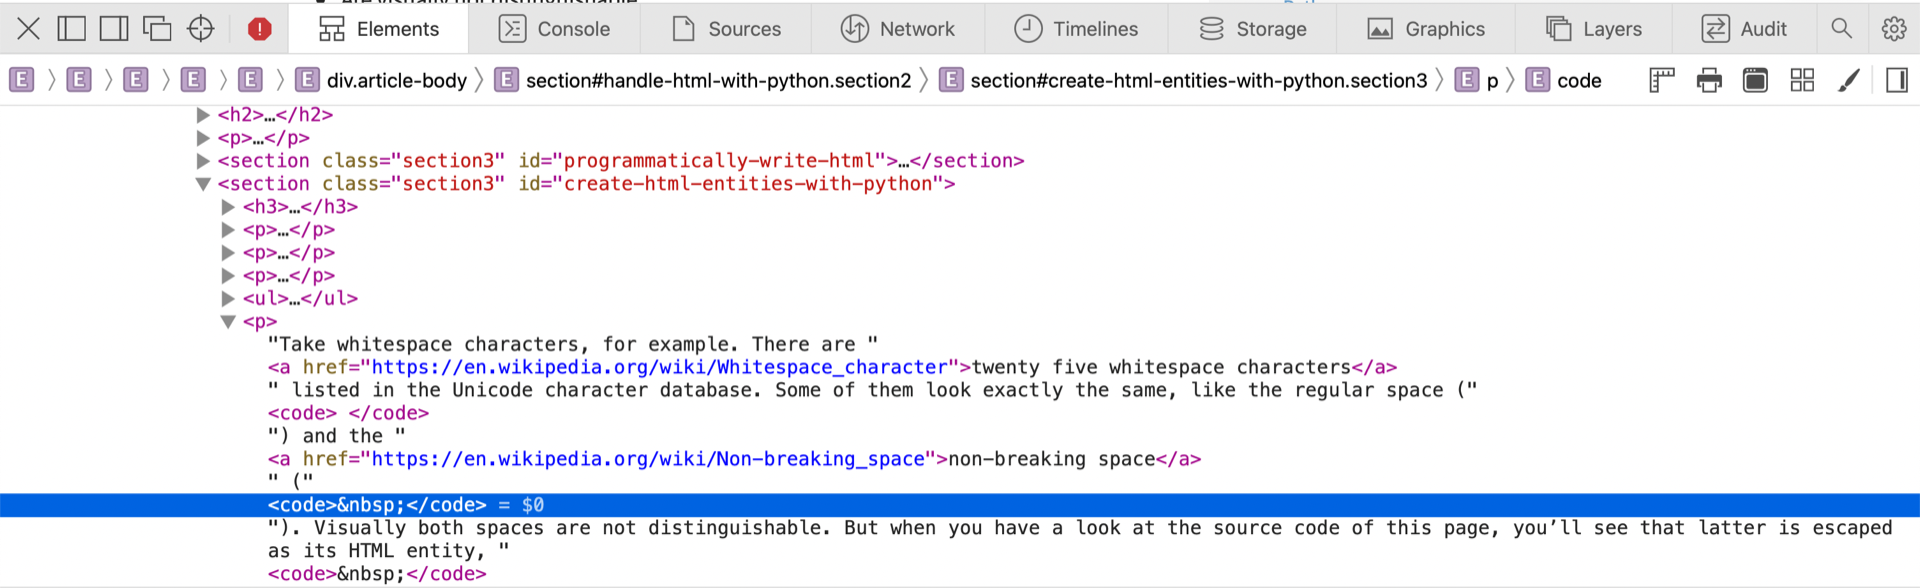
Take whitespace characters, for instance.
There are twenty-five whitespace characters listed within the Unicode character database.
A few of them look precisely the identical, just like the common area ( ) and the non-breaking area ( ).
Visually, the areas are usually not distinguishable.
However if you take a look on the supply code of this web page, you’ll see that the latter is escaped as its HTML entity, :
If you wish to show HTML tags on an HTML doc, you additionally want to flee characters just like the opening angle bracket (<) and the closing angle bracket (>).
Once more, take a look on the supply code of this tutorial and notice how the angle brackets are escaped:

The opening angle brackets are escaped as <.
Closing angle brackets are escaped as >.
To see a full listing of HTML entities, you may leverage Python’s built-in html module:
>>> import html
>>> html.entities.html5
{'Aacute': 'Á', 'aacute': 'á', 'Aacute;': 'Á', 'aacute;': 'á',
...
'zscr;': '𝓏', 'zwj;': 'u200d', 'zwnj;': 'u200c'}
The entities module of html defines 4 dictionaries.
Considered one of them is html5, which maps the HTML-named character references to their Unicode character counterparts.
With html.entities.codepoint2name you could find the HTML entity title of a personality:
>>> import html
>>> code_point = ord("€")
>>> code_point
8364

>>> html.entities.codepoint2name[cp]
'euro'
The codepoint of the euro (€) is 8364.
For 8364 the codepoint2name dictionary returns 'euro'.
To make use of the title in your HTML code, you will need to put an ampersand (&) earlier than the title and a semicolon (;) after the title to get the legitimate € HTML entity.
As a substitute of remembering and writing the HTML entities your self, you may let Python assist you to out.
Python’s html module additionally comes with a parser that’s useful if you wish to dissect HTML paperwork.
Parse HTML With Python
When that you must learn knowledge from HTML information, then Python can help you with the built-in html module as nicely.
On this part, you’ll construct a primitive HTML parser utilizing html.parser.
The script you’ll write will confer with the gallery.html file that you simply created earlier on this tutorial.
You may both revisit that half of the tutorial or obtain all of the information by clicking the hyperlink beneath:
Subsequent to gallery.html, create a brand new Python file named parse_image_links.py:
# pictures/parse_image_links.py

from html.parser import HTMLParser

class ImageParser(HTMLParser):
    def handle_starttag(self, tag, attrs):
        for attr, val in attrs:
            if attr == "src" and tag == "img":
                print(f"Discovered Picture: {val!r}")

with open("gallery.html", mode="r", encoding="utf-8") as html_file:
    html_content = html_file.learn()

parser = ImageParser()
parser.feed(html_content)
While you feed an occasion of Python’s HTMLParser with HTML knowledge, the occasion calls its handler strategies if markup components are discovered.
Within the instance above, you create a subclass of HTMLParser to search for any <img> components with an src attribute within the code of gallery.html.
For the gallery.html file, the output appears to be like like this:
Discovered Picture: 'sky_1.png'
Discovered Picture: 'sky_2.png'
Discovered Picture: 'sky_3.png'
On your native file, which you’ll simply search for in your editor, this won’t be a giant deal.
However think about the chances when you adjusted the script above to learn the code from any given URL!
If Python’s html module has sparked your curiosity, then studying a sensible introduction to internet scraping in Python is an effective subsequent step.
For a extra hands-on strategy, it’s also possible to construct an online scraper with Lovely Soup.
Earlier than you parse away, take a look at another subsequent steps within the final part of this tutorial.
Proceed With HTML and CSS in Python
You may accomplish fairly a bit with fundamental HTML and CSS.
Working with HTML and CSS can develop into much more enjoyable if you put a programming language like Python into the combination.
On this part, you’ll get an outline of applied sciences that you could be discover to leverage your data of HTML and CSS.
JavaScript
As you discovered on this tutorial, HTML offers the construction of an internet site.
With CSS, you add formatting and structure.
That’s an important foundation for creating web sites.
But no introduction to HTML and CSS could be full with out mentioning JavaScript.
JavaScript is an interpreted programming language that’s essential for contemporary web sites.
With JavaScript, you may add performance to your internet initiatives.
For instance, you may dynamically replace HTML and CSS when a consumer interacts along with your web site.
Studying JavaScript is an effective selection for any programmer who needs to get into internet growth.
To dive deeper into JavaScript, head over to Mozilla’s studying space for JavaScript.
If you wish to discover JavaScript from a Python programmer’s perspective, then try Python vs JavaScript for Pythonistas.
Jinja
On this tutorial, you saved HTML markup in Python strings to create HTML code dynamically.
When your internet undertaking evolves, then the combination of HTML and Python can develop difficult.
To separate issues, it’s a good suggestion to work with templates.
With templates, you may create constructing blocks for bigger web sites with out duplicating your front-end code.
That method, you may hold your HTML markup in template information and fill them with Python.
The go-to template engine for Python is Jinja.
With Python and Jinja, you may dynamically create HTML code.
However you don’t need to cease there.
Anytime you wish to create textual content information with programmatic content material, Jinja may help you out.
If you wish to learn to construct wealthy templates with Jinja, then try Actual Python’s primer on Jinja templating.
Flask
With fundamental data about HTML and CSS, you’re nicely outfitted to construct your first actual internet functions.
HTML and CSS maintain the entrance finish that the consumer is interacting with.
To load the content material from the server, you want some sort of again finish.
That’s the place internet frameworks come into play.
Flask is a well-liked Python internet framework that’s nice for constructing internet functions from scratch.
After you put in the flask package deal with pip, you then begin a Flask undertaking by making a Python file with only a few traces of code.
In different phrases, you begin small and improve your undertaking step-by-step at your individual tempo.
You may comply with the Flask by Instance studying path to find the fundamentals of Python internet growth with the Flask microframework.
Django
Django is one other fashionable Python internet framework.
In comparison with Flask, Django offers you with a undertaking construction if you begin a brand new Django undertaking.
With out including a lot code your self, you may work with an admin again finish and databases straight away.
The ability of Django can provide you a head begin for greater internet initiatives, however navigating all of the information could be overwhelming for inexperienced persons.
Fortunately, you could find loads of Django tutorials on Actual Python to information you.
You will get began with Django by constructing a portfolio app or by constructing a private diary internet app.
If you wish to construct an even bigger undertaking, then the Django social community collection is ideal for you.
PyScript
PyScript is a brand new framework that permits you to run Python within the internet browser.
However don’t confuse it with internet frameworks like Flask or Django:
PyScript is simply HTML, solely a bit (okay, perhaps quite a bit) extra highly effective, because of the wealthy and accessible ecosystem of Python libraries. (Supply)
When you’re intrigued, then give A First Take a look at PyScript: Python within the Net Browser a learn.
Conclusion
Regardless of which path to turning into a Python internet developer you select, there’s no method round HTML and CSS.
Each applied sciences are basic constructing blocks if you wish to create web sites.
All through this tutorial, you constructed a boilerplate HTML doc to provide you a head-start in your upcoming internet initiatives.
Alongside the best way, you discovered how you can:
- Construction a fundamental HTML file
- Present pictures and hyperlink to pages
- Type an internet site with CSS
- Format HTML with accessibility in thoughts
- Use Python to write and parse HTML code
Python, HTML, and CSS are a robust trio that allows you to create small HTML paperwork and large internet initiatives.
However even when you’re not aiming for a profession as an online developer, understanding a factor or two about HTML and CSS will assist you to perceive the Net higher.