

The PowerShell Gallery is the final word vacation spot for all of your PowerShell wants, whether or not you’re a newbie or an skilled consumer. And the excellent news is there’s a huge assortment of documentation, scripts, modules, and different assets created by the PowerShell group.
On this tutorial, you’ll be taught to search out, obtain, and set up assets from the PowerShell Gallery.
Keep tuned and elevate your scripting sport in the present day!
Stipulations
This tutorial will probably be a hands-on demonstration. To comply with alongside, make sure you’ve gotten a system with PowerShell 5.1 or later put in. This tutorial makes use of Home windows 10 with PowerShell 5.3 put in, however different variations of Home windows and PowerShell must also work.
Putting in the .NET Framework
Earlier than diving into the PowerShell Gallery, you first want a technique to work together with the PowerShell Gallery, and .NET Framework is the first means.
You should first set up the .NET Framework, which is essential for the PowerShellGet module. The PowerShellGet module requires no less than .NET Framework v4.5+. The PowerShellGet module allows you to uncover, set up, replace and publish PowerShell artifacts.
However on this tutorial, you’ll set up the .NET Framework v4.8.
💡 Word that the .NET Framework v4.8 might already be put in in your system. If that’s the case, you may skip this step. However in case you have an older model of the .NET Framework, uninstall it and improve to a more moderen model.
To put in the .NET Framework, comply with these steps:
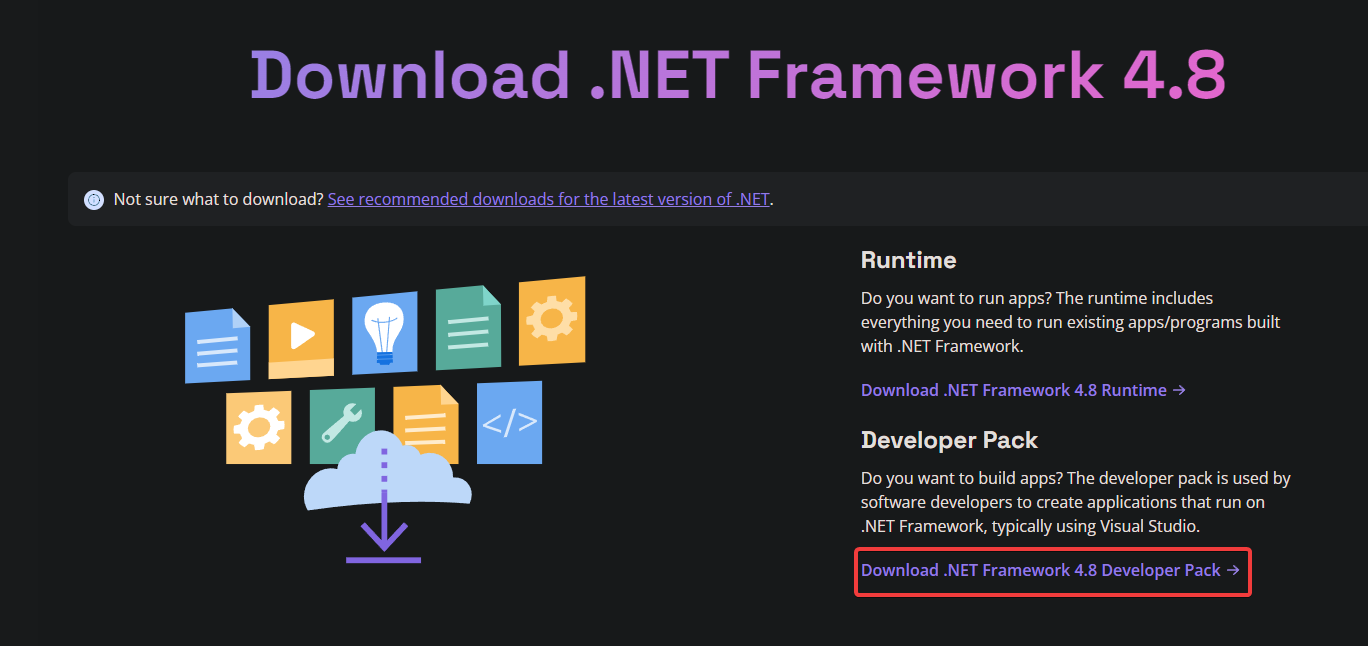
1. Open your favourite internet browser, and navigate to the official .NET Framework obtain web page.
2. Subsequent, click on the Obtain .NET Framework 4.8 Developer Pack hyperlink to obtain a file just like ndp48-devpack-enu. This file is the installer bundle for NET Framework model 4.8.
3. Watch for the obtain to finish, and double-click the downloaded file to launch the .NET Framework installer.
💡 In case you are having hassle putting in the .NET Framework, attempt working the set up file in [compatibility mode]
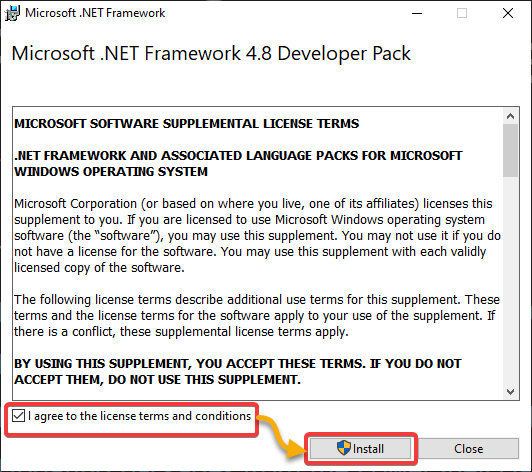
4. Tick the checkbox on the backside to just accept the license phrases, and click on the Set up button to put in .NET Framework 4.8.
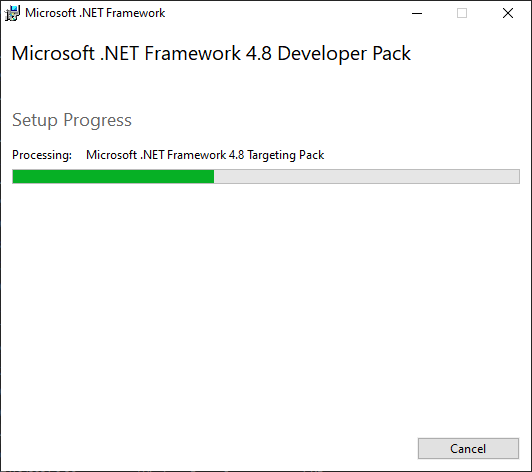
Under, you may see the set up progress, which can take a couple of minutes, relying in your system’s configuration.
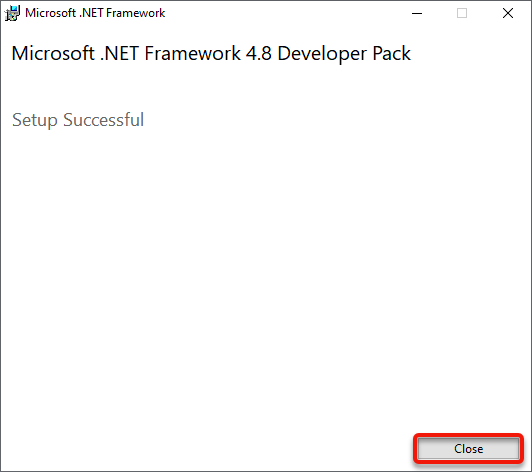
5. Now, click on the Shut button to shut the installer as soon as the set up is full.
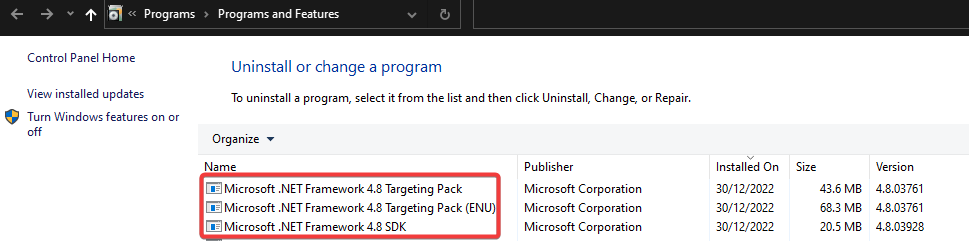
6. Lastly, open PowerShell as an administrator and run the next [Start-Process] command to open the Add or Take away Applications app (appwiz.cpl). This app allows you to view a listing of put in applications in your system.
Begin-Course of "appwiz.cpl”You will notice entries for the .NET Framework 4.8 within the listing of put in applications, as proven under.
Putting in the PowerShellGet Module
With the .NET Framework put in and working, now you can set up the core part of the PowerShell Gallery, the PowerShellGet module.
The PowerShellGet model (1.0.0.1) preinstalled with Home windows Energy Shell 5.1 has restricted options. In case you are utilizing Home windows PowerShell 5.1 or older, think about using the up to date capabilities of the PowerShell Gallery. The newest model is 3.0.17-beta17 right now of writing.
To put in the PowerShellGet module, comply with the steps under:
1. Run the next command, which doesn’t produce output, however permits Transport Layer Safety (TLS) 1.2 in your PowerShell session. TLS is a safety protocol that encrypts information transmitted over the web.
Enabling TLS 1.2 is essential since PowerShell isn’t configured to make use of TLS 1.2 by default. This command units the SecurityProtocol for the System.Web.ServicePointManager object to TLS 1.2 (Tls12). In flip, you get entry to the PowerShell Gallery utilizing TLS 1.2 or increased.
[Net.ServicePointManager]::SecurityProtocol = [Net.ServicePointManager]::SecurityProtocol -bor [Net.SecurityProtocolType]::Tls12💡 Word that this transformation solely applies to the present PowerShell session. However you may configure PowerShell to at all times use TLS 1.2 by including the above command to your PowerShell profile.
Subsequent, run the Set up-PackageProvider command under to put in the NuGet bundle supplier. The NuGet bundle supplier permits you to set up and handle packages from the NuGet bundle repository. This repository is a central repository of open-source packages for the .NET platform.
The NuGet bundle supplier is required earlier than utilizing the [Install-Module] cmdlet to put in modules from the PowerShell Gallery. Why? Most of the modules within the PowerShell Gallery are distributed as NuGet packages.
Set up-PackageProvider -Title NuGet -Drive
As soon as put in, now you can make the most of the NuGet API. The NuGet API allows you to entry the NuGet bundle repository to create instruments and purposes that may work together with the NuGet bundle repository. Work together how? Carry out numerous duties, equivalent to looking for, putting in, and updating packages.
Usually, there are two variations of the NuGet API, which you need to use relying in your necessities and the capabilities of your consumer and server.
| Model | Description | Utilization |
| v2 | Makes use of XML as the info format for communication between the consumer and server.
This model is predicated on the unique NuGet API launched in 2011 and is the legacy model of the API. |
The v2 API is advisable if you happen to use an older model of NuGet or a consumer or server that doesn’t help the v3 API.
This model is supported by all variations of NuGet and is suitable with older shoppers and servers. |
| v3 | Makes use of JSON as the info format for communication between the consumer and server. This model was launched in 2013 as an enchancment over the v2 API and included many new options and enhancements.
Many new options included are help for side-by-side bundle set up, improved search capabilities, and huge bundle help. |
The v3 API is advisable if you happen to use a more moderen NuGet model. The v3 API is quicker and extra environment friendly than the v2 API.
This model isn’t supported by older variations of NuGet and is probably not suitable with older shoppers and servers. |
💡 Normally, the NuGet API v3 is advisable because it supplies probably the most up-to-date options and capabilities.
3. Run the under Set-PSRepository command, which doesn’t present output, however units your PowerShell Gallery (PSGallery) repository as a trusted bundle supply. Doing so permits you to set up modules from the PowerShell Gallery.
Set-PSRepository -Title PSGallery -InstallationPolicy Trusted -ErrorAction Cease4. Now, run the Set up-Module command under to put in the newest model (-AllowPrerelease) of the PowerShellGet module.
Set up-Module -Title PowerShellGet -AllowPrerelease -Drive
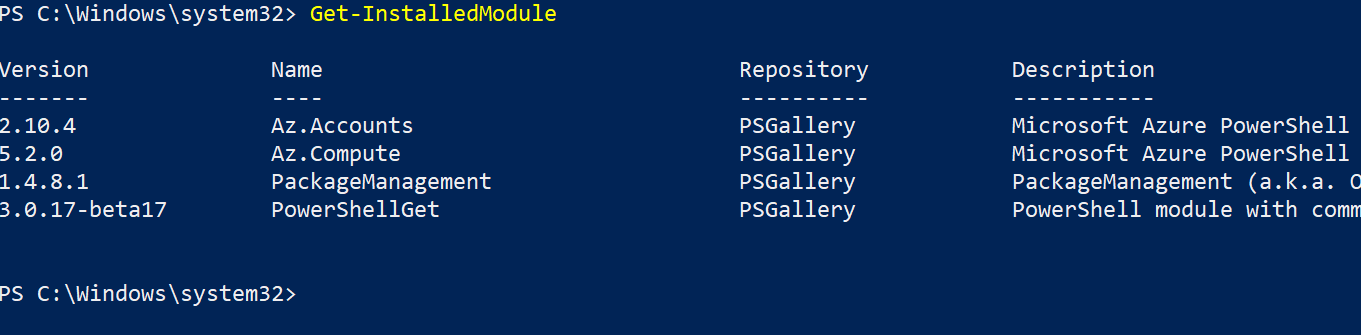
5. Lastly, run the Get-InstalledModule command under to confirm that the PowerShellGet module has been efficiently put in.
Get-InstalledModule PowerShellGetYou will notice the PowerShellGet module listed, as proven under, with the PSGallery because the repository if efficiently put in.

Discovering Modules from the PowerShell Gallery
Now that you’ve got put in the PowerShellGet module, you may seek for and set up modules from the PowerShell Gallery. Doing so permits you to broaden the capabilities of your PowerShell setting and automate complicated duties extra effectively.
To seek for a module within the PowerShell Gallery, you need to use the Discover-Module cmdlet. This cmdlet searches the PowerShell Gallery for modules that match specified search standards, such because the module title, model, or tag.
1. Run the Discover-Module command under to go looking the PowerShell Gallery for modules with names that match AzureRM.
Discover-Module -Title AzureRMThe output under signifies just one module matching the title AzureRM within the PowerShell Gallery. You can even see primary details about every module, equivalent to its title, model, repository, and many others.

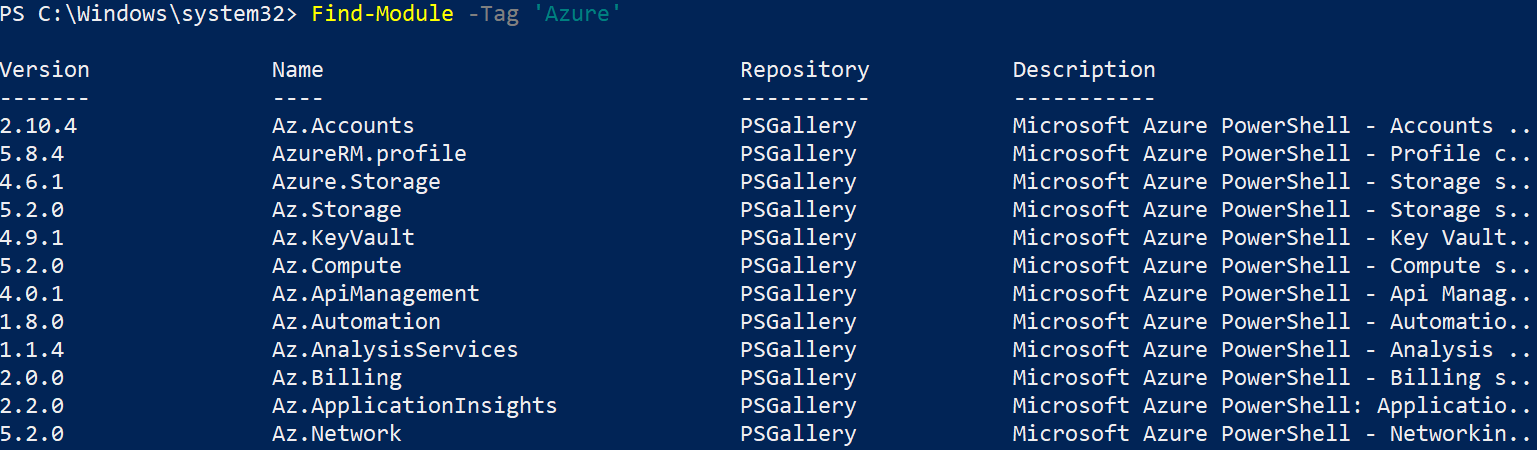
2. Subsequent, run both of the under instructions to seek for modules utilizing a -Tag with the key phrase Azure. The -Tag parameter is case-insensitive, so you need to use azure or Azure because the tag key phrase.
Why use tags for a module? A tag is a key phrase or label related to a module, describing its content material and performance within the PowerShell Gallery.
For instance, if a module is expounded to the Azure cloud platform, you may tag the Azure key phrase. Doing so permits customers serious about Azure-related assets to simply discover and uncover the module by looking for the Azure tag.
Discover-Module -Tag 'Azure'
Discover-Module -Tag 'azure'
PowerShell Gallery is an in depth repository of assets contributed by a variety of authors, and there are lots of modules associated to in style key phrases like Azure.
Consequently, you will notice a protracted listing of modules that match your key phrase or tag, as within the following screenshots.
💡 You can even use tags to group associated modules and make discovering associated assets faster. For instance, use the tag
Virtualizationto group modules associated to virtualization applied sciences, equivalent to Hyper-V or VMware.
3. Now, run the next command to slender your search and discover a particular module by combining the parameters within the Discover-Module cmdlet.
The command under finds a module from the PowerShell Gallery contemplating the next parameters:
-Title– Seek for modules with a selected titleAz.Compute.
-Tag– Seek for modules with tagsAzure, andMicrosoft.
Discover-Module -Title 'Az.Compute' -Tag 'Azure', 'Microsoft’
Putting in and Updating Modules
After getting discovered a module you have an interest in utilizing, putting in that module is only some keystrokes away. You need to use the Set up-Module cmdlet to obtain modules from the PowerShell Gallery and set up them in your native system.
1. Run the under command to obtain and set up the Az.Compute module from the PowerShell Gallery.
If profitable, this command doesn’t produce output, however you’ll confirm the set up within the following step.
Set up-Module -Title 'Az.Compute'2. Subsequent, run the next Get-InstalledModule command to confirm the Az.Compute module has been put in in your system.
Get-InstalledModule -Title 'Az.Compute'
💡 Alternatively, run the
Get-InstalledModulecmdlet with out parameters to show a listing of all put in modules in your system. However beware, you could damage your eyes as you scroll by way of the listing if too many modules are put in.
3. Now, run the under Replace-Module command, which doesn’t present output however searches for the newest model of a selected module (i.e., Az.Compute) and updates it.
Updating put in modules might embody bug fixes, new options, or different enhancements.
Replace-Module -Title Az.ComputeUninstalling PowerShell Modules
There are occasions you could wish to take away a module out of your system. For instance, if you happen to not want a module or it’s problematic.
To uninstall a module out of your system, you need to use the Uninstall-Module cmdlet. This cmdlet removes a module and all its information out of your system, successfully uninstalling it.
💡 Be sure to rigorously think about the implications of uninstalling a module earlier than continuing. Uninstalling a module might have unintended penalties, equivalent to breaking different applications or scripts that depend upon the module.
Run the next Uninstall-Module command to uninstall a selected module (Az.Compute) out of your system. This command doesn’t produce output if the uninstallation is profitable.
Uninstall-Module -Title Az.Compute💡 If different applications or scripts are at present utilizing the module, the
Uninstall-Modulecmdlet will throw an error, and the uninstallation fails.
Conclusion
PowerShell modules are highly effective instruments that can help you add performance to your PowerShell setting rapidly. And on this tutorial, along with the PowerShell Gallery, you may uncover and set up modules with a couple of instructions.
Make the most of the PowerShell Gallery, and search for PowerShell modules to customise and empower your PowerShell scripts and workflows in the present day!