

Are you in search of an reasonably priced and dependable solution to retailer, handle, and retrieve digital information? Nicely, say howdy to DigitalOcean Areas!
DigitalOcean Areas helps you to retailer your information at any scale. And on this tutorial, you’ll be taught the fundamental data of storing, managing, and retrieving information with DigitalOcean Areas.
Uncover how one can maximize your file storage capabilities with out overspending!
Conditions
Earlier than diving into DigitalOcean Areas, just be sure you have the next:
- A DigitalOcean account with energetic billing enabled – A free trial is ample to get began.
- A neighborhood machine – This tutorial makes use of an Ubuntu 20.04 machine.
Creating Buckets through the DigitalOcean Areas Console
DigitalOcean gives an S3-compatible object storage service known as Areas Object Storage. This service helps you to retailer and serve massive volumes of knowledge, resembling photos, movies, and static web site information.
With the Areas console, a user-friendly web-based UI, you possibly can rapidly navigate and handle your Areas buckets. You possibly can create buckets, add information, set permissions, and manage your information with just some clicks.
💡 Designed to be appropriate with the Amazon Easy Storage Service (S3) API, you need to use current AWS S3 Software program Improvement Kits (SDKs) and instruments to work together with DigitalOcean Areas. This compatibility helps you to rapidly migrate purposes or leverage current code that integrates with AWS S3.
To create a Areas bucket through the DigitalOcean Areas Console:
1. Open your favourite net browser, and log in to the DigitalOcean Areas Console.
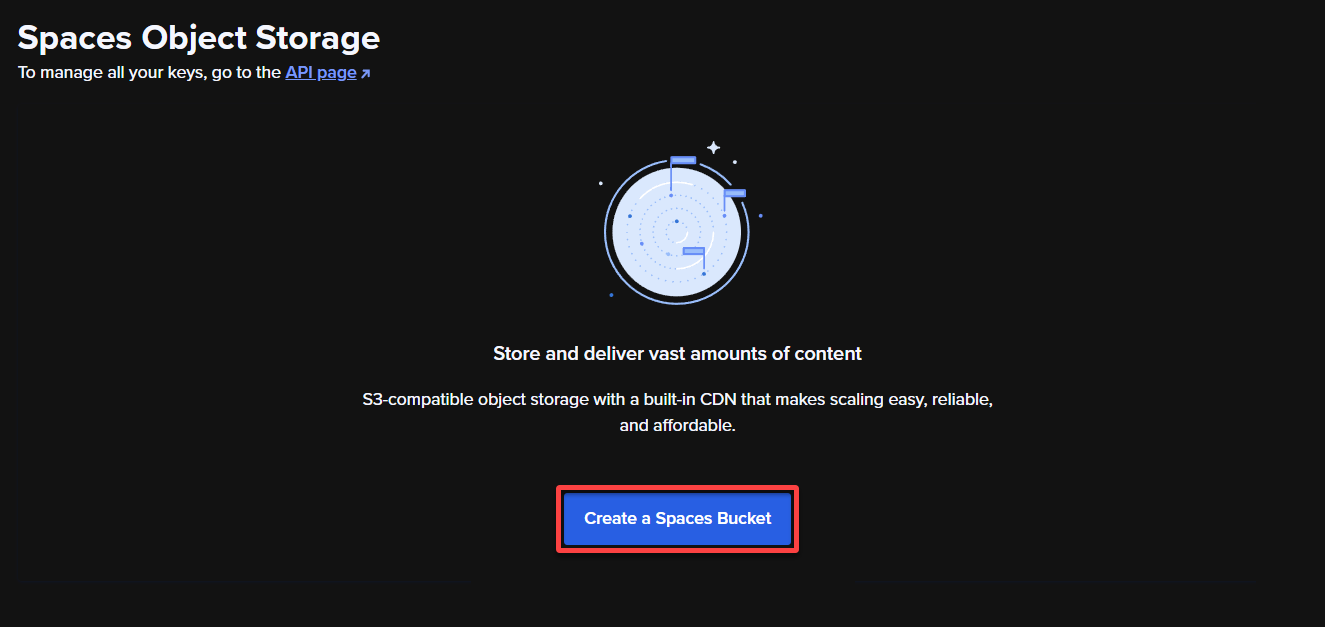
2. As soon as logged in, click on Create a Areas Bucket to provoke creating a brand new bucket. Your browser redirects to a web page the place you possibly can configure your Areas bucket (step two).
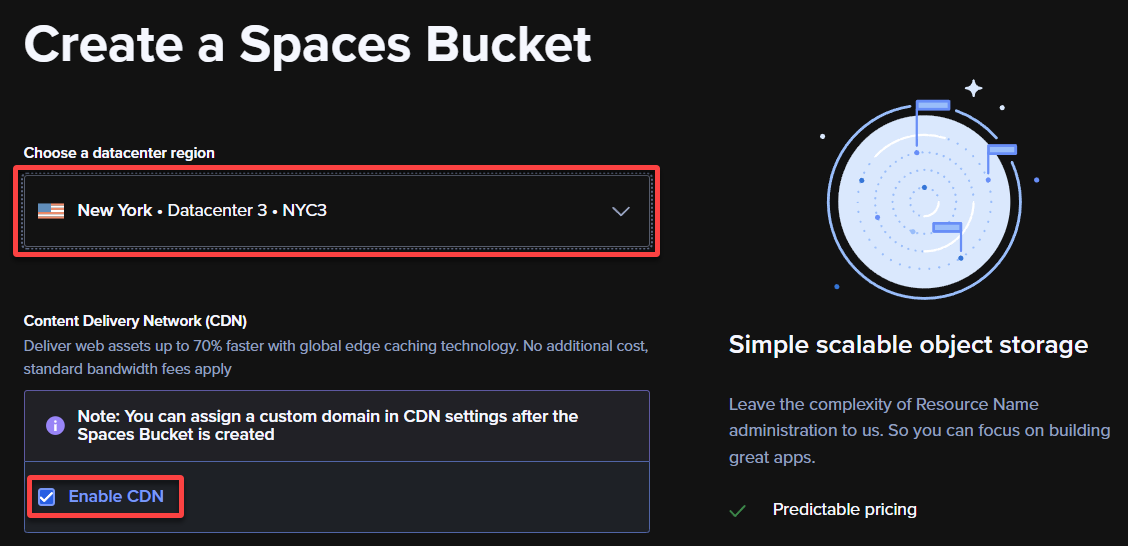
3. Now, configure the next on your new Areas bucket:
- Select a datacenter area – Choose a area geographically near your target market. This selection helps scale back latency and enhance the general efficiency of file transfers on your customers.
💡 DigitalOcean has a number of information heart areas. These edge areas are geographically distributed and nearer to the top customers, permitting sooner content material supply. At this level, no extra price is related to this characteristic.
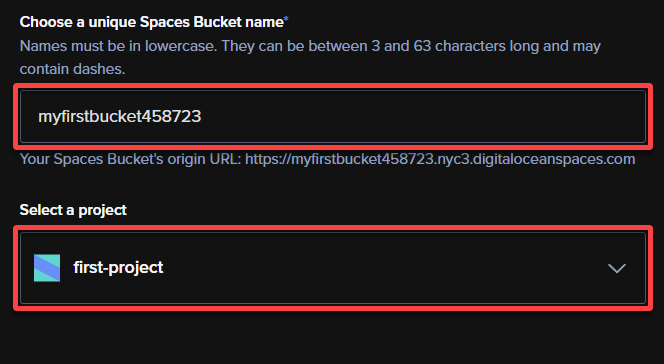
4. Now, present a bucket title and choose a challenge as follows:
- Select a singular Areas Bucket title – Present a singular title (should be in lowercase) on your House Bucket (myfirstbucket458723). Select a concise however descriptive title to characterize the aim or content material of the bucket.
- Choose a challenge – Select the related challenge from the dropdown to trace Areas billing alongside different DigitalOcean companies.
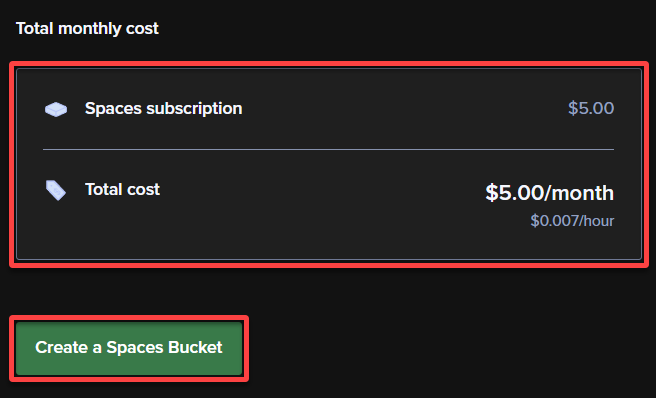
5. Lastly, assessment the Whole month-to-month price, as proven under, and click on Create a Areas Bucket to finalize creating your new Areas bucket.
Importing and Downloading Objects through the Areas Console
You’ve got simply created your first Areas bucket, however how have you learnt it really works? Your bucket presently doesn’t serve a function till you add and obtain content material to and out of your bucket.
Fortunately, DigitalOcean Areas gives a fast solution to add or obtain objects from the console.
To add an object to your Areas bucket:
1. Choose your required House Bucket from the Areas Console (myfirstbucket458723).

2. Subsequent, click on Add underneath the Recordsdata tab, and find the information you want to add to your bucket.

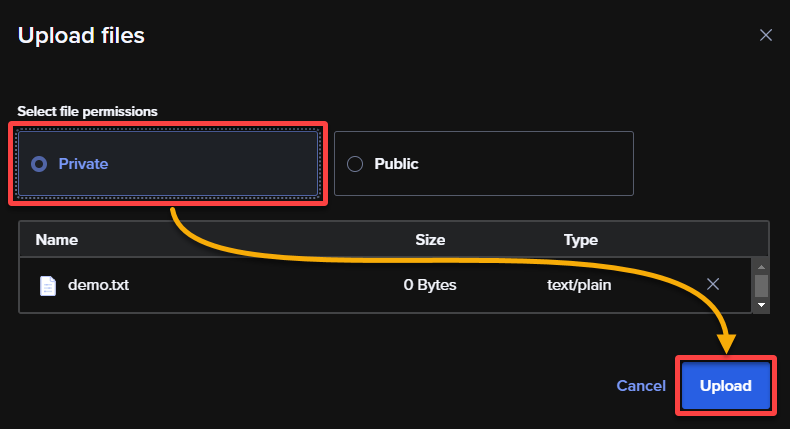
3. After deciding on the information to add, select their permissions inside DigitalOcean Areas, and click on Add to add the information to your bucket.
By default, the permissions are set to Non-public, letting you, because the proprietor, have sole entry to the information. Quite the opposite, Public permissions permit everybody to view your file content material on-line.
💡 Observe you can at all times change the entry permissions of an object at a later stage as per your requirement.
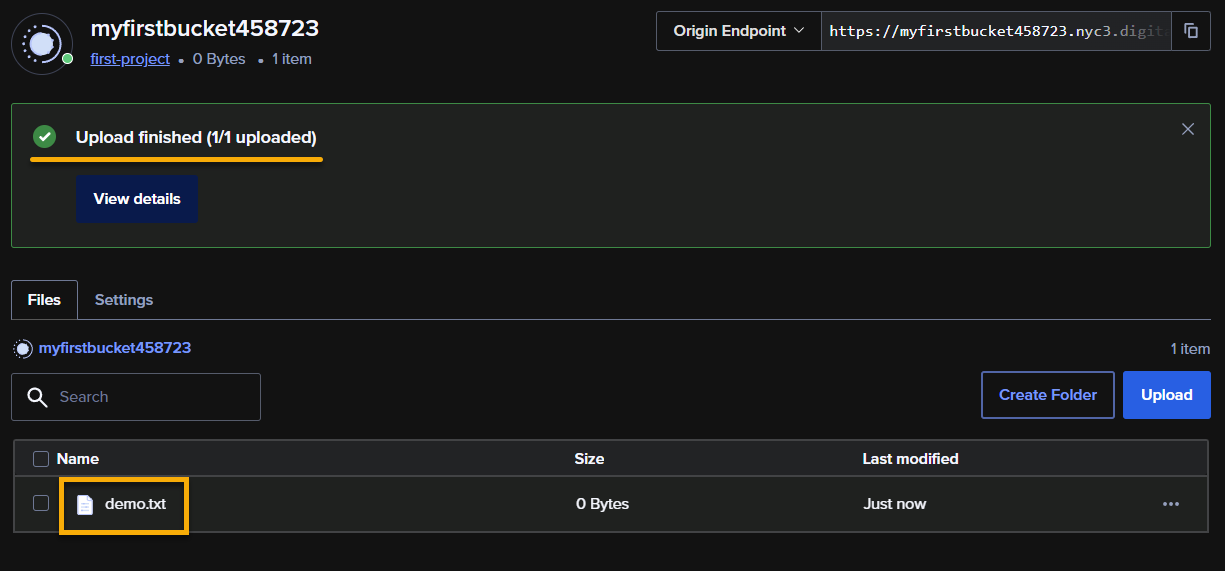
Relying on the item dimension, the add course of might take time. As soon as uploaded, you will note the information in your House bucket, as proven under.
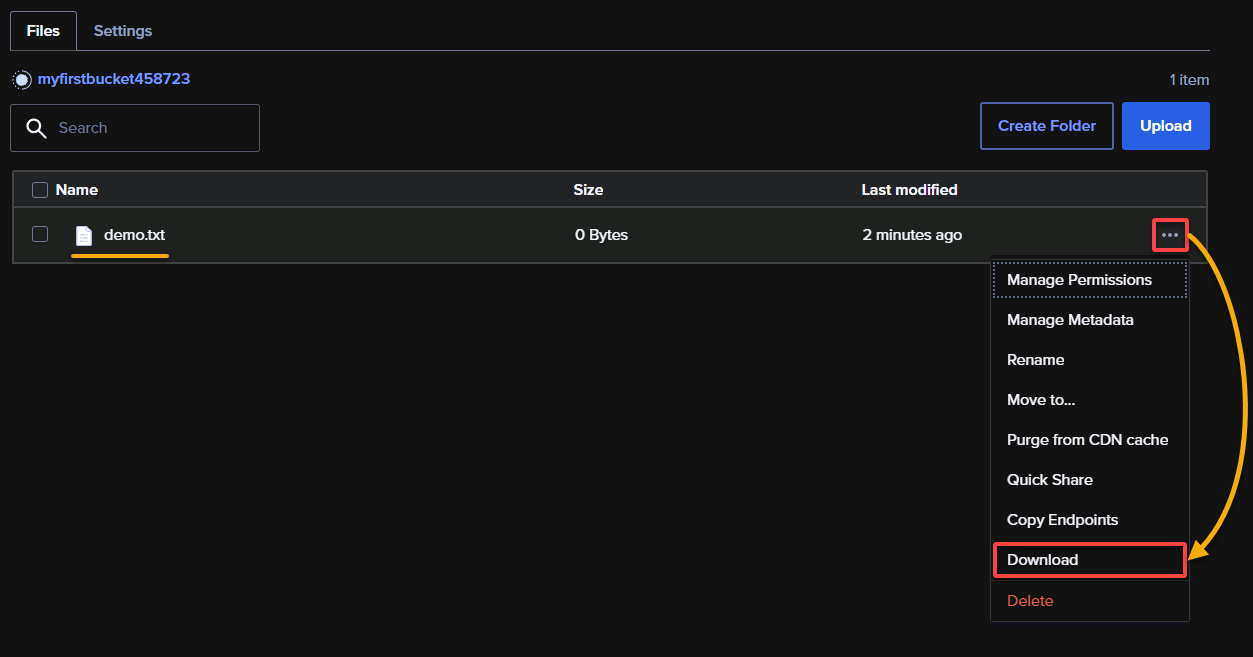
4. Now, click on the three-dot icon subsequent to an object and choose Obtain, as proven under, to obtain the file to your native machine.
Congratulations! Now you can rapidly add and obtain objects to/from DigitalOcean Areas.
Putting in the S3cmd CLI
The Areas console works excellently in case you solely create one bucket as vital. However what if it’s important to carry out again operations on a number of objects or buckets? Fear not. DigitalOcean lets you carry out operations in your buckets through a command-line interface (CLI).
However earlier than you can begin creating House Buckets through the CLI, you need to set up a appropriate CLI utility — S3cmd CLI. This CLI utility is free, works cross-platform, and has built-in help for Areas.
💡 Sadly, on the time of this writing, the doctl CLI, the official DigitalOcean CLI, doesn’t but embody Areas help.
To put in the S3cmd CLI in your system, observe these steps:
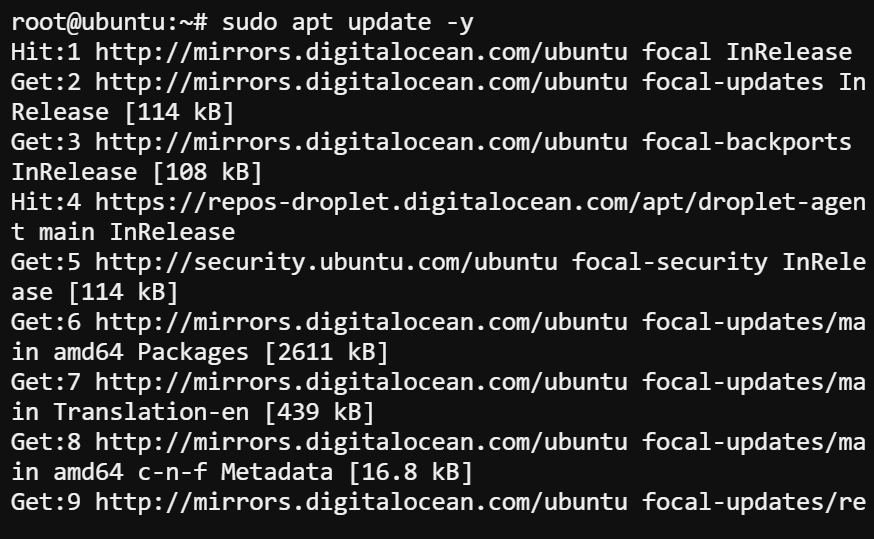
1. Execute the next apt replace command to replace your package deal index. This command ensures you might be working with the newest variations of all packages.
2. As soon as up to date, run the under apt-get set up command to put in the s3cmd utility.
sudo apt-get set up s3cmd -y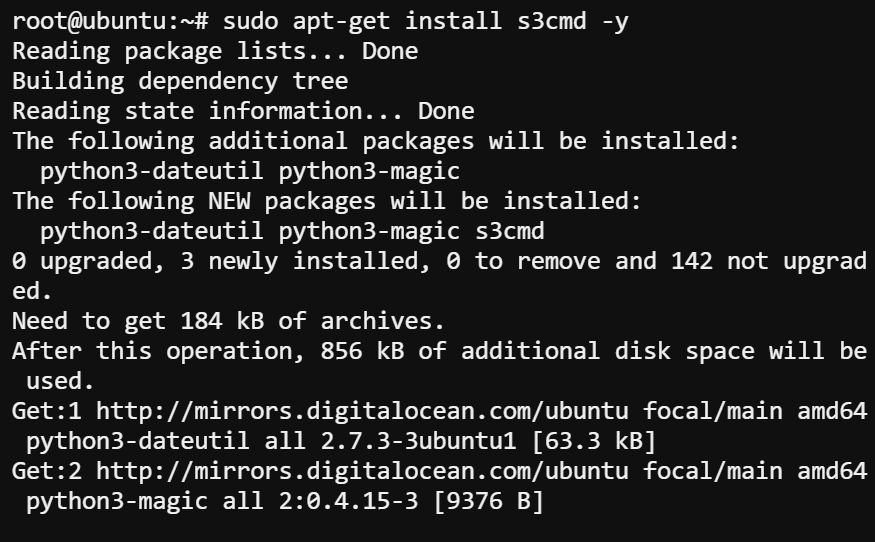
3. Lastly, run the command under to verify S3cmd’s put in model.
The output under confirms you’ve got efficiently put in the S3cmd CLI.

Retrieving Areas Entry and Secret Keys
With the S3cmd CLI put in you want a solution to authenticate and authorize entry to your DigitalOcean Areas assets. You could retrieve your Areas entry and secret keys.
These keys act as credentials to authenticate your requests when interacting with Areas by way of the S3cmd CLI. As well as, these keys allow you to carry out operations like creating buckets, downloading, importing, and so forth programmatically in your Areas.
To retrieve your Areas entry and secret keys:
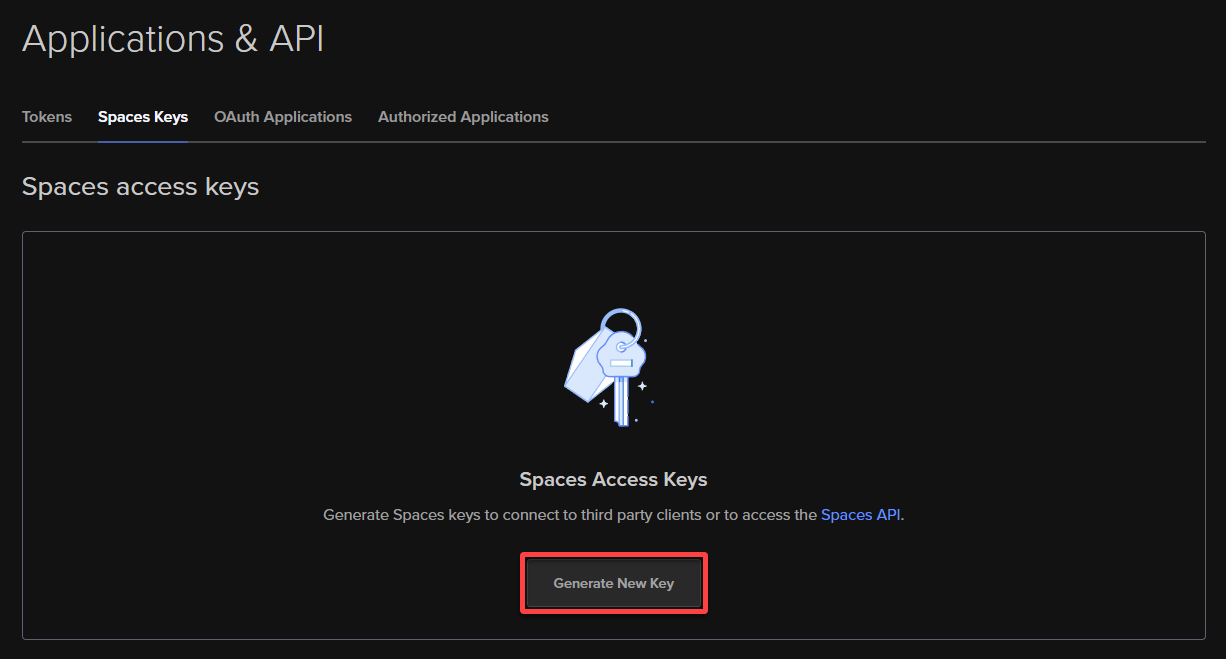
1. Log in to your DigitalOcean console and navigate to the Areas API web page.
2. Subsequent, click on Generate New Key to generate a brand new entry and secret key pair.
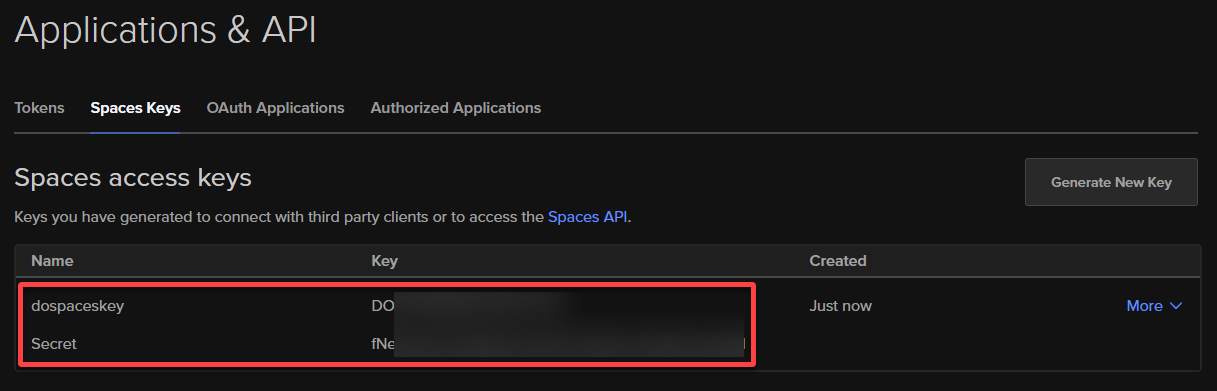
3. Present a reputation (i.e., dospaceskey) for the brand new entry key, and click on the verify icon to avoid wasting the important thing pair.
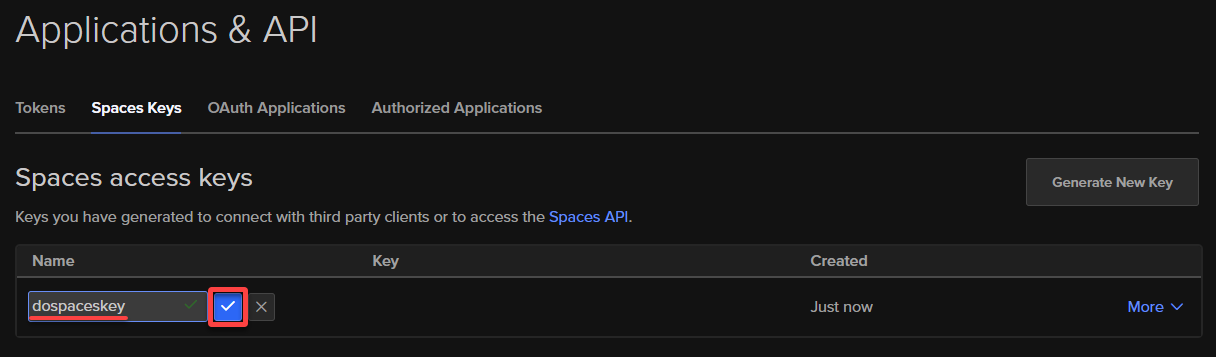
4. Now, copy and save these keys in a safe location, as you have to them if you configure the S3cmd CLI later on this tutorial.
💡 By no means publicly share or expose these keys; they supply full entry to your DigitalOcean Areas assets.
Configuring the S3cmd CLI with the Entry and Secret Keys
Now that you’ve your Areas entry and secret keys, you possibly can set up a safe and authenticated connection between the utility and your DigitalOcean Areas. You could configure the S3cmd CLI utilizing these credentials.
To configure the S3cmd CLI, observe the steps under:
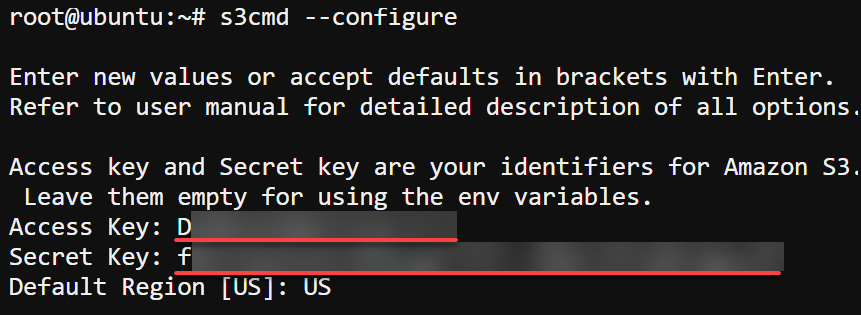
1. Run the s3cmd command to provoke the S3cmd configuration wizard (--configure).
Present the important thing pairs when prompted and different vital particulars, as proven under.
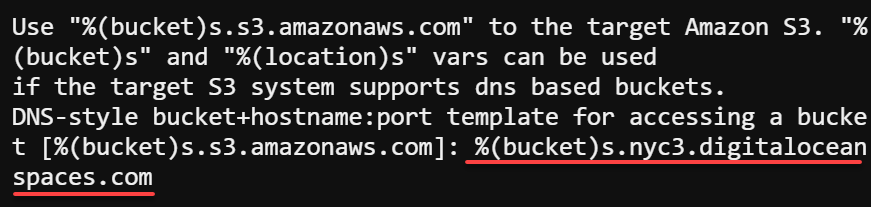
2. Subsequent, present the endpoint URL of your Areas primarily based on the area the place you need your buckets to be situated. The DigitalOcean Areas endpoint is a particular URL that identifies the placement of your Areas assets inside a selected area.
Offering the right endpoint helps you to configure your S3cmd CLI or work together along with your DigitalOcean Areas programmatically.
For instance, in case your buckets are within the New York 3 (NYC3) area, the Areas endpoint can be nyc3.digitaloceanspaces.com.

3. Enter %(bucket)s.nyc3.digitaloceanspaces.com for the hostname, however exchange nyc3 along with your precise area.
The %(bucket)s placeholder represents the title of your particular bucket. This placeholder will likely be changed with the precise bucket title when creating buckets.
4. Now, go away the Encryption password and the Path to GPG program fields clean and press Enter to just accept the default values.
There is no such thing as a must set an encryption password since this setting is solely for AWS S3. You’ll use the HTTPS protocol for DigitalOcean Areas as a substitute (step 5).

5. Sort Sure and press Enter to allow the HTTPS protocol.
This encryption ensures that the knowledge transferred stays confidential and safe.

6. Subsequent, present a proxy server if you’re utilizing one.
If not, go away it clean and press Enter. In case your community requires an HTTP proxy server, you need to enter the title or deal with of the proxy server when prompted. This data permits your communication to be routed by way of the proxy server, enabling connectivity to your Areas.

Sort Y and press Enter to check the brand new configuration.
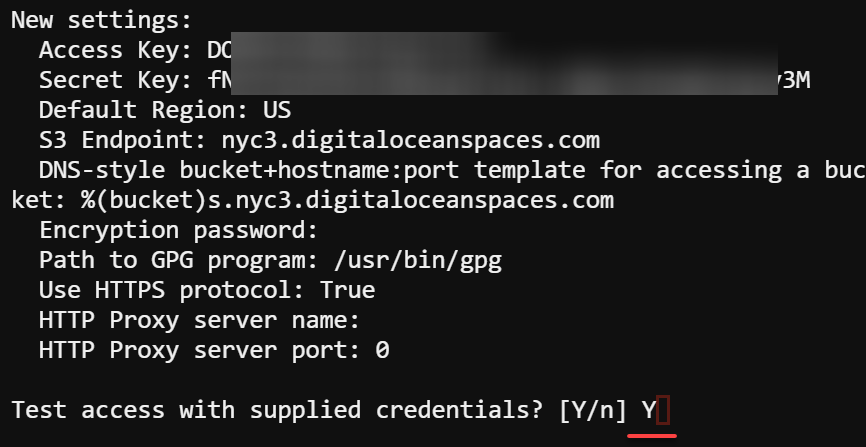
If every part is configured accurately, you will note an identical output under.

7. Lastly, enter y and press Enter to avoid wasting the configuration in your house listing in a configuration file named .s3cfg.
At this level, you’ve got S3cmd configured to be used with DigitalOcean Areas.

Creating Buckets through the S3cmd CLI
With a well-configured S3cmd CLI, now you can entry DigitalOcean Areas to create buckets and work together along with your Areas setting.
Execute the next s3cmd command to create a brand new bucket (mb). This tutorial’s selection for the bucket title is myclispacesbucket, however you possibly can title it in a different way.
s3cmd mb s3://myclispacesbucket
Now, run the under command to record (ls) all buckets in your DigitalOcean Areas setting.
You will note the newly-created bucket within the record, as proven under if the creation is profitable.

Importing and Downloading Objects through the S3cmd CLI
Your new Areas bucket is on the market, and you might be prepared to begin importing objects, resembling information and folders, to your bucket through the S3cmd CLI.
However are you able to add a number of information concurrently? Sure! With S3cmd CLI, you can too apply permissions to a gaggle of objects or delete a number of objects in a single go.
To see how one can add and obtain objects through the S3cmd CLI:
1. Run the next s3cmd command to add (put) a file named myclispacesdemo.txt (or every other file) out of your native laptop to considered one of your Areas buckets (myclispacesbucket).
s3cmd put myclispacesdemo.txt s3://myclispacesbucket
2. Subsequent, run the identical s3cmd command under with the required names of the information (separated by areas) to add directly.
s3cmd put file1.txt file2.txt file3.txt s3://myclispacesbucket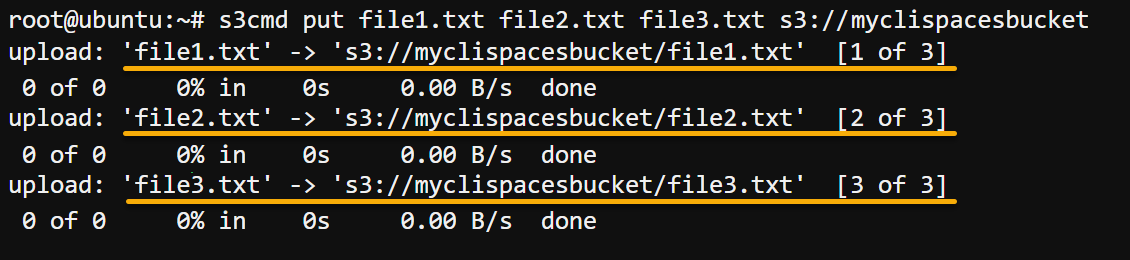
3. Execute the under command to record (ls) all objects (information and folders) in your bucket (s3://myclispacesbucket).
s3cmd ls s3://myclispacesbucketUnder, you possibly can confirm all information have been efficiently uploaded to your bucket.

4. As soon as verified, run the command under to obtain (get) the item named myclispacesdemo.txt from the myclispacesbucket bucket to your native laptop as mynewfile.txt.
s3cmd get s3://myclispacesbucket/myclispacesdemo.txt mynewfile.txt
5. Now, run the next command to obtain all information and folders (--recursive) out of your bucket (s3://myclispacesbucket/) to your native machine (/tmp_dir/).
Make sure you exchange /tmp_dir/ with your individual desired native listing.
s3cmd get --recursive s3://myclispacesbucket/ /tmp_dir/
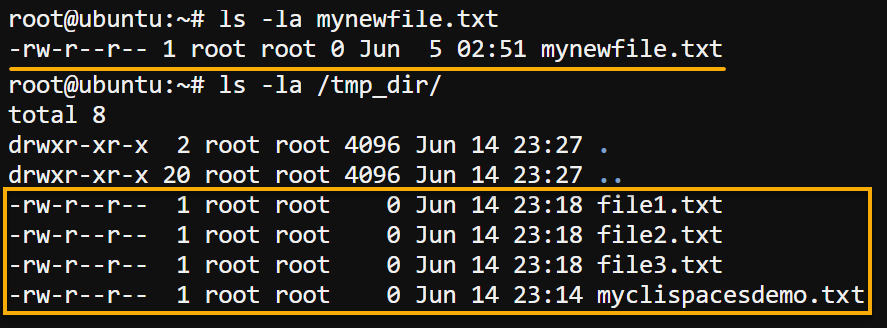
6. Lastly, run the ls command under to record the brand new file in your native laptop.
ls -la mynewfile.txt
ls -la /tmp_dir/
The output under reveals all information you downloaded exist in your native machine, which verifies the obtain succeeded.
Conclusion
All through this tutorial, you realized about utilizing the Areas console and S3cmd to work together and handle your DigitalOcean Areas buckets.
Now you can use DigitalOcean Areas as a robust resolution for storing and managing massive objects or information. However what you’ve got seen on this tutorial is only the start of what you are able to do with DigitalOcean Areas.
Why not up your sport and have a look at among the different options? For example, why not learn to set permissions after making a bucket or configure versioning?