


Are you seeking to create a big-scale utility however are apprehensive about the way you’ll handle it? Sustaining such a big-scale utility is an enormous job. How do you assume you’ll deal with this endeavor? What’s going to occur in case your server goes down?
Maybe it’s time you contemplate shifting your Docker containers to Amazon Elastic Container Service (ECS). Don’t be scared. This AWS ECS tutorial teaches you how one can deploy your Docker utility and by no means fear about scaling and downtime once more!
Conditions
This tutorial shall be a hands-on demonstration. In the event you’d prefer to comply with alongside, make certain you’ve the next:
- Docker and AWS CLI have to be put in in your laptop. This tutorial makes use of Docker 20.10.20 and AWS CLI 2.8.3 on Ubuntu 20.04.
- An present Docker picture or a Dockerfile for constructing one. This AWS ECS tutorial will use a Docker picture containing an online utility serving a static web site.
Making a Repository on this AWS ECS Tutorial
To start out with this AWS ECS tutorial, you first must create a repository in Amazon Elastic Container Repository (ECR), the place you’ll push your Docker picture.
1. Open your favourite internet browser and log in to AWS Administration Console.
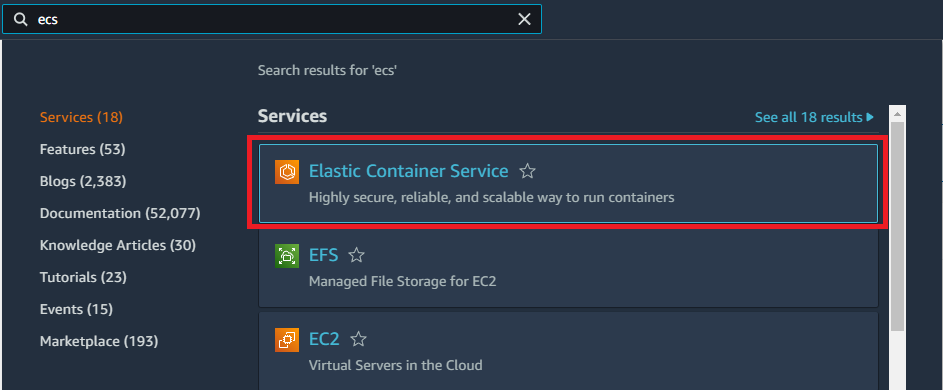
2. On the search bar, kind in Elastic Container Service or ECS, and click on Elastic Container Service from the outcomes. Doing so will redirect you to the ECS web page.
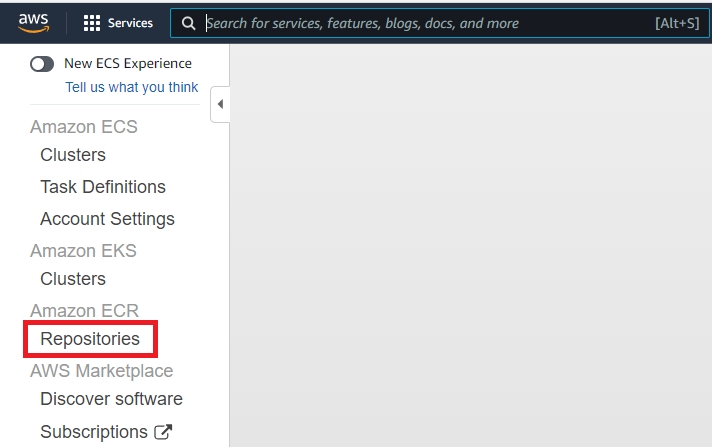
3. Click on on the Repositories sidebar menu.
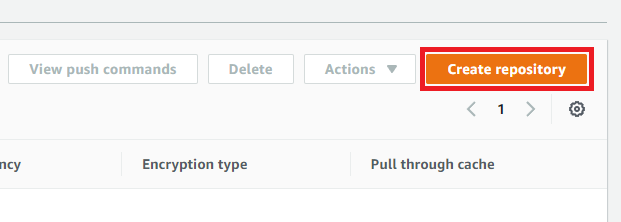
4. On the Repositories web page, click on on the Create repository button. Doing so will redirect you to a type to fill out and create the repository.
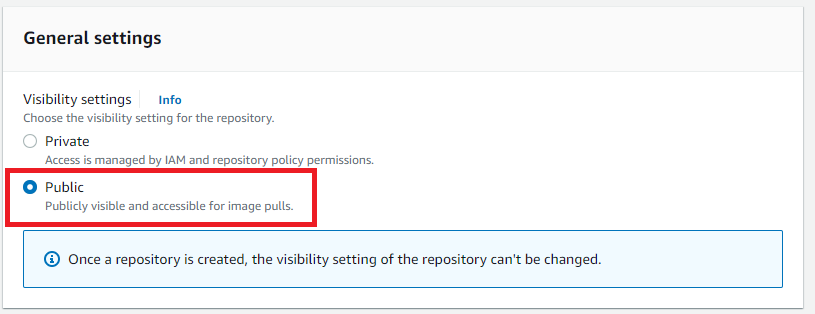
5. In Create Repository type, choose the visibility of the brand new repository — Public or Non-public. Choose Public on this instance in order that the repository shall be accessible in all places.
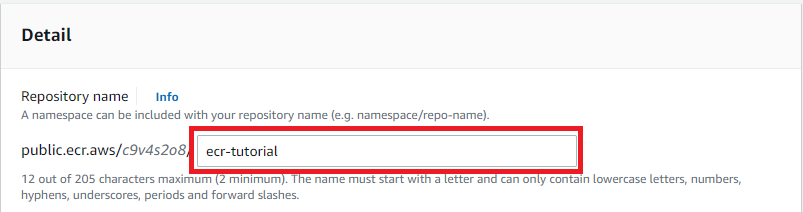
6. Subsequent, enter the identify of the brand new repository. Be sure that you comply with the naming guidelines beneath.
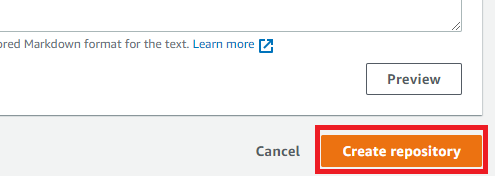
7. Lastly, scroll to the underside of the web page and click on the Create repository button.
Pushing a Docker Picture to ECR
Now that you simply’ve created the repository, the following step on this AWS ECS tutorial is to push the Docker picture file to the repository.
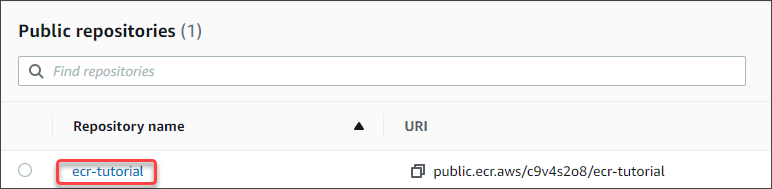
1. Click on the brand new repository named ecr-tutorial to open it.
2. Click on on the View push instructions button to get the instructions you could run in your laptop to push a picture to the repository.
As of this writing, AWS CLI is the one technique to push Docker photographs to ECR.

3. Subsequent, you must see a window just like the one beneath. Copy the instructions for later and click on Shut.
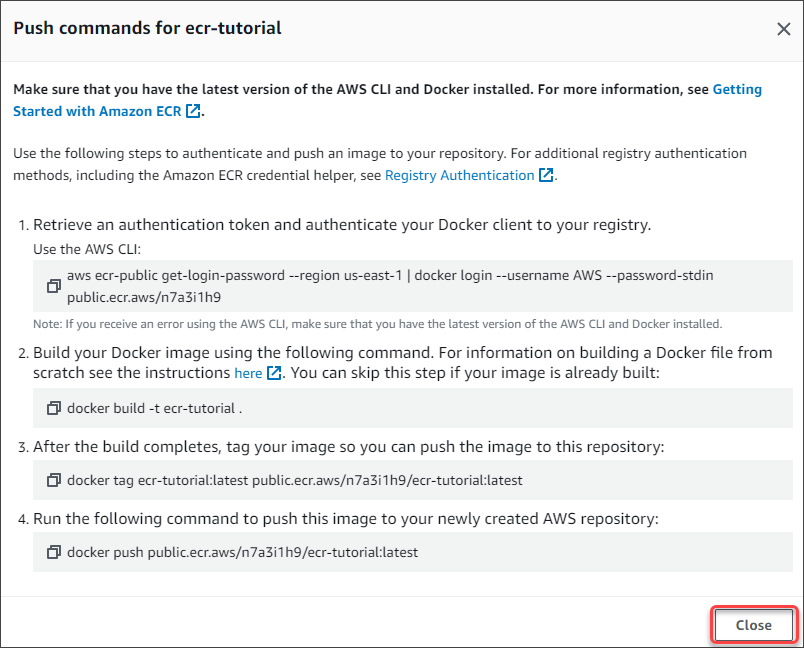
4. Now that you’ve got the instructions to push the Docker picture to the repository, begin by operating the primary saved command to authenticate your Docker consumer to the registry.
aws ecr-public get-login-password --region us-east-1 | docker login --username AWS --password-stdin public.ecr.aws/n7a3i1h9Wait to see a Login Succeeded message to verify a profitable login.

5. Subsequent, execute the next command to construct a brand new Docker picture named ecr-tutorial for this AWS ECS tutorial. Be sure that the Dockerfile file is inside the identical listing.
Be sure that the Dockerfile file is inside the identical listing. If you have already got a Docker picture with the identical identify as your repository in AWS ECS, skip this step.
This command will construct a picture with an internet site that shows the phrases “AWS ECS Tutorial @ AdamTheAutomator.com” listening on HTTP port 80.
docker construct -t ecr-tutorial .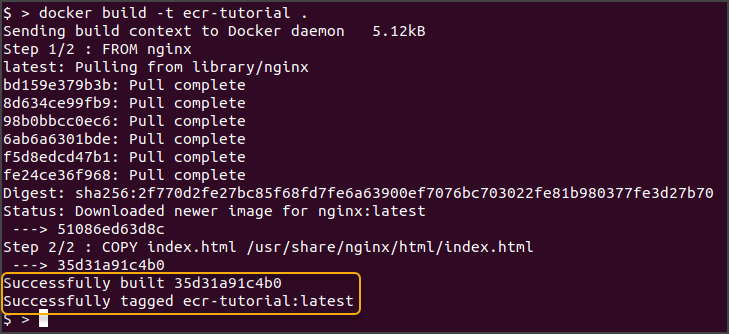
6. Now that you simply constructed the Docker picture, run the next command to tag the picture along with your repository prefix. This step lets you push the picture to your ECR repository later.
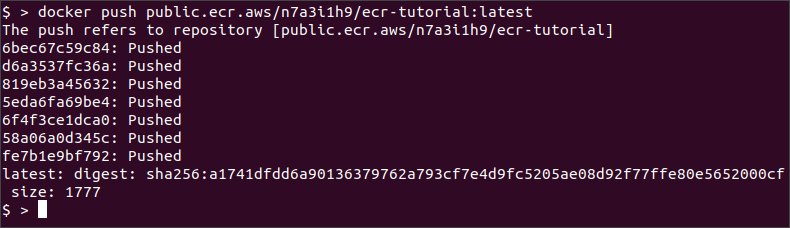
docker tag ecr-tutorial:newest public.ecr.aws/n7a3i1h9/ecr-tutorial:newest7. Lastly, run the next command to push the Docker picture to the repository.
docker push public.ecr.aws/n7a3i1h9/ecr-tutorial:newestThe push course of can final a number of minutes relying in your picture dimension, web pace, and system capability. This instance took lower than one minute to finish.
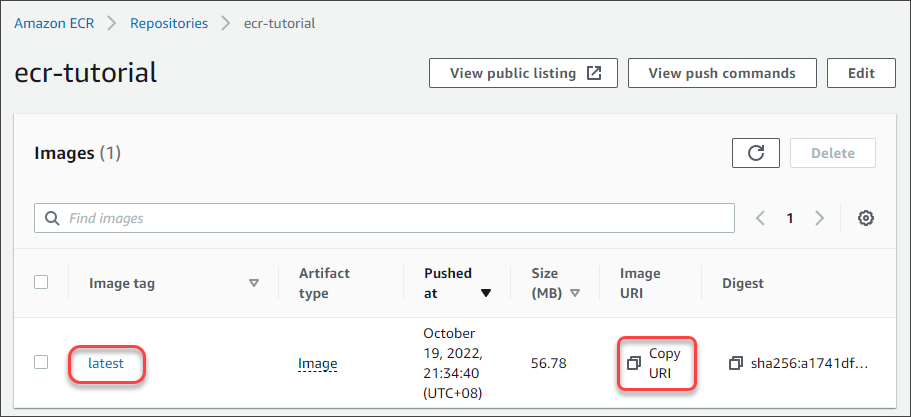
8. Lastly, open your repository in ECR and make sure that you could see the picture you pushed. Click on on Copy URI and paste it into notepad or any note-taking program for later use.
Creating an ECS Cluster
So that you’ve efficiently created a repository and pushed a picture. Earlier than deploying this picture in a container, you could create the ECS cluster. Making a cluster will create the required assets within the background.
Comply with the beneath steps to create a brand new cluster on this AWS ECS tutorial.
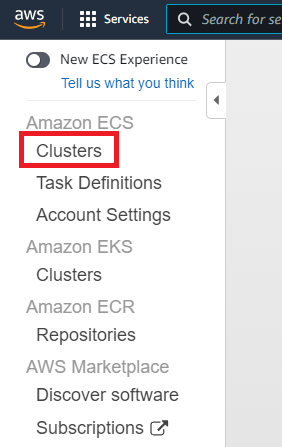
1. Navigate to the ECS web page.
2. Click on Clusters from the sidebar menu underneath the Amazon ECS heading.
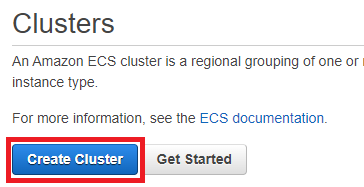
3. Click on on Create Cluster to create a brand new cluster.
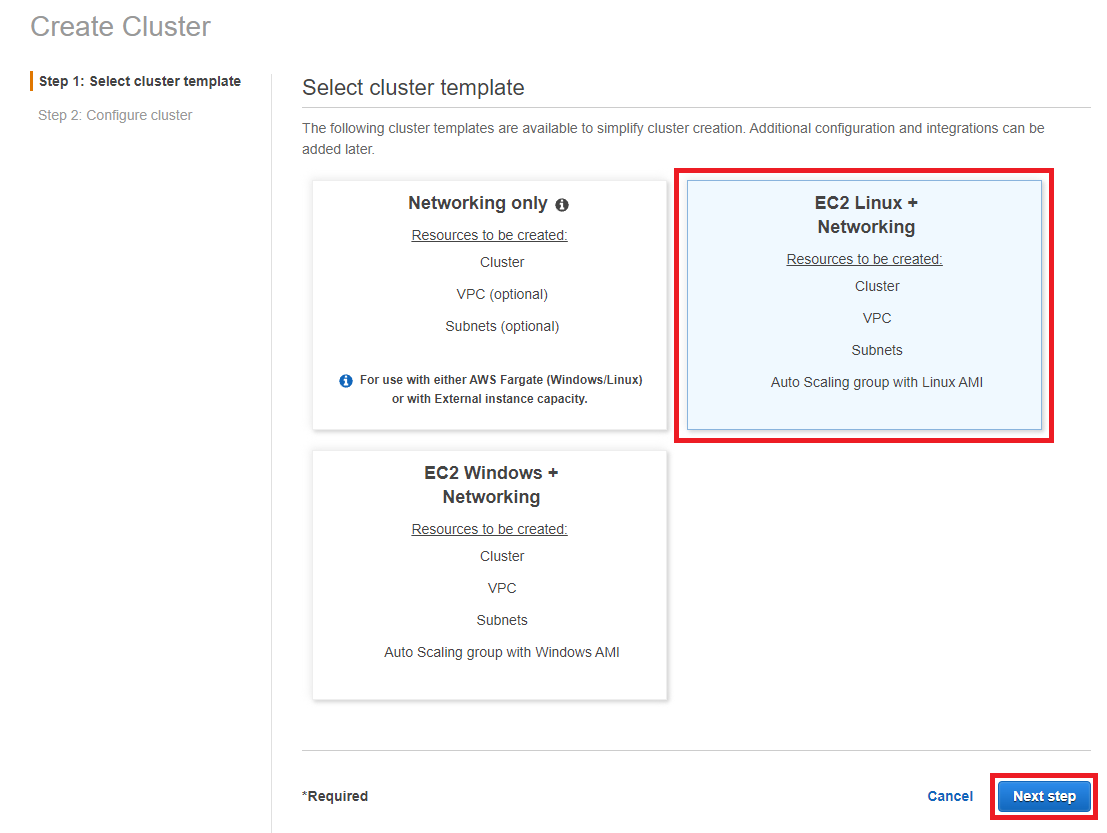
4. Choose EC2 Linux + Networking template, and click on on the choose button.
The EC2 Linux + Networking cluster is preferable for long-term production-level initiatives, whereas Networking solely is appropriate for small testing environments and short-term initiatives.
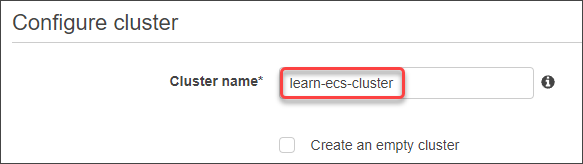
5. Subsequent, enter the Cluster identify. This instance makes use of learn-ecs-cluster because the cluster identify.
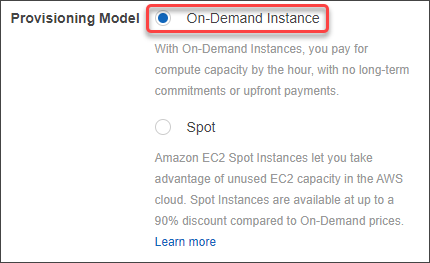
6. On the Provisioning Mannequin, you’ve two choices. The On-Demand Occasion is the pay-as-you-go mannequin, whereas the Spot mannequin prices you a month-to-month fastened value. On this tutorial, select the On-Demand Instanced mannequin.
7. On the EC2 occasion kind, choose the EC2 dimension that the ECS will provision. This instance chooses the t2.micro occasion kind.
Discuss with Amazon EC2 Occasion Varieties for the record of obtainable EC2 occasion sorts.

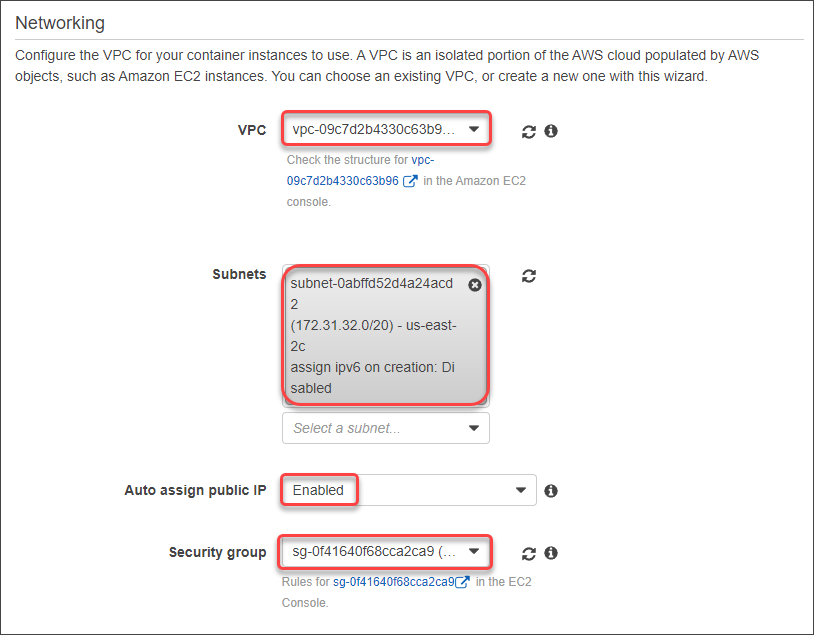
8. Below Networking, specify the VPC, Subnets, and Safety Group for this cluster’s EC2 occasion. Additionally, choose Allow subsequent to the Auto assign public IP in order that the cluster assigns a public IP deal with to your occasion.
Be sure that the Safety group you select has guidelines that permit entry to your utility’s required port(s).
9. Now you’ve crammed in all of the cluster configurations, click on on the Create button to create the cluster.
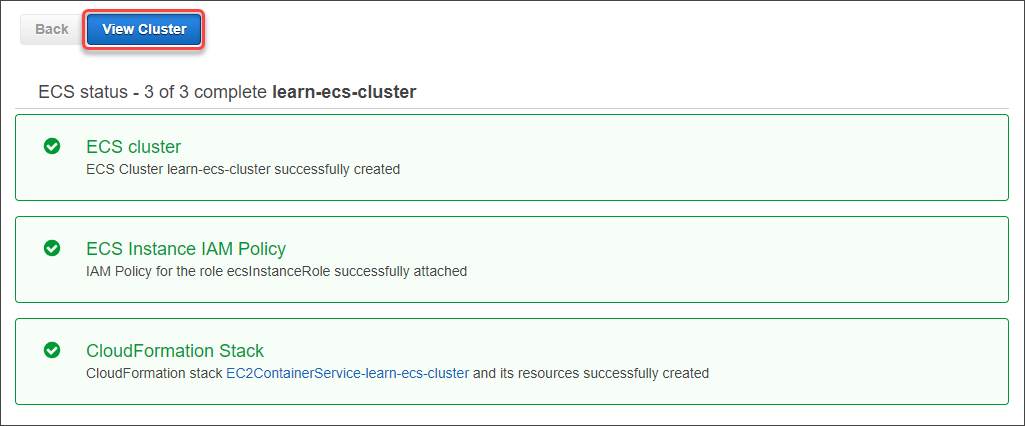
10. As soon as the cluster creation finishes, you will note an identical output to the one beneath. Click on on the View Cluster button.
Making a Job Definition
The next move on this AWS ECS tutorial is creating the Job definition. The duty definition specifies the container data, comparable to the amount of the containers operating within the job and what assets the container will devour.
In essence, making a job definition in AWS ECS is like making a Docker Compose (
docker-compose.yml) file in your laptop.
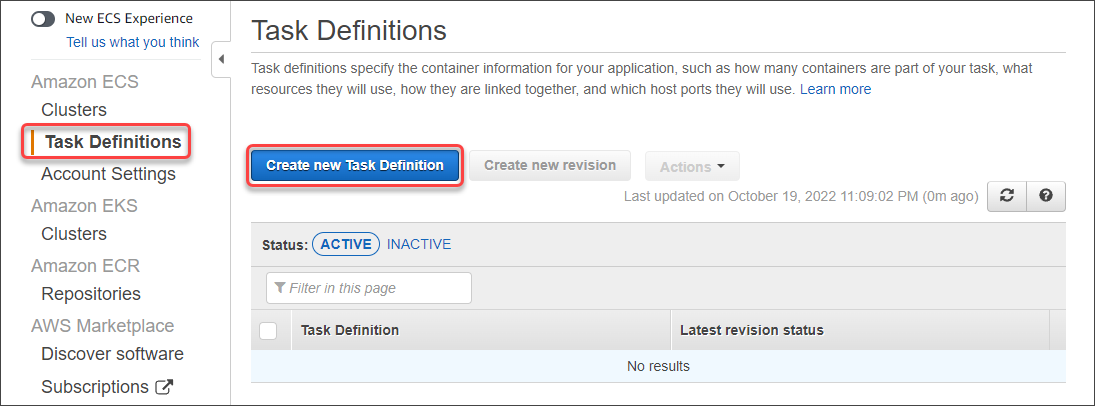
1. Click on on the Job definition from the sidebar menu and the Create new Job Definition button.
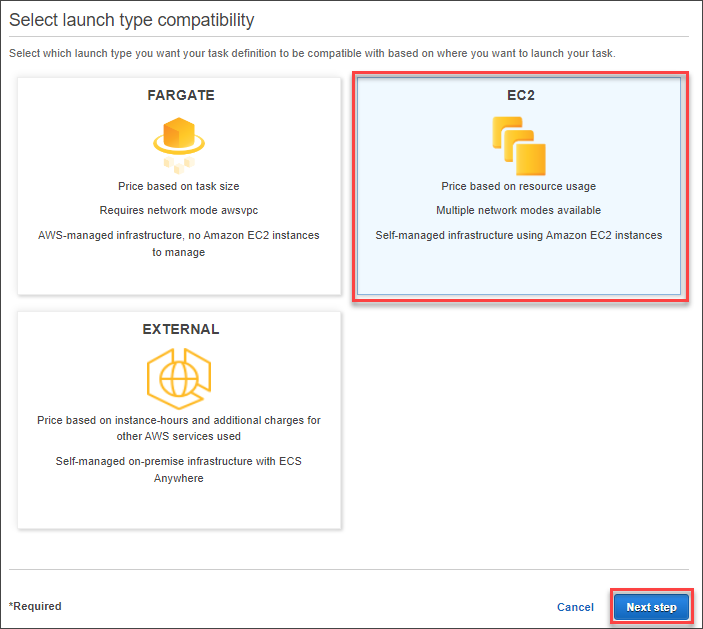
2. Choose EC2 underneath the Choose launch kind compatibility heading as a result of the cluster template makes use of the EC2 template. Click on Subsequent step.
3. Enter the Job definition identify. The identify will be something you need, however select a reputation that’s descriptive of its function.

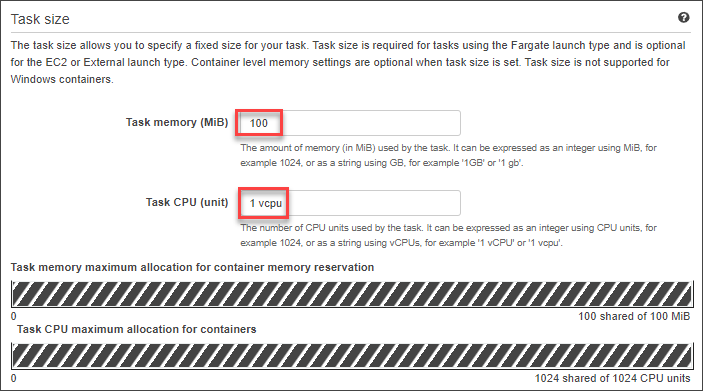
4. Below Job dimension, enter the ample Job reminiscence and Job CPU values primarily based in your evaluation of the duty load. On this instance, the values are 100 (MiB) and 1 vcpu (Unit), that are sufficient to run a primary internet server.
5. Now, create the container definitions, which embrace the picture URI, port mapping, and the container identify, amongst others. To take action, click on Add container.

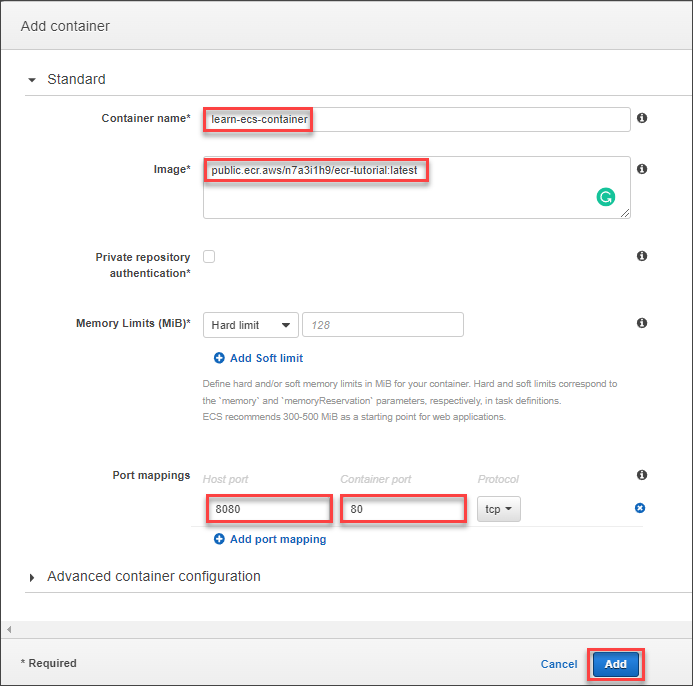
6. Subsequent, enter the next data:
- Container identify – This instance makes use of the identify learn-ecs-container.
- Picture – This Docker picture URI you copied earlier. This instance will fetch the picture at public.ecr.aws/n7a3i1h9/ecr-tutorial:newest.
- Port mappings – The host port and container port mapping. This instance container shall be accessible by way of the EC2 host’s port 8080, and the online server listens to port 80.
After configuring the container, click on Add.
The brand new container definition seems on the record.

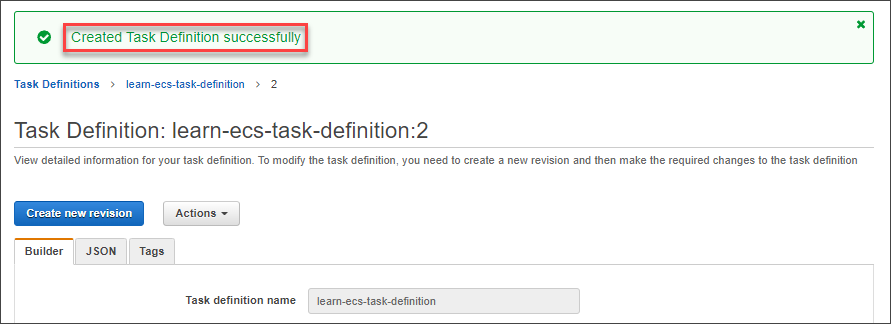
7. Lastly, scroll right down to the underside of the web page and click on Create.
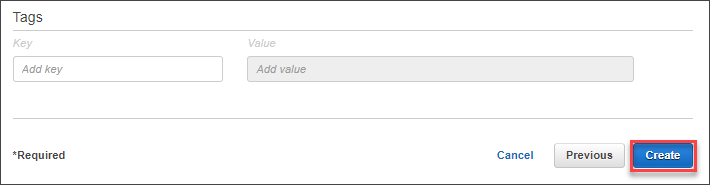
You’ll see a affirmation banner indicating the duty definition creation was profitable.
Working the Docker Container in ECS
The following step on this AWS ECS tutorial is to check whether or not your picture and container deployment works. To take action, you could run a brand new job utilizing the duty definition you created.
1. Click on Clusters → cluster identify (learn-ecs-cluster).

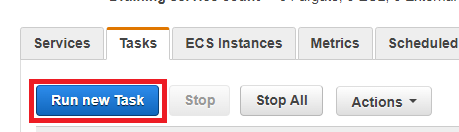
2. Click on the Duties tab and click on on the Run New Job button.
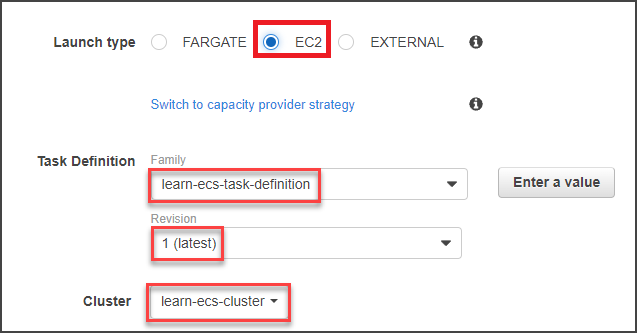
3. On the Run Job web page, choose EC2 because the Launch kind. Assuming that you simply solely have one Job Definition and Cluster, these values will auto-populate. If not, be sure to pick the proper ones.
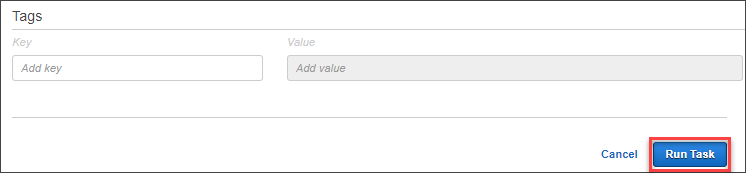
4. Scroll to the underside of the web page and click on the Run Job button.
5. As soon as the duty runs, click on the ECS Situations tab and the ECS Occasion hyperlink.
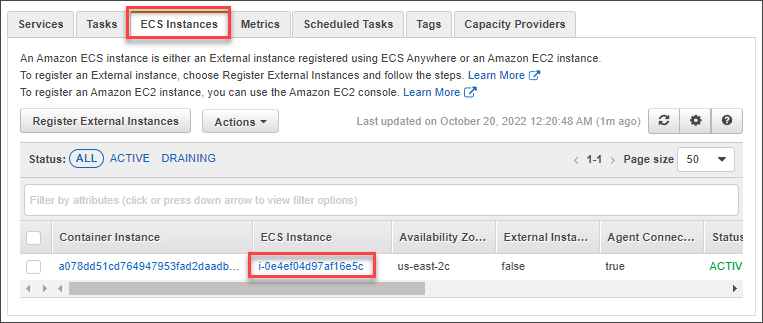
6. Subsequent, copy the Public IP deal with or Public DNS. Both of those two addresses is what you might want to entry the Docker internet utility container.
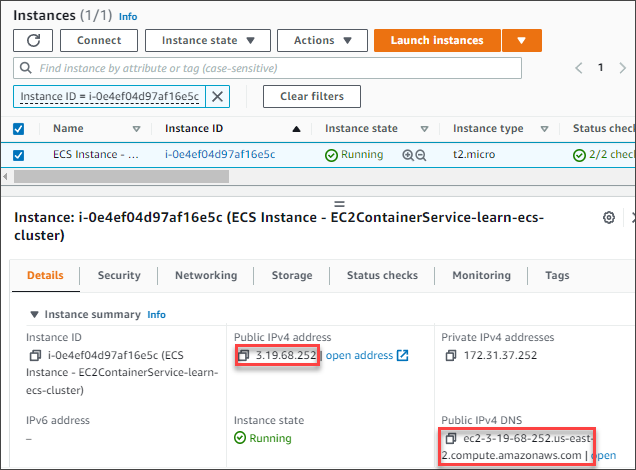
7. Open a browser window and navigate the ECS occasion IP deal with or DNS. Bear in mind to append the host’s port quantity that you simply specified within the container’s port mapping.
Copy the ECS occasion Public IP or DNS
# Public DNS
HTTP://ec2-3-19-68-252.us-east-2.compute.amazonaws.com:8080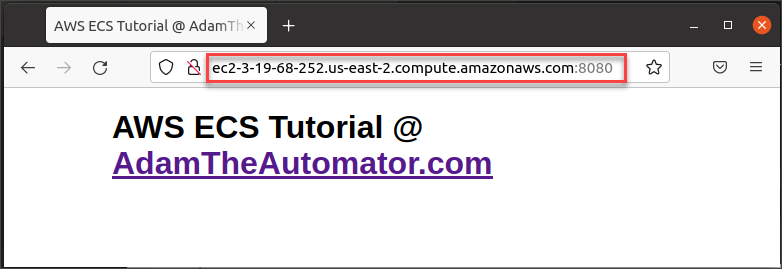
Conclusion
This AWS ECS tutorial taught you how one can create a repository and push a Docker picture. After which, you created a brand new cluster and deployed the Docker container operating an online server.
Did this tutorial spark your curiosity? Do you assume you’ll use AWS ECS in your future mission?