


As your job duties as a Linux administrator might entail managing digital machines (VMs), you’ll seemingly have to learn to use Virsh. No worries, this tutorial has bought you coated.
On this tutorial, you’ll find out about what Virsh is, how you can set up it, and the way you need to use this instrument to handle your VMs.
Prepared? Learn on and take your first steps in direction of turning into a Virsh professional!
Stipulations
This tutorial might be a hands-on demonstration. Should you’d prefer to comply with alongside, be certain you have got the next.
- A Linux system – This tutorial makes use of Ubuntu 20.04, however any trendy Linux distribution will work.
- A Kernel-based Digital Machine (KVM) put in in your Linux system.
- A non-root account with sudo privileges – This tutorial makes use of a root account for simplicity. However utilizing a non-root person with sudo entry is at all times advisable.
- SSH entry to your Linux system.
- A VNC shopper put in in your Linux system – This tutorial makes use of Digital Machine Supervisor and TigerVNC, however different VNC shopper works (TightVNC, RealVNC, or UltraVNC).
Putting in Virsh CLI to Handle KVM
Virsh CLI is on the market in most Linux distributions’ default repositories however will not be put in by default in Ubuntu 20.04 launch and Centos 8 / RHEL 8.
To put in Virsh CLI in your machine:
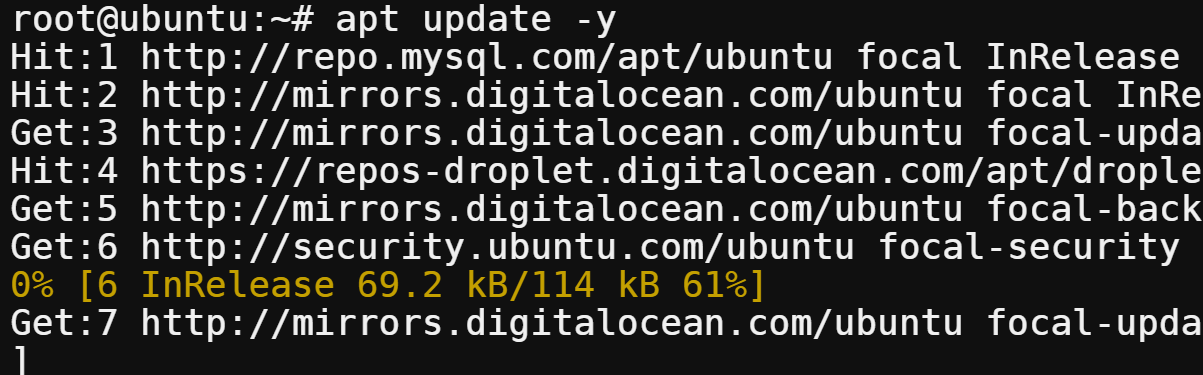
1. Run the beneath apt replace command to replace the apt cache.
This command updates your native package deal index to mirror the most recent upstream modifications.
Should you’re on a non-root person, at all times prepend sudo if you run instructions that require elevated privileges all through this tutorial.
2. Now, run the beneath command to put in Virsh CLI and all associated dependencies:
libvirt-daemon-system– Supplies thelibvirtdaemon and a set of instruments for managing VMs.
libvirt-clients– Supplies the Virsh program, a command-line interface instrument for managing visitors and hosts by the libvirt API.
bridge-utils– Supplies packages to create and preserve Ethernet system bridges between Ethernet units and the KVM visitors in your host system.
virtinst– Supplies a command-line utility for creating new KVM visitors utilizing thevirt-installinstrument.
virt-manager - Supplies a graphical utility (Digital Machine Supervisor) for managing your KVM visitors and hosts by the libvirt API.
apt set up libvirt-daemon-system libvirt-clients bridge-utils virtinst virt-manager -y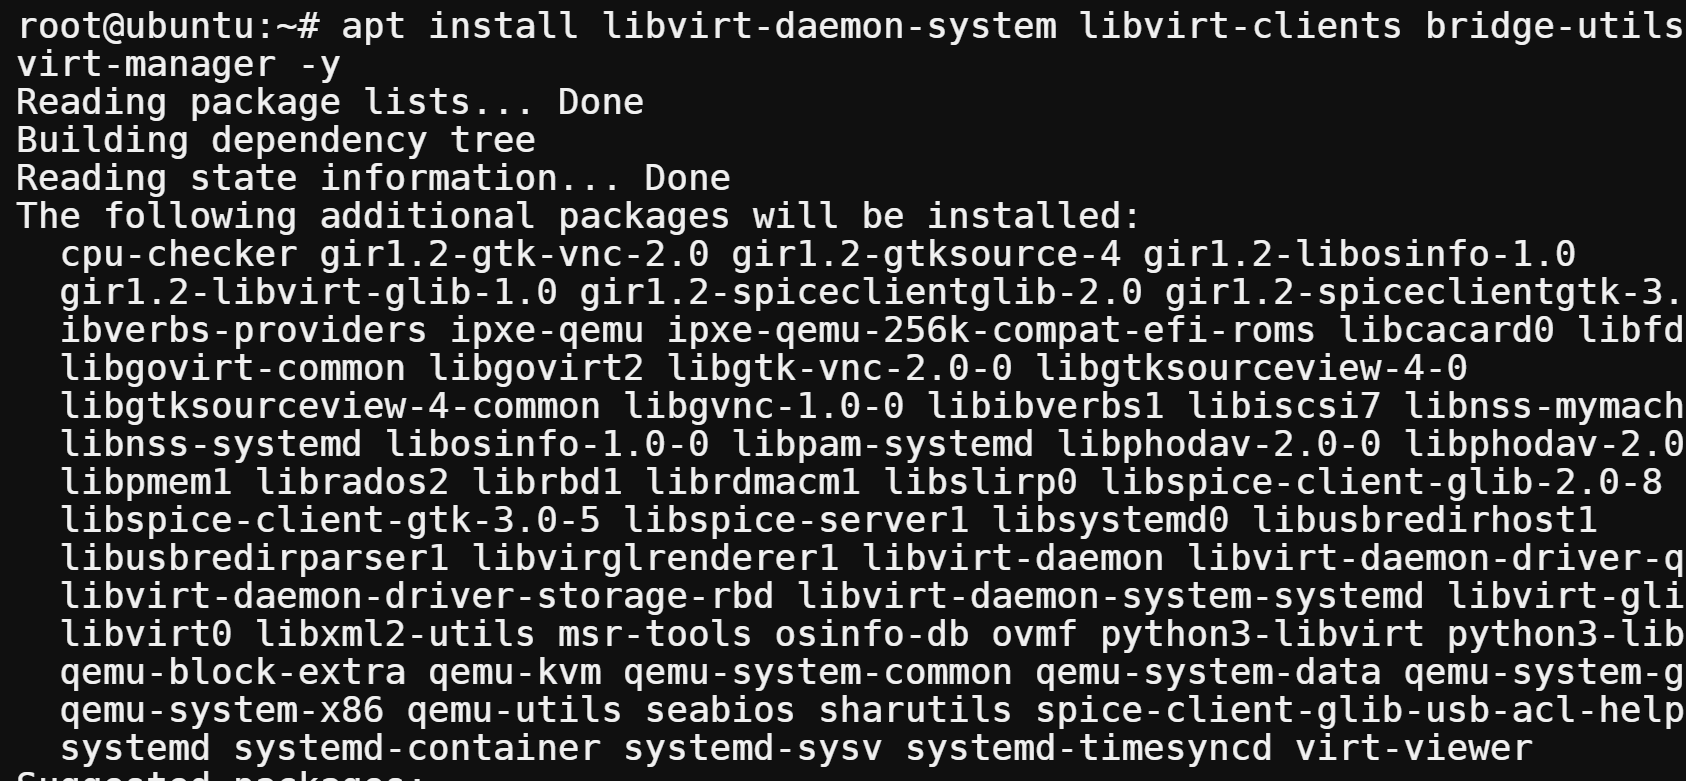
3. As soon as put in, run the beneath virsh command to test the put in model of Virsh.
The put in model of Virsh put in is 6.0.0, as proven beneath. However yours could also be totally different relying on the most recent launch.

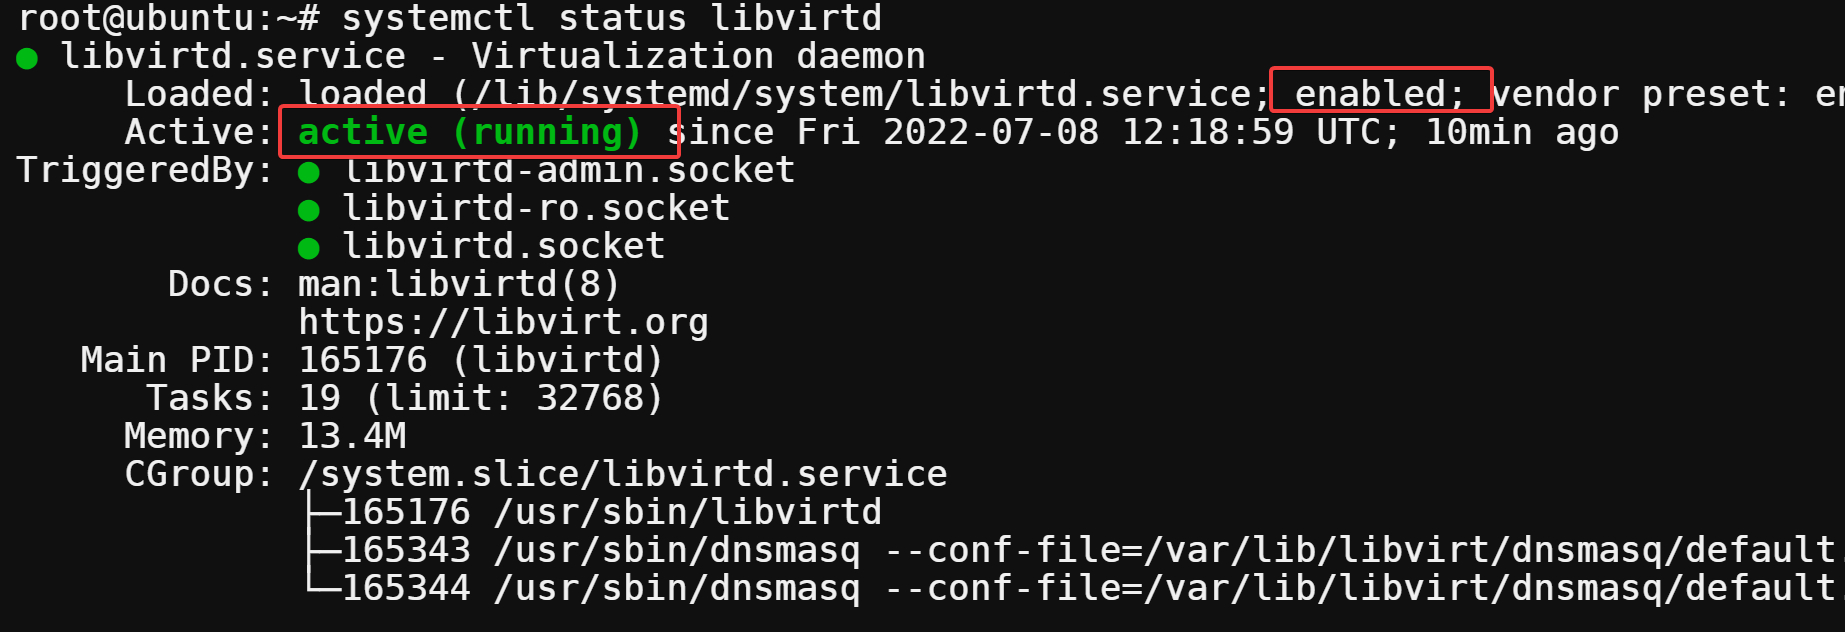
4. Lastly, run the beneath systemctl command to test the standing of the libvirtd service.
systemctl standing libvirtdAs you’ll be able to see beneath, the libvirtd service is lively (operating). This output signifies your system is able to create and handle digital machines utilizing Virsh CLI.
Including a Person to Libvirt and KVM Group
Now that the Virsh CLI is put in, you’ll want a method to join VMs and hosts. However first, you’ll want to add your person account to the Libvirt and KVM teams.
Virsh makes use of the libvirt group for speaking with dæmons operating on a number as a privileged person (usually root). Then again, the KVM group offers customers entry to the /dev/kvm listing for full virtualization.
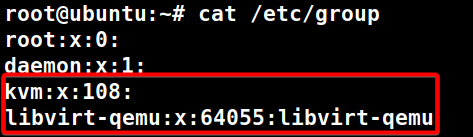
1. Run the beneath cat command to listing all out there teams in your system.
Under, you’ll be able to see the kvm and libvirt teams listed.
2. Subsequent, run every adduser command beneath so as to add your person account to the libvirt and kvm teams. Change the your_username together with your precise person account.
adduser your_username libvirt
adduser your_username kvm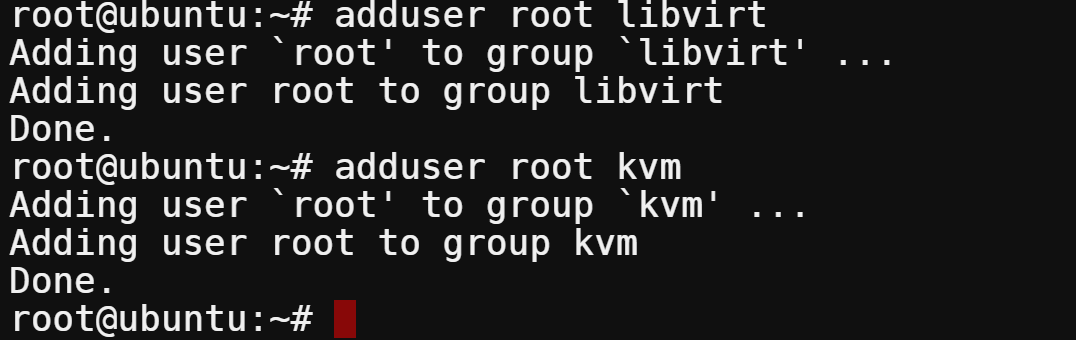
3. Sign off out of your present session and log again in to use the modifications.
4. Lastly, run the next id command to confirm you’ve been added to the libvirt and kvm teams. This command shows details about your person account, together with any teams your person account belongs to.
The output beneath confirms your person account is now within the kvm and libvirt teams.

Making a VM by way of the Virsh CLI
Similar to different CLIs, the Virsh CLI permits you to create VMs. And on this case, you’ll create a VM with the virt-install command-line instrument. virt-install is a command-line instrument for creating new KVM, Xen, or Linux container visitors utilizing the libvirt hypervisor administration library.
To create a brand new VM by way of the Virsh CLI:
1. Run the instructions beneath to carry out the next:
- Create (
mkdir) two directories, one for ISO pictures (iso) and one other for VMdiskpictures. The-pchoice tells themkdircommand to create any father or mother directories that don’t exist but.
- Change the working listing to the /kvm/iso listing.
mkdir -pv /kvm/{disk,iso}
cd /kvm/iso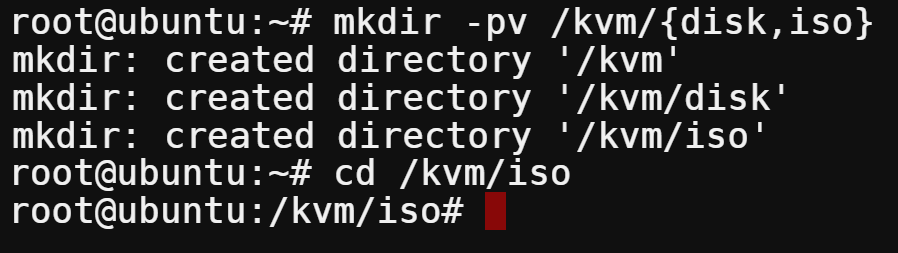
2. Subsequent, run the beneath wget command to obtain a bootable ISO picture of Ubuntu 20.04. However should you favor a distinct model, go to Ubuntu’s launch web page and alter the URL accordingly.
With a bootable ISO, you’ll be able to set up virtually any working system on a digital machine with no need bodily media.
wget https://releases.ubuntu.com/20.04/ubuntu-20.04.4-live-server-amd64.iso3. As soon as downloaded, run the next ls command to confirm you’ve downloaded your ISO file efficiently. Change ubuntu-20.04.4-live-server-amd64.iso with the ISO file’s identify you downloaded.
ls -la ubuntu-20.04.4-live-server-amd64.isoWith a bootable ISO at your disposal, now comes the perfect half — making a VM (step 4).

Be certain that what you get is an ISO file that’s round 2.8 GB in dimension. If not, test when you’ve got UFW firewall guidelines blocking HTTP/HTTPS visitors.
4. Now, change the values within the virt-install command beneath, and run it to create a brand new VM referred to as server-01 towards the bootable ISO you downloaded in step three.
# < -- What does this command do? -- >
# Create a VM named server-01
# Units an OS of Ubuntu 20.04 Linux distro towards a bootable ISO
# Units 1GB of RAM and 10GB of storage for the OS
virt-install --name server-01
--os-type linux
--os-variant ubuntu20.04
--ram 1024
--disk /kvm/disk/server-01.img,system=disk,bus=virtio,dimension=10,format=qcow2
--graphics vnc,hear=0.0.0.0
--noautoconsole
--hvm
--cdrom /kvm/iso/ubuntu-20.04.4-live-server-amd64.iso
--boot cdrom,hd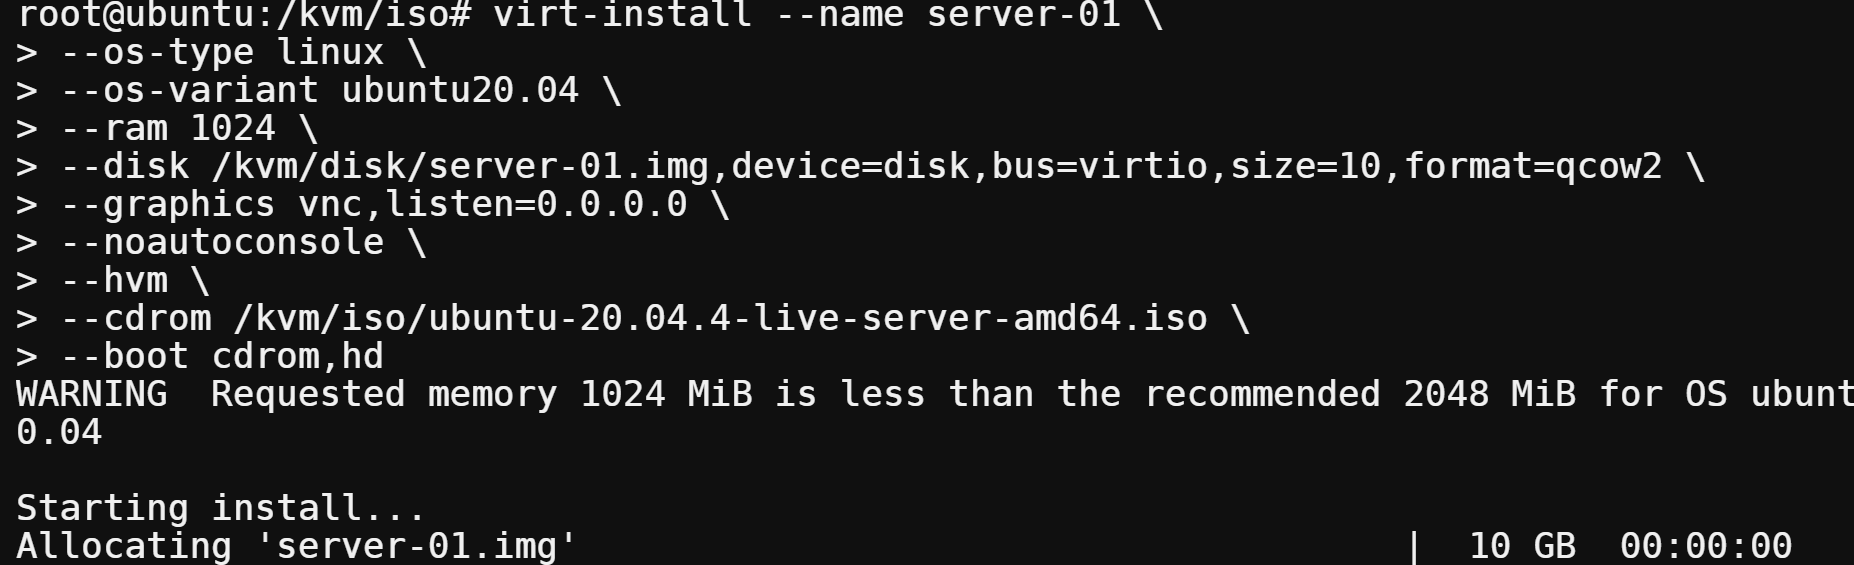
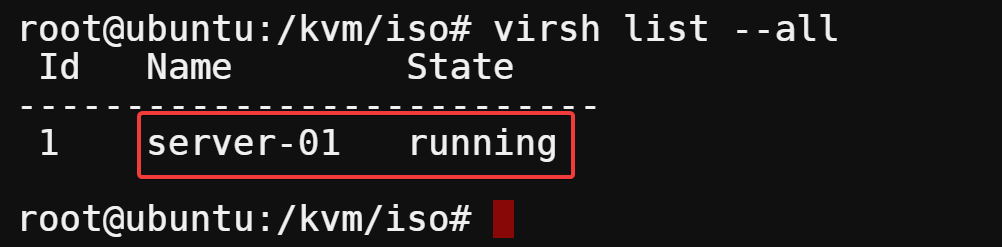
5. After creating your VM, run the virsh listing command beneath to listing all lively (operating VMs) and inactive domains (stopped VMs).
Under, you’ll be able to see every area’s ID, Title, and State. On this case, there’s just one lively (operating) area (server-01).
Connecting to the Visitor VM
You’ve verified your VM is operating, however how do you check in case your VM works? You’ll first have to connect with your VM and arrange its OS since your VM is technically empty.
To hook up with your VM, you want your VNC shopper, like Digital Machine Supervisor:
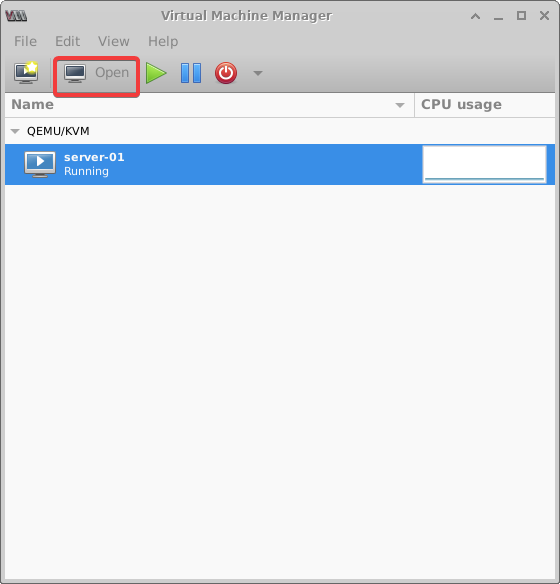
1. Open the Digital Machine Supervisor from the Software Finder, choose your VM (server-01), and click on Open to launch the console.
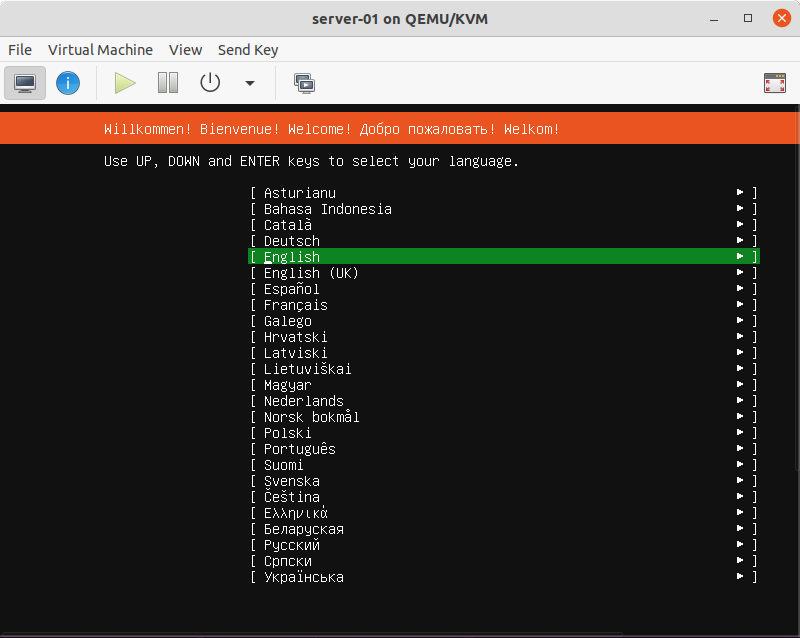
As soon as related, you’ll be able to set up your Linux distro contained in the visitor VM as you usually would on a bodily server.
Should you’re not a fan of the Digital Machine Supervisor, TigerVNC is one other instrument you need to use to connect with the visitor VM within the following steps.
2. Now, run the virsh vncdisplay command beneath to view your VM’s (server-01) port quantity.
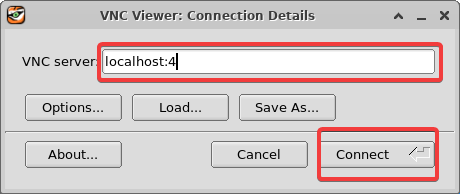
virsh vncdisplay server-01As you’ll be able to see beneath, the VM’s port quantity is 4, however yours could also be totally different. Be aware down the port as you’ll want it to connect with your VM by way of a VNC shopper within the following step.

3. Lastly, open your VNC shopper, and connect with 127.0.0.1:4 or localhost:4 because you’re connecting to a neighborhood VM, as proven beneath.
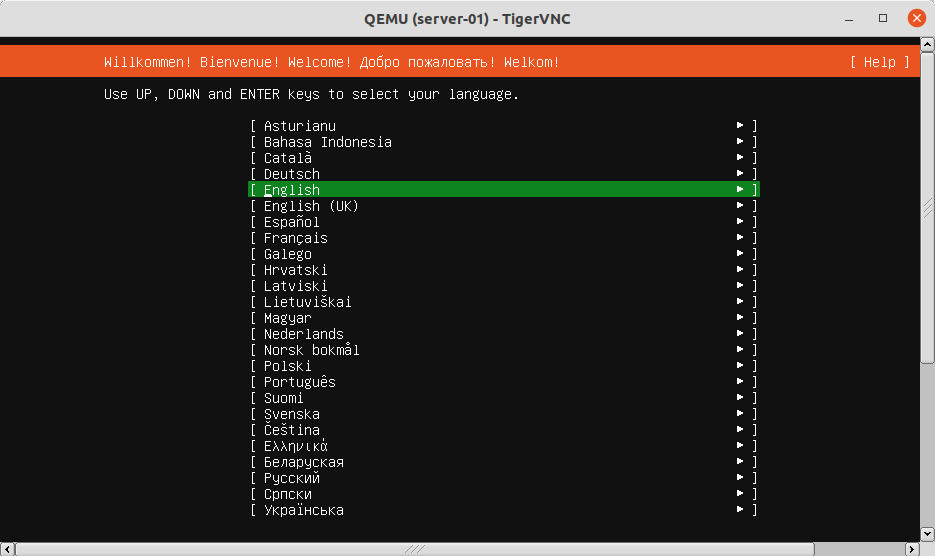
Much like the Digital Machine Supervisor, you’ll be able to set up your Linux distro contained in the visitor VM.
Managing VMs with Virsh CLI
You’ve simply put in one VM, however usually, you’d have a couple of. How do you handle them? Virsh CLI is greater than able to dealing with your VMS. Whether or not you’re beginning, shutting down, or deleting VMs, Virsh CLI can do all that.
1. Run the beneath command to start out your VM (server-01). This command is helpful if you discover out that, for some cause, your VM isn’t operating.

2. Subsequent, run the command beneath to reboot an lively VM (server-01). Rebooting your VM helps updates take impact.

3. Run the next command should you plan to close down your VM as an alternative.
This command is useful when you’ll want to carry out some upkeep duties on the host machine. Or should you simply need to avoid wasting sources by stopping the VM.

4. Now, execute the destroy command beneath to cease an lively area forcefully.
Why forcefully cease a website? The visitor OS might not reply to the shutdown command sooner or later. When that occurs, run this command to fully cease your VM — like pulling the ability wire from a bodily machine.

5. Lastly, run the next command to delete a VM, particularly if it not serves a objective.
Deleting a VM additionally helps you to reclaim cupboard space as all information related to the VM goes, together with the disk picture.
Take warning when deleting a VM. Deleted information related together with your VM can’t be recovered.
virsh undefine server-01 --remove-all-storage
Conclusion
Despite the fact that managing VMs could be difficult, Virsh makes you are feeling like a professional in dealing with them with out the trouble. And on this tutorial, you’ve discovered how you can set up Virsh CLI on a Linux system and arrange a visitor VM utilizing the virt-install command-line instrument. At this level, you’ll be able to confidently handle your Linux KVMs with Virsh.
However don’t cease right here! Why not create extra VMs and configure their community to allow them to talk with one another and the host machine? You may also use virsh alongside brctl to create a number of bridges and join visitor VMs to totally different bridges.