


Do you’re keen on Docker however can’t settle with the command line? Maybe you’re in search of the comfort of a front-end GUI. If that’s the case, then Docker Rancher Desktop could be the answer for you.
Docker Rancher Desktop is a desktop software that may uncomplicate Docker and Kubernetes in your native machine. The applying contains every thing you have to run containers in your pc, together with a GUI, command-line instruments, and an built-in container registry.
Sounds nice thus far? Don’t go anyplace as a result of this text will educate you how one can set up Docker Rancher Desktop in your machine. Additionally, you will discover some options that make Rancher Desktop a horny alternative for builders and ops engineers.
Conditions
This tutorial will probably be a hands-on demonstration. In case you’d wish to comply with alongside, make certain you might have the next.
- Home windows 10 construct 1909 or greater, besides Dwelling Version. This tutorial makes use of Home windows 10 21H2.
- The pc CPU should have virtualization capabilities (Intel VT-x or AMD-V).
- 8 GB of RAM and 4 CPUs (may fit with decrease specs however with decreased efficiency).
- A code editor akin to Visible Studio Code. This tutorial will use Visible Studio Code to show instructions and enhancing code.
Putting in Rancher Desktop
Rancher Desktop is an open-source venture that’s free and obtainable to any main working system, akin to Home windows, macOS, and Linux.
This tutorial will concentrate on Docker Rancher Desktop on Home windows. The performance and interface would be the similar throughout your platform. The one primary distinction is with the set up.
Comply with the beneath steps to put in Docker Rancher Desktop.
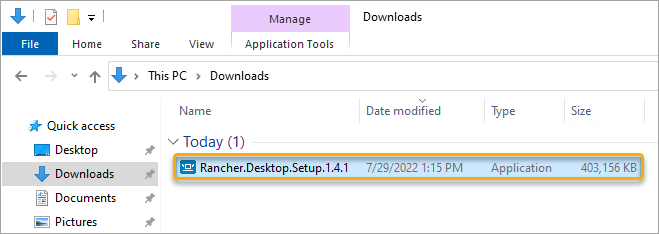
1. Open your internet browser and open the Rancher Desktop GitHub releases web page. The most recent model as of this writing is 1.4.1.
2. Scroll all the way down to the Property part. Click on the Rancher.Desktop.Setup-1.4.1.exe hyperlink. This file is a self-extracting executable. Save this file to a handy location, akin to your Downloads folder.

3. Find and run the setup file to start out the set up.
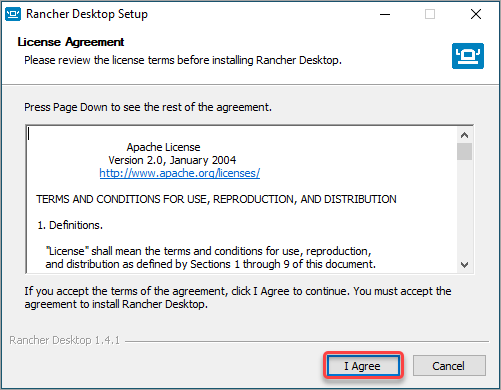
4. On the Rancher Desktop Setup set up wizard that seems, click on I agree to simply accept the license settlement.
The set up begins straight away. Wait a couple of minutes for the set up to finish.

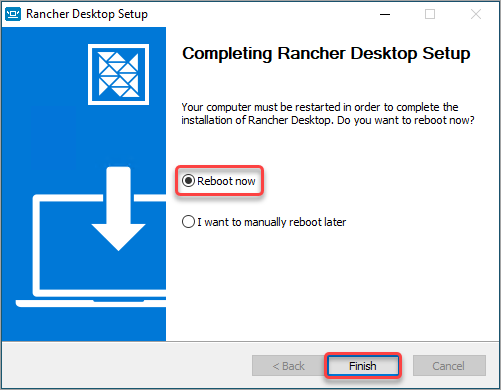
5. After putting in, click on the Reboot now possibility and click on End. The system reboot is critical to finish the Rancher Desktop set up.
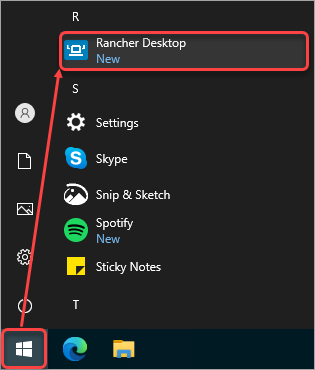
6. Launch the Rancher Desktop software after the reboot, both from the desktop shortcut or the Begin menu.
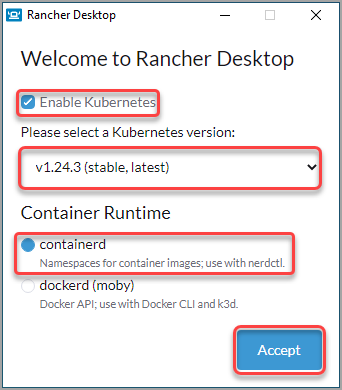
7. The preliminary launch will present you the Welcome to Rancher Desktop window. Go away the default settings (Allow Kubernetes, choose the secure, newest model, and containerd because the Container Runtime) and click on Settle for.
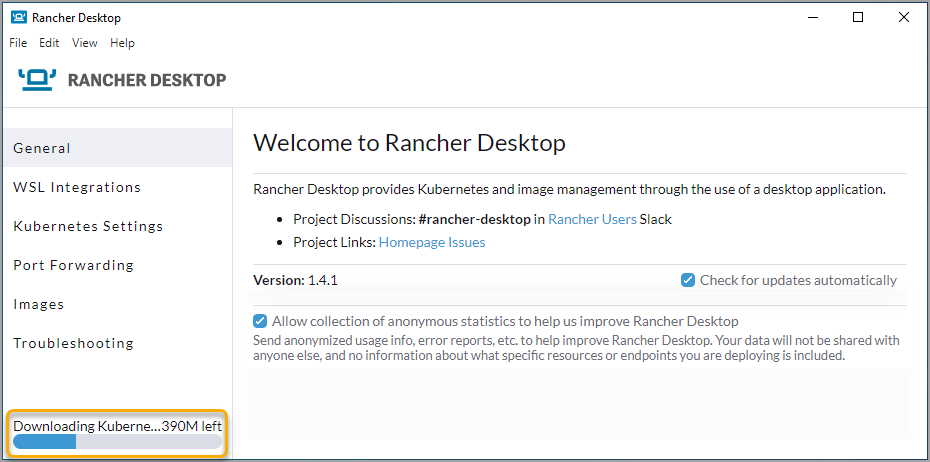
8. Look forward to the Rancher Desktop to complete downloading elements and beginning providers, and also you’ll be prepared to make use of the applying.
Utilizing Rancher Desktop: Constructing Pictures
Now that you’ve got Docker Rancher Desktop put in, you may start utilizing it to construct pictures. This part will educate you how one can construct a easy hello-world picture utilizing a Dockerfile and the nerdctl CLI.
Earlier than diving in deep, familiarize your self with the instruments and names you’ll use as a part of Rancher Desktop.
kubectl - the command-line interface for managing Kubernetes.
nerdctl - the command-line interface for managing (construct, run, and push) pictures for Nerd functions.
- Docker Compose – the device for outlining and operating multi-container functions.
- Moby – a device for accelerating the event of containerized functions.
Word: You’ll use the nerdctl and kubectl all through this tutorial.
Comply with the beneath steps to construct a boilerplate hello-word picture.
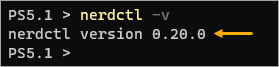
1. Open a PowerShell window.
2. Run the next command to confirm the nerdctl model. This step ensures that nerdctl is obtainable in your machine.
3. Run the beneath command to create a brand new hello-world folder in your profile listing. This folder will host the recordsdata associated to your hello-world software.
mkdir ~/hello-world ; cd ~/hello-world4. Open the present folder in Visible Studio Code.
5. As soon as in VSCode, click on on the New File icon and create a brand new file known as Dockerfile.

6. Copy and paste the next content material into this Dockerfile file. This content material defines a hello-world picture that prints “Good day, world!” on the display. Save the file after enhancing.
FROM alpine

CMD ["echo", "Hello World!!"]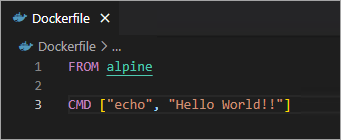
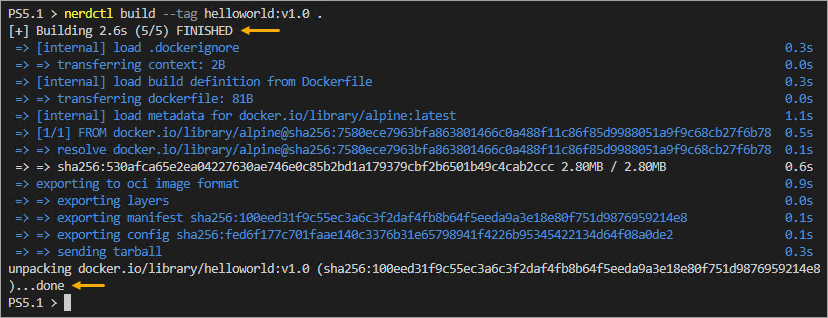
7. Run the beneath command on the terminal to construct the picture domestically.
- The –tag flag specifies a reputation and tag for the picture (helloworld:v1.0).
- The . (dot) on the finish of the command tells nerdctl to search for the Dockerfile within the present working listing.
nerdctl construct --tag helloworld:v1.0 .If the construct is profitable, you will note the next output.
8. Record the pictures in your native registry by operating the next command.
You will note the helloworld picture within the output. You may as well see the picture’s ID, Created time, and Dimension.

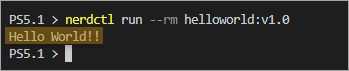
9. Run the next command to run the container. The –rm flag tells nerdctl to take away the container after operating. This flag is helpful for growth and testing as you may rapidly create and destroy containers with out worrying about disk area.
nerdctl run --rm helloworld:v1.0You will note the next output after efficiently operating the container.
10. Lastly, take away the picture from the registry to release disk area if you happen to don’t use it anymore. To take action, run the beneath command to untag and delete the picture from the registry.
nerdctl rmi helloworld:v1.0
Deploying a Container to Kubernetes
To date, you might have constructed a hey world container picture and run the container domestically. On this part, you’ll study to construct and deploy an NGINX picture to Kubernetes and expose it domestically.
Creating an NGINX Picture
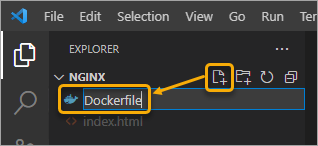
1. Create the nginx folder and open that folder in VSCode.
mkdir $env:USERPROFILEnginx
code $env:USERPROFILEnginx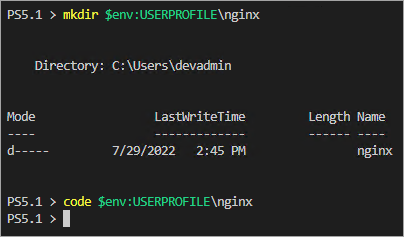
2. As soon as in VSCode, click on the New File icon and create a brand new file named index.html.
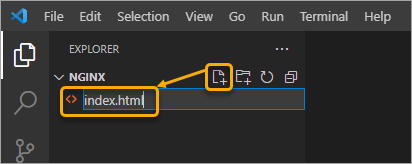
3. Copy the code beneath, paste it into index.html, and save the file.
<h1>Good day World from NGINX!!</h1>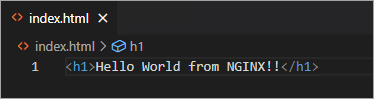
4. Subsequent, create a brand new file named Dockerfile.
5. Paste the next content material into the Dockerfile and put it aside. This file makes use of the official NGINX picture as a base and copies the index.html file from the native file system into the NGINX container.
FROM nginx:alpine

COPY . /usr/share/nginx/html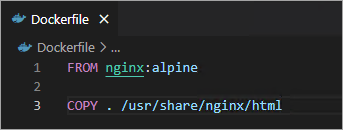
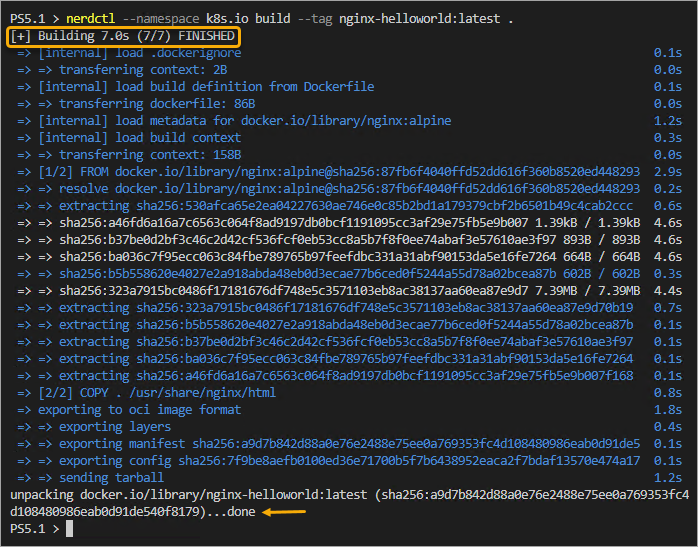
6. Run the next command to construct the picture. The –tag flag tags the picture with nginx-helloworld:newest. The –namespace flag specifies the Kubernetes namespace through which to construct the picture. The ensuing picture will probably be obtainable within the k8s.io namespace.
nerdctl --namespace k8s.io construct --tag nginx-helloworld:newest .The screenshot beneath reveals a profitable picture construct.
7. Record the pictures within the k8s.io registry.
nerdctl --namespace k8s.io picturesYou will note nginx-helloworld picture within the outcome.

Deploying the NGINX Container to Kubernetes
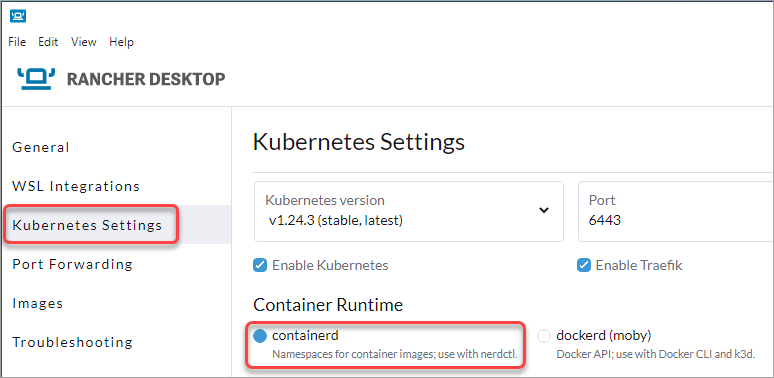
1. Open the Rancher Desktop software, click on the Kubernetes Settings, and be sure that the containerd container runtime is chosen. Kubernetes requires the containerd runtime to run containers.
2. Swap to the VSCode PowerShell terminal and run the beneath command to deploy your NGINX container to Kubernetes. This command creates a deployment named hello-world and exposes it on port 80.
The –image-pull-policy=By no means flag ensures that kubectl doesn’t pull the picture from the distant registry. By default, Kubernetes will attempt to pull pictures from a distant registry if unavailable domestically. On this case, you’re forcing the native picture (nginx-helloworld:newest).
kubectl run hello-world --image=nginx-helloworld:newest --image-pull-policy=By no means --port=803. Subsequent, run the next command to ahead the container’s port 80 to the host’s port 8080.
kubectl port-forward pod/hello-world 8080:80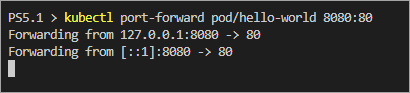
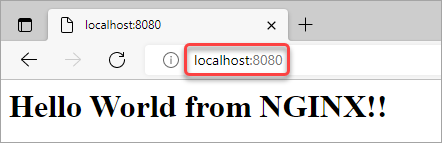
4. Now, open your internet browser and entry the applying by this URL → http://localhost:8080. You will note the next output.
Conclusion
This tutorial taught you how one can get began with Docker Rancher Desktop and Kubernetes. You could have additionally discovered how one can construct a easy NGINX picture and deploy it to Kubernetes.
At this level, it’s best to have understanding of how one can use Rancher Desktop and Kubernetes. Now you can proceed exploring Kubernetes and study extra about its options.
With this newfound data, you can begin constructing extra advanced functions and deployments. Why not create a Multi-Node Cluster with k3d and deploy a WordPress web site on prime of it?