


Writing a PowerShell script and operating it in your laptop is a breeze if the issue you’re fixing is straightforward. However what occurs when it’s essential run it on a schedule (when your laptop is off), combine it with a bigger automation workflow, or require much more horsepower than your drained, ol’ Dell laptop computer?
The reply? Azure Capabilities!
By leveraging the serverless computing platform Azure Capabilities, you may construct skilled, sturdy problem-solving PowerShell scripts within the cloud without cost! Let me present you the way.
This tutorial is #1 in a two-part sequence. This tutorial will begin from the start by exhibiting you methods to get VS Code arrange and methods to create your first Azure operate for operating PowerShell.
In case you’d wish to skip forward, take a look at Easy methods to Execute PowerShell Azure Capabilities with HTTP Triggers.
Stipulations
This tutorial is meant to be a reader walkthrough. You’ll be constructing a real-world instance of operating PowerShell within the cloud to learn the way Azure Capabilities work with PowerShell. In case you intend to comply with alongside, you’ll want the next:
- A Microsoft Azure subscription. A subscription is free, and so is every thing you’ll be doing in Azure Capabilities
- Entry to an Azure account with rights to create and execute an Azure operate.
- Visible Studio (VS) Code – Though you can write PowerShell within the browser, you’ll by no means do that within the real-world constructing an actual answer. You’ll do every thing in VS Code for this tutorial.
- The PowerShell extension for VS Code put in
This tutorial is finest for these with a little bit Azure Operate expertise and PowerShell. You gained’t learn to write PowerShell and might be anticipated to know of Azure Capabilities and just a bit little bit of what they’re able to. In case you’d like an introduction to Azure Capabilities, take a look at Jeff Brown’s wonderful ATA Studying tutorial.
Venture Abstract
This sequence of tutorials mix to type a mini-project. You’ll construct, from scratch, a small answer requiring a single Azure operate, all from inside VS Code. For this undertaking, you’ll:
- Arrange VS Code
- Create an Azure Operate for operating PowerShell that may execute from an HTTP occasion name like a webhook
- Execute a easy PowerShell script by HTTP endpoint identical to an API
In case you comply with this two-part sequence, you’ll know the fundamentals of making and executing your first Azure operate that runs any PowerShell script within the cloud!
Set up the Azure Capabilities VS Code Extension
VS Code has an extension that means that you can create and handle Azure Capabilities with out leaving VS Code. Let’s get that arrange first.
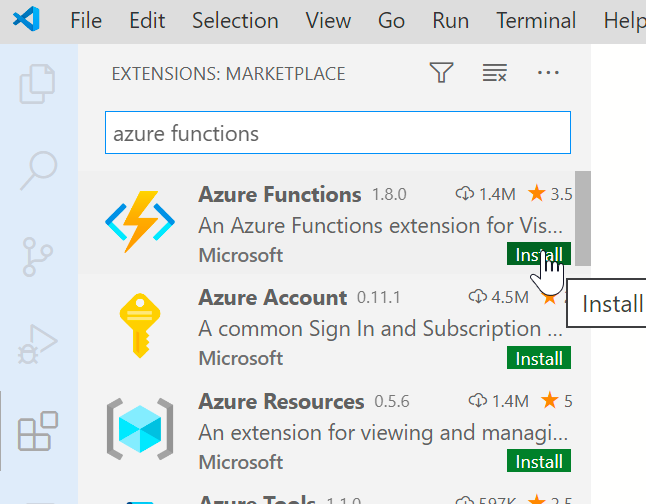
Open VS Code, click on on the Extension icons, sort azure features within the search field, and click on on Set up. This motion will set up the Azure Capabilities extension and any dependent extensions like Azure Account and Azure Sources.
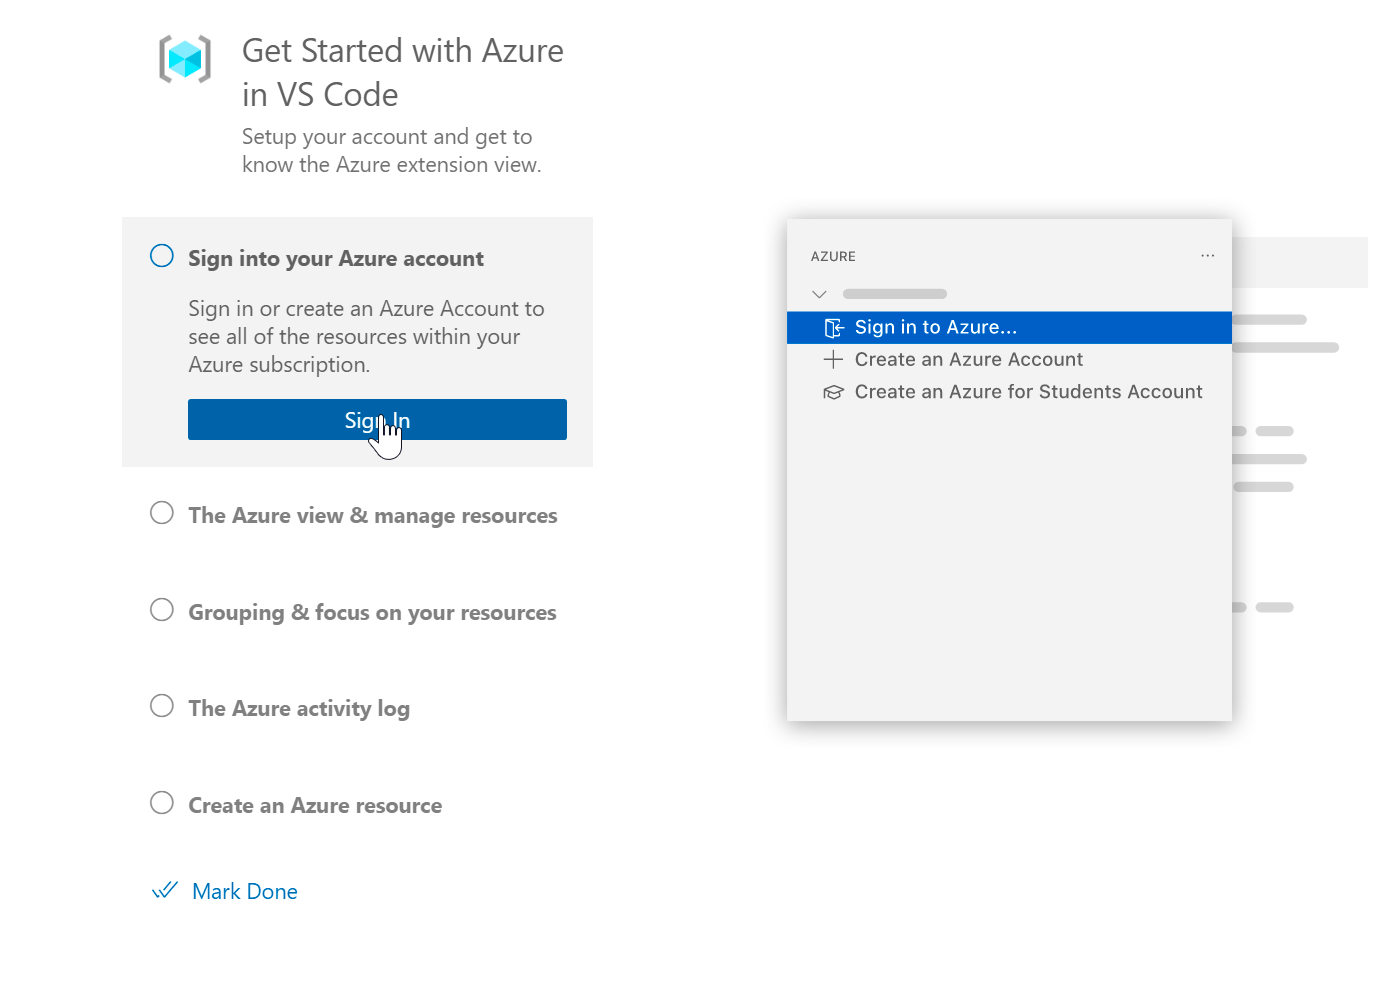
In case you don’t have every other Azure extension put in, VS Code will ask you to signal into Azure. Click on the Signal In button to offer your Azure account username and password.
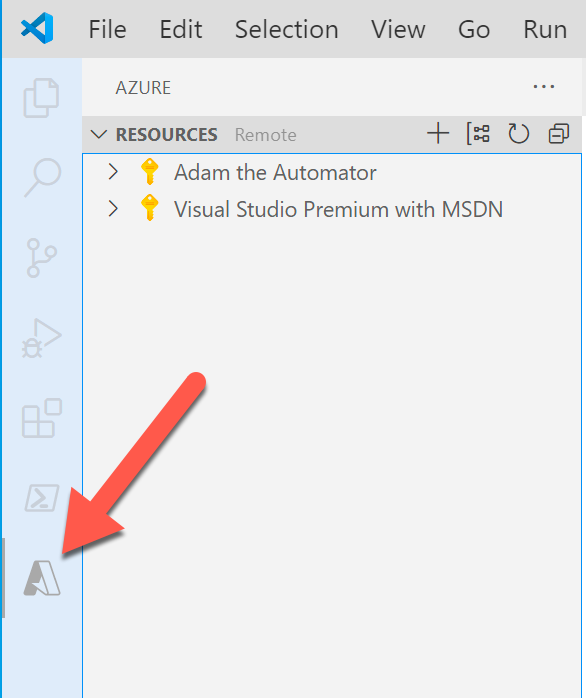
As soon as signed in, it’s best to see an Azure icon alongside the left aspect with an inventory of all of your Azure subscriptions.
Create the Azure Operate App
When you’ve put in the Azure Capabilities extension, it’s time to create the operate app.
All features are constructed inside Azure Operate apps as a method of grouping like features collectively that may scale collectively.
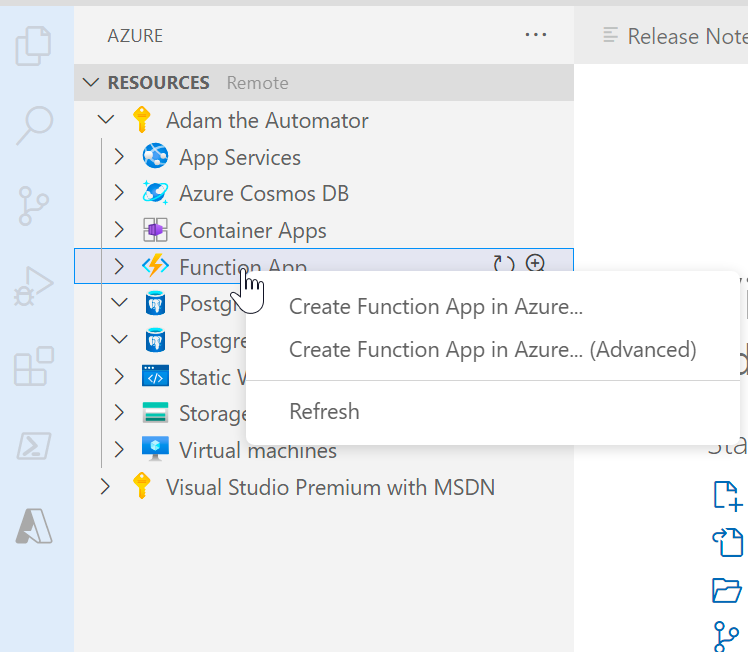
1. Click on on the Azure icon alongside the left aspect and broaden the subscription you’d wish to create the operate in. You’ll see a couple of useful resource classes, considered one of them being Operate App.
2. Proper-click on Operate App and click on on Create Operate App in Azure… (Superior). Selecting the “Superior” possibility right here is pointless however permits us to clarify a little bit bit about every possibility earlier than creation.
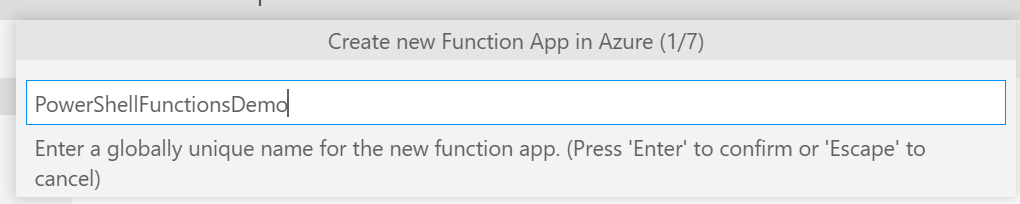
3. Assign your operate a globally distinctive identify. This tutorial will name the operate PowerShellFunctionsDemo.
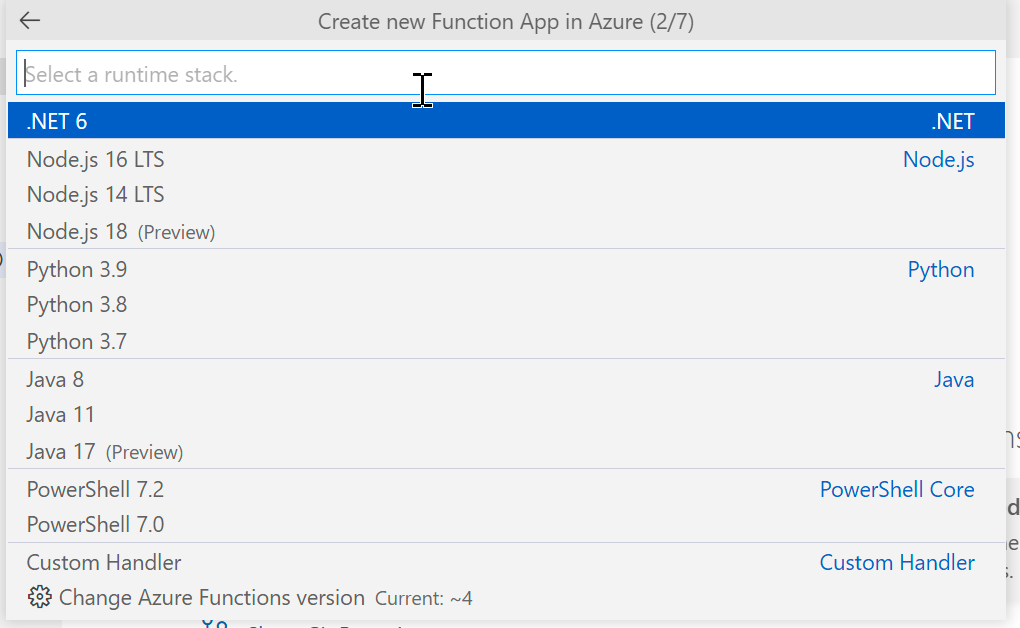
4. Subsequent, present the runtime stack. All features within a operate app will execute utilizing the identical runtime. For this instance, select PowerShell 7.2 as a result of the entire code we’ll be executing might be PowerShell code.
5. Choose an working system (OS). In case you want some Home windows-specific performance, select Home windows right here in any other case, select Linux for velocity. For this tutorial, select Linux.

6. Choose the useful resource group to create the Operate app into or create a brand new one. This tutorial will use the PowerShellAzFunctionsDemo useful resource group.
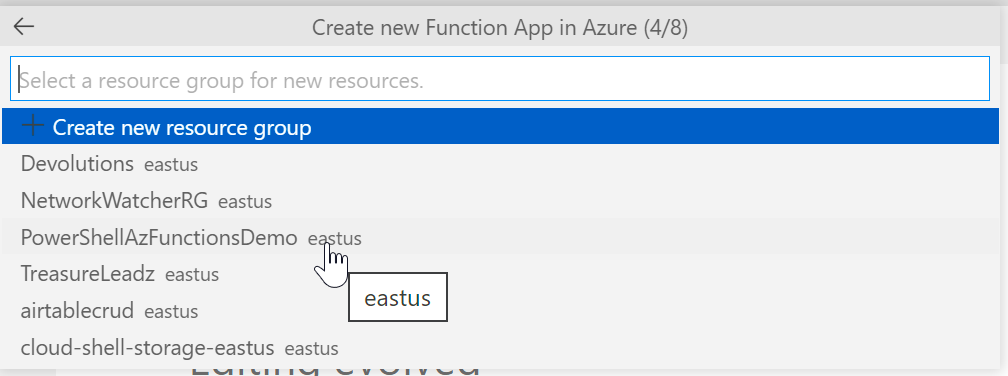
An Azure Operate app will depend on different assets that Azure will create within this useful resource group.
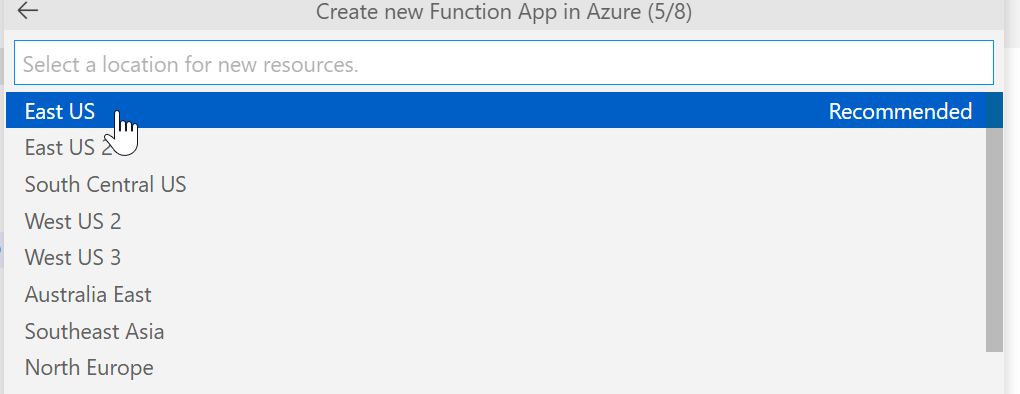
7. Select your required area.
8. Select a internet hosting plan. This tutorial will use Consumption because it’s free as much as 1M executions. In a manufacturing surroundings, if you happen to want:
- Useful resource-intensive purposes
- Code must run longer than 10 minutes
- Customized software program or configuration
You’ll want to research the Premium or App Service Plan choices.

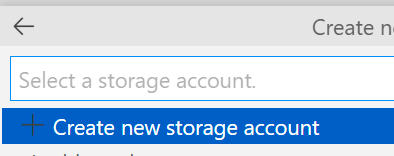
9. Create a brand new storage account or select an present one. The tutorial will create a brand new storage account referred to as psazfunctionsdemo because the storage account identify has a most of 24 characters and may solely be lowercase.
Azure Operate apps use a storage account to retailer code. Although you may be billed for storage use, the quantity is only some cents/month because the code will simply be PowerShell code.
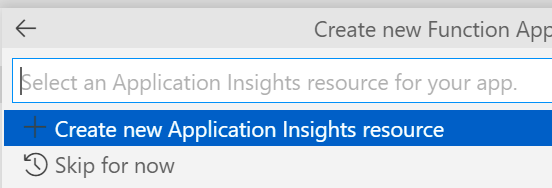
10. Choose an Utility Insights useful resource (in case you have one), create a brand new one, or skip this step. For this tutorial, click on on Create new Utility Insights useful resource to allow Utility Insights on the operate app.
Microsoft recommends utilizing Utility Insights to ship operate logs for higher visibility and to retailer them however isn’t required.
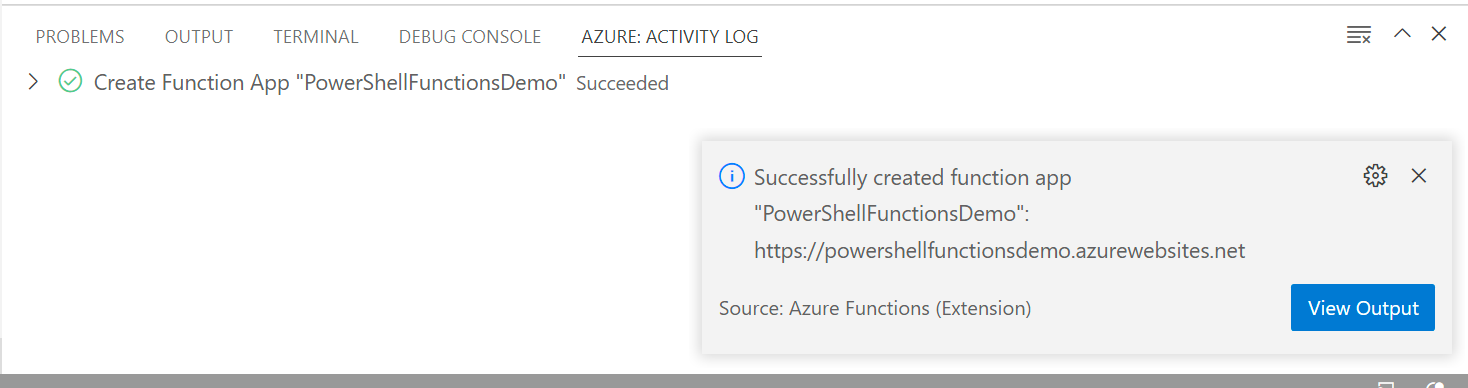
When you’ve answered the entire questions, VS Code will attain out to Azure and start constructing the Operate app. It is best to see the progress within the Azure Exercise Log.
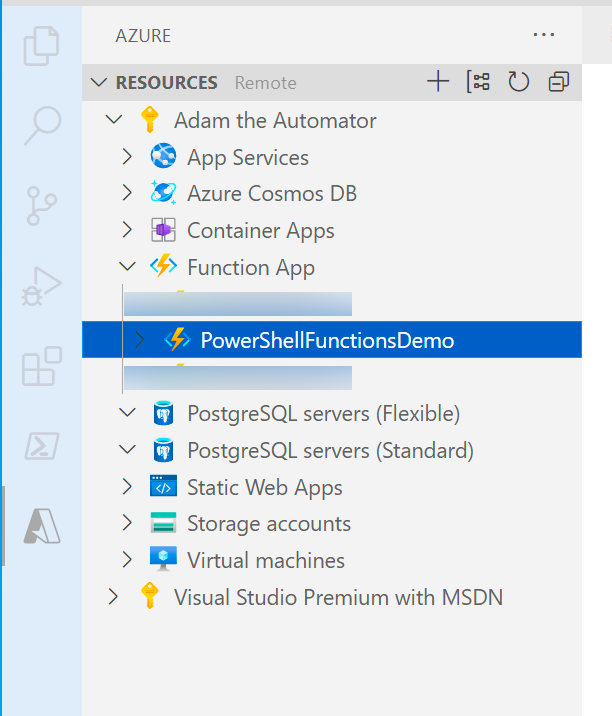
Click on on the Operate App within the Azure useful resource explorer once more and it’s best to now see your operate app!
When you’ve answered the entire questions, VS Code will attain out to Azure and start constructing the Operate app. It is best to see the progress within the Azure Exercise Log.
Click on on the Operate App within the Azure useful resource explorer once more and it’s best to now see your operate app!
Create a PowerShell Azure Operate
At this level, you’d assume you can right-click on the Operate app simply created and select one thing like New Operate, however you’d be mistaken! To create a operate inside a Operate app, you’ll have to create a Workspace first.
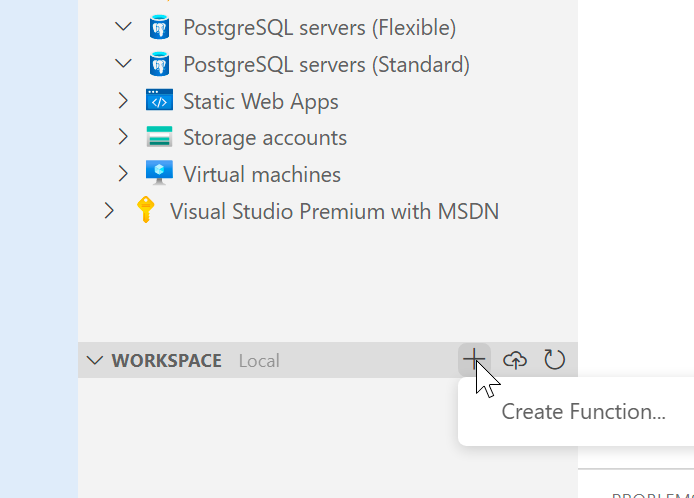
1. To create a workspace, click on on the + on the WORKSPACE title bar and click on on Create Operate, as proven beneath.
2. Click on on Create new undertaking as VS Code will pressure you first to create a undertaking to carry the operate.
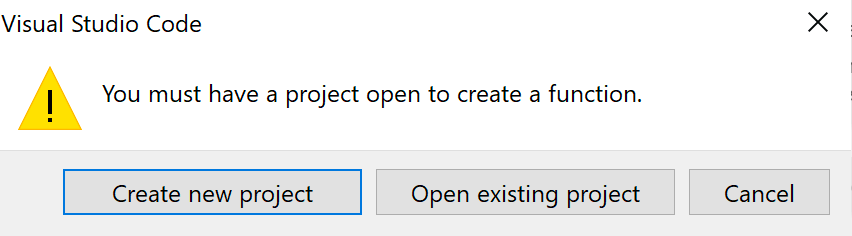
A undertaking is VS Code’s means of storing features inside a Operate app. Azure doesn’t know something about this undertaking because the “undertaking” will solely be referenced in your native VS Code occasion.
3. Choose a folder someplace in your laptop to retailer the undertaking and the entire recordsdata that might be related along with your operate.
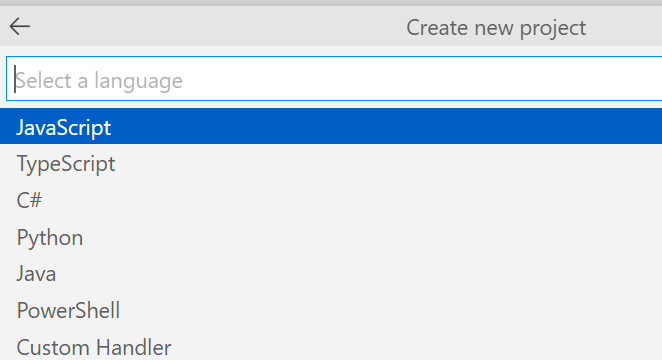
4. After you choose the folder, select PowerShell as the kind of undertaking.
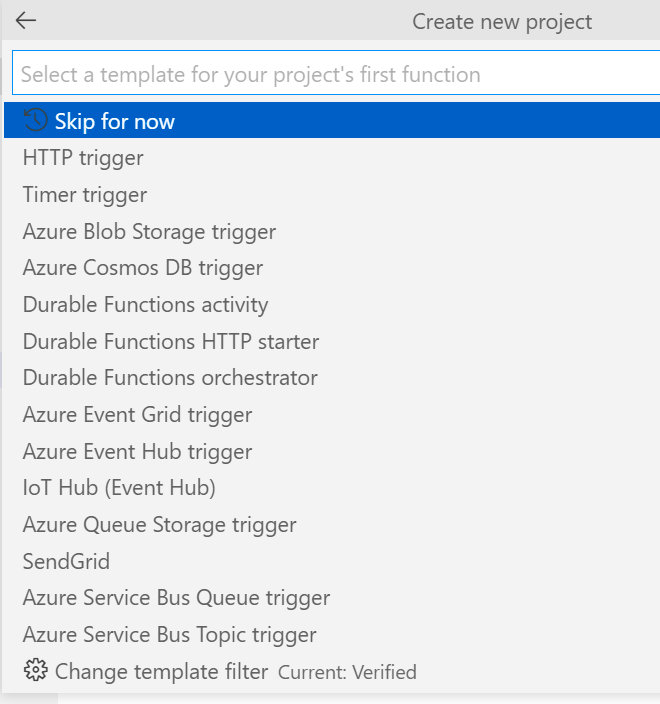
5. Now select a set off. Azure Capabilities require a set off or technique of execution for each operate. A set off is used as an occasion to know when to execute, on this case, a PowerShell script.
This tutorial will present you to execute a PowerShell script primarily based on an HTTP name, so select HTTP set off.
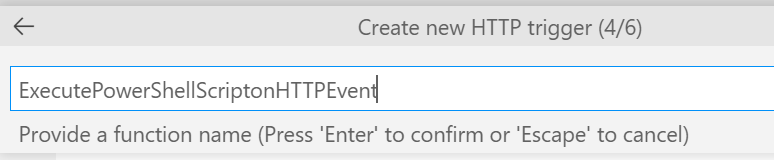
6. Give the operate an outline identify.
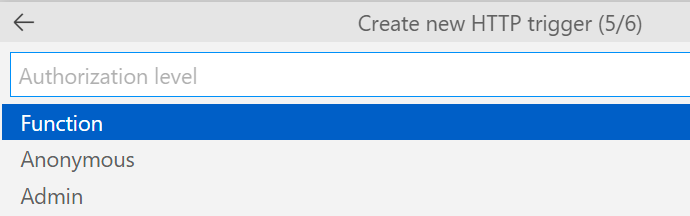
7. Present an Authorization stage of Operate for this tutorial. The operate authorization stage would require authentication earlier than the HTTP set off will execute.
You possibly can name Azure features with HTTP triggers anonymously. A proof of authorization ranges is out of scope for this tutorial however if you happen to’re , take a look at the weblog submit, Azure Capabilities HTTP – Authorization Ranges, or in order for you a deep dive, the Microsoft docs.
8. Lastly, inform VS Code methods to open your undertaking. For this tutorial, select Open in present window.
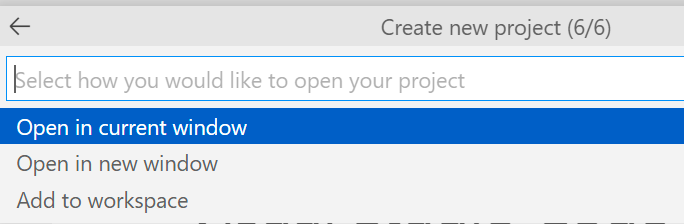
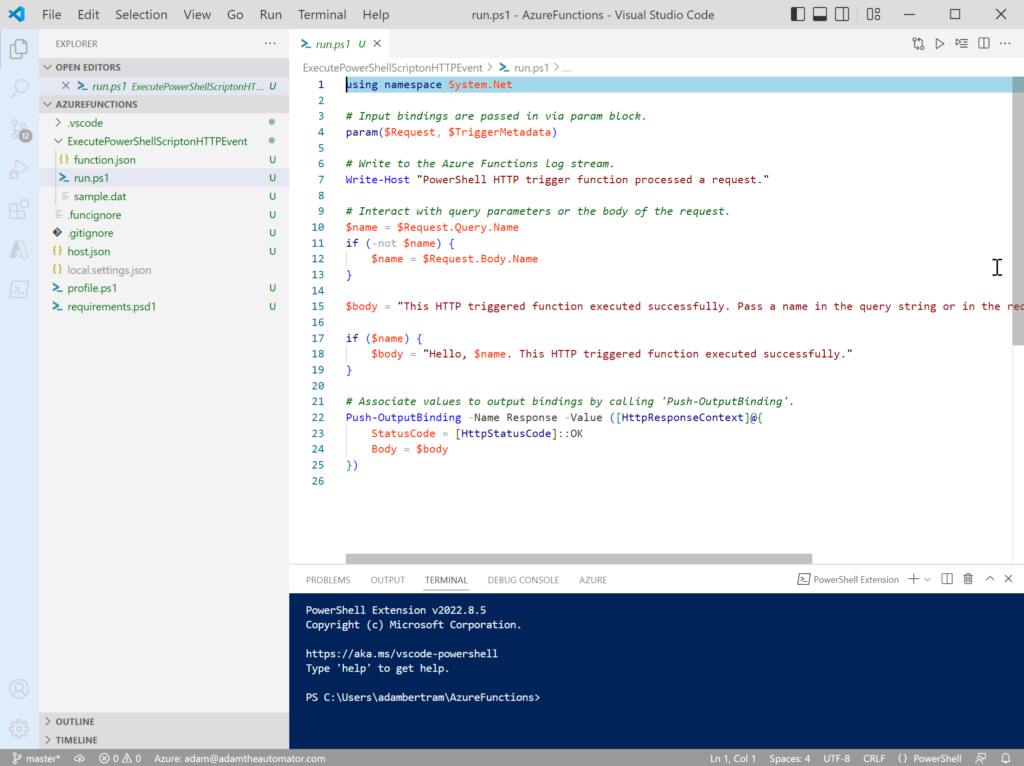
VS Code will now current you with a contemporary template to begin constructing your operate!
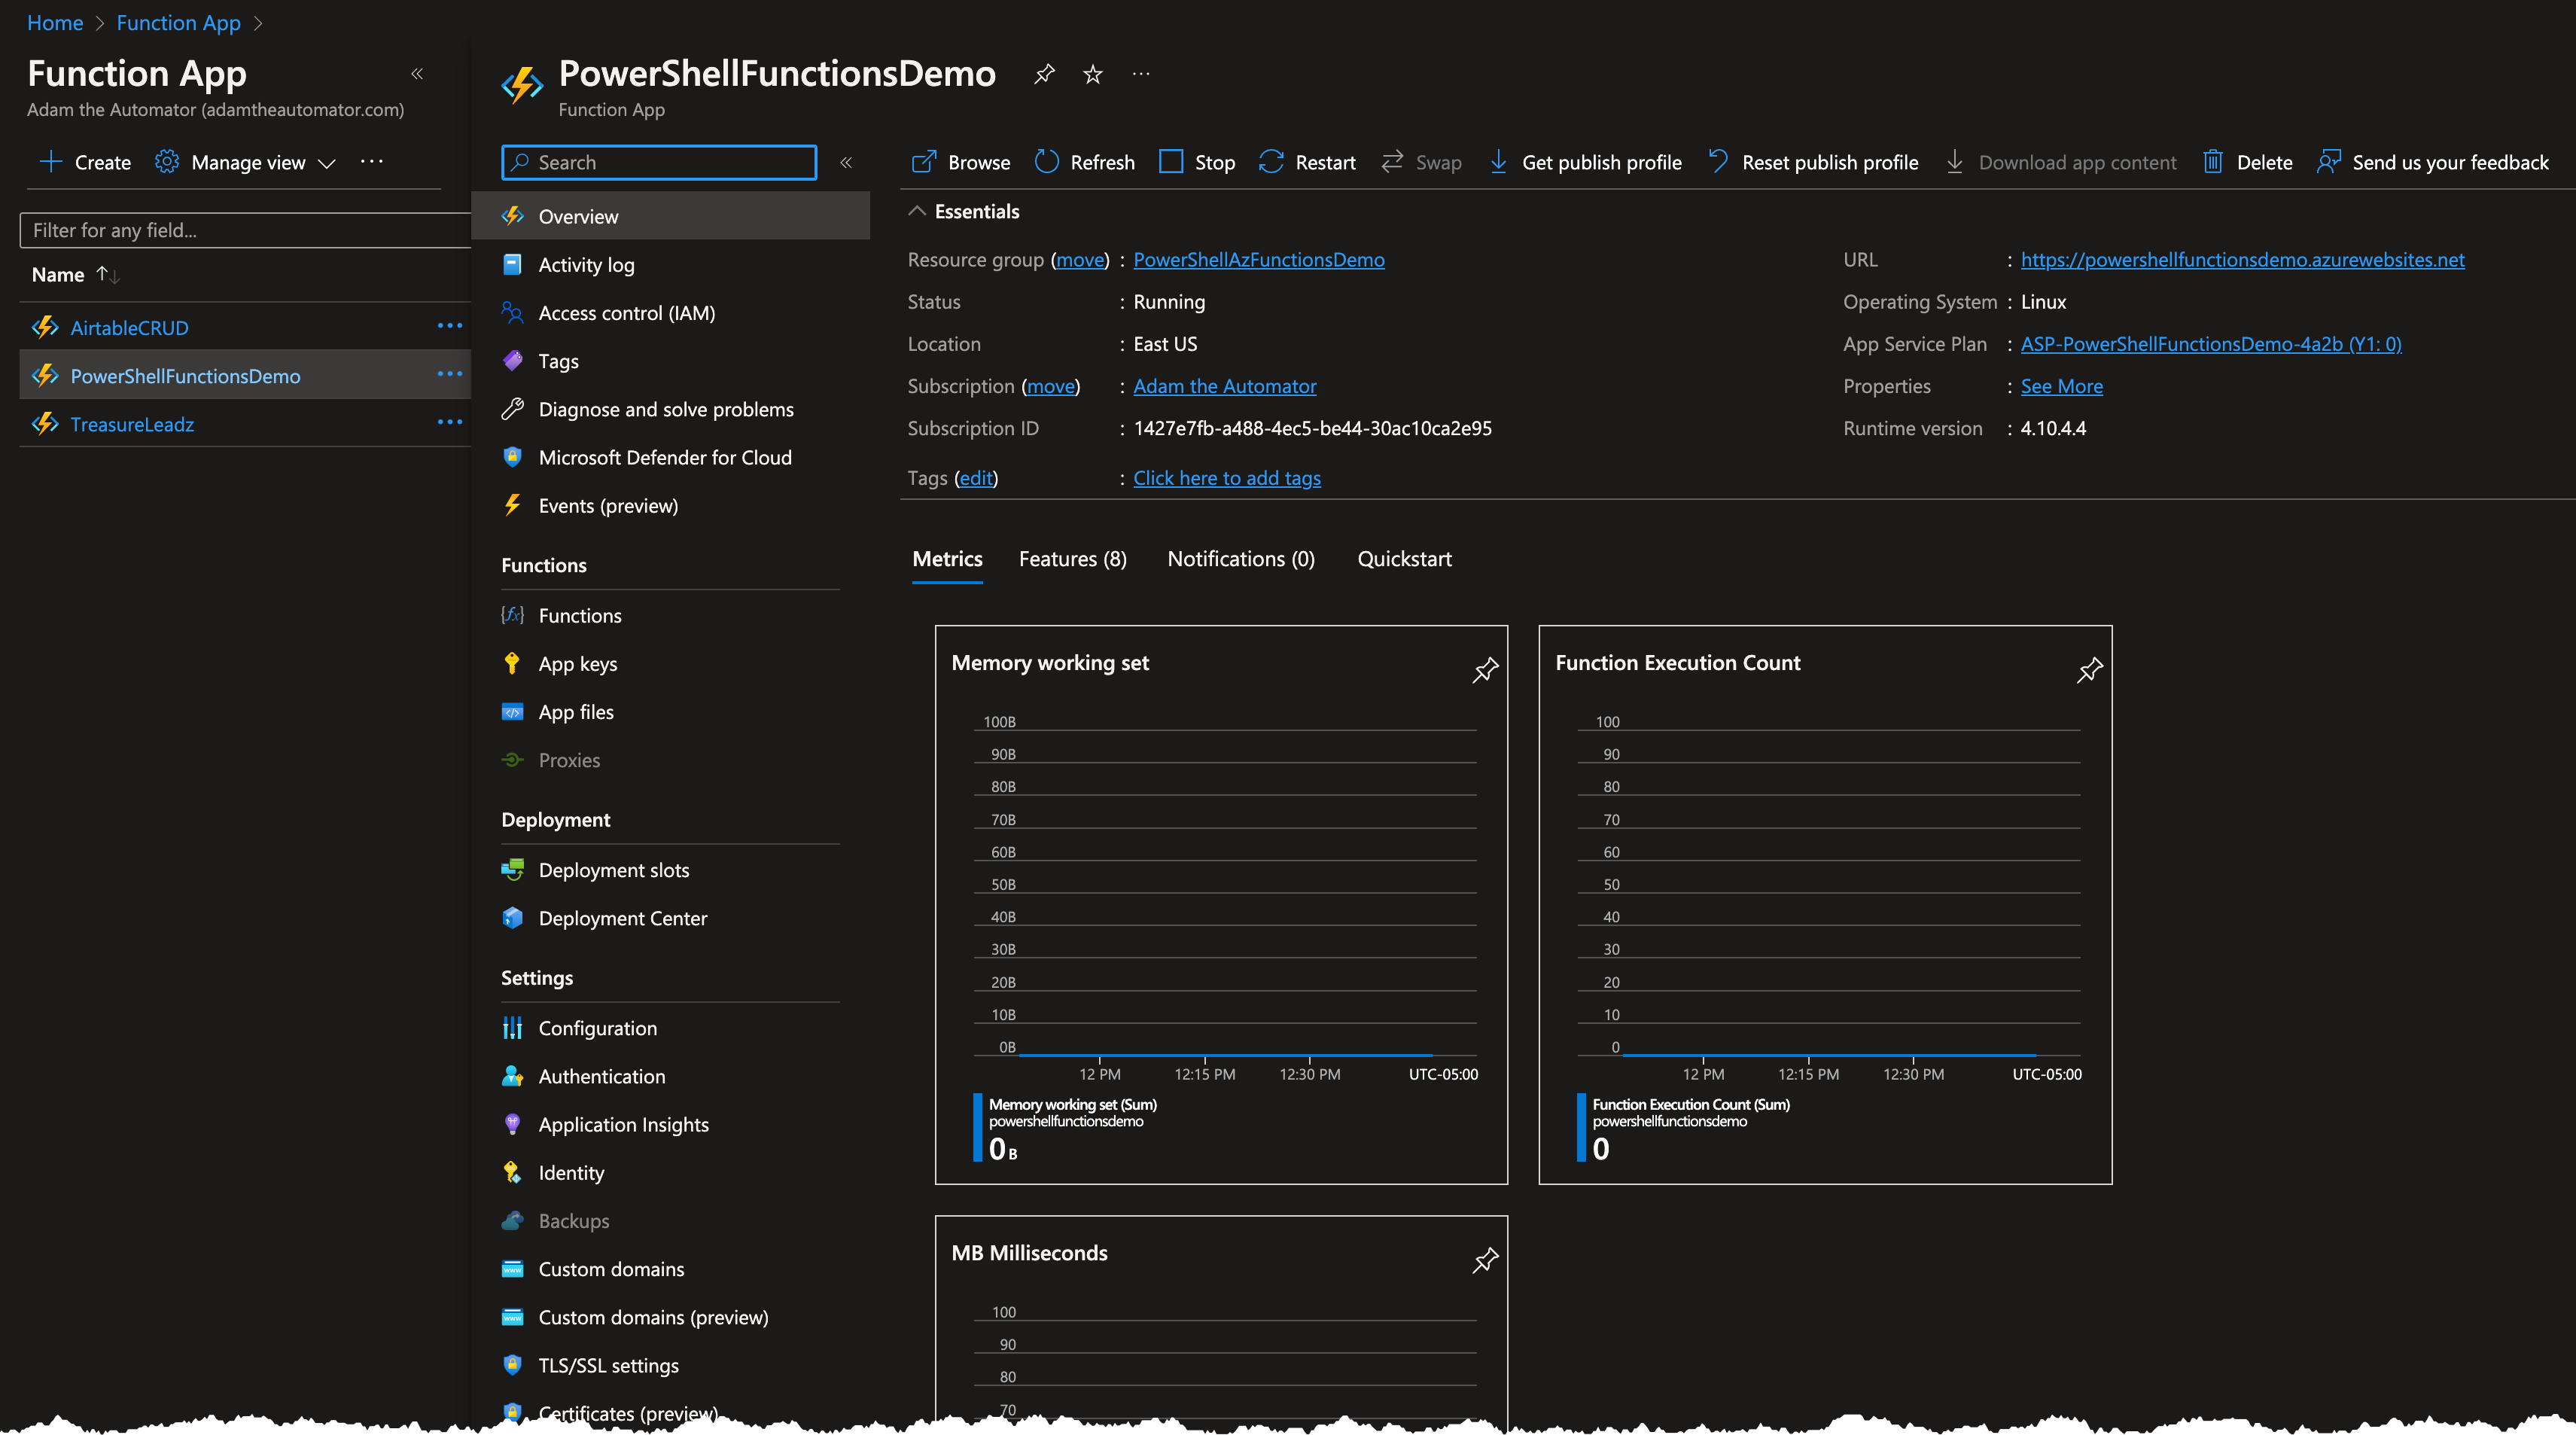
You’ll now see a shiny new Azure operate app when logging into the Azure Portal.
Deploy an Azure Operate
You would possibly assume you’re executed at this level, however you’re not! VS Code deployed a brand new Azure Operate app for you, however the operate remains to be only a mixture of folders and recordsdata in your native PC. Identical to utilizing model management, you need to now deploy that operate to the operate app.
To deploy your newly created operate to Azure:
1. Click on on the Azure icon, then on the cloud with an arrow pointing up contained in the WORKSPACE title bar as proven beneath.
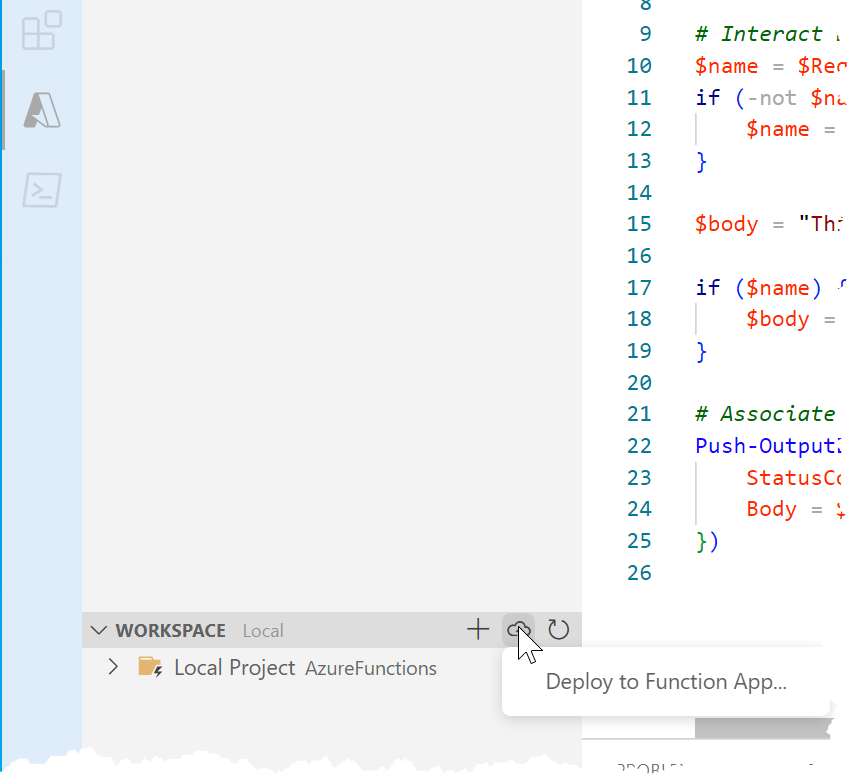
2. Click on on Deploy to Operate App….
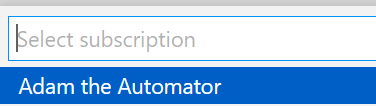
3. Select the subscription that you just created the Azure operate app in.
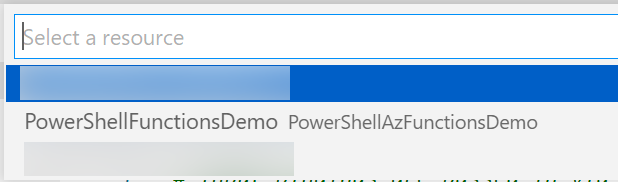
4. Select the Azure operate app to deploy it to.
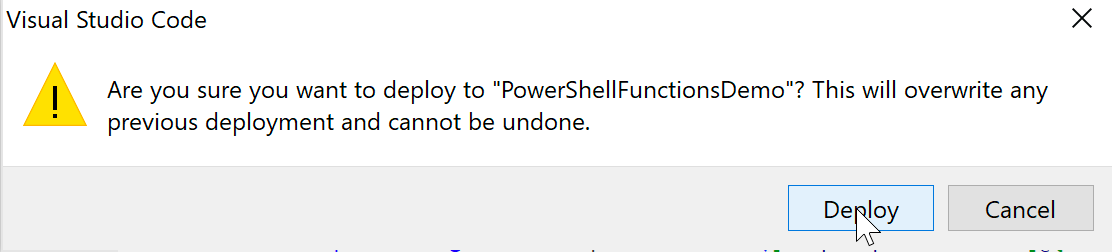
5. Click on Deploy to substantiate the operate deployment and VS Code will instantly start packaging up the operate and sending to Azure.
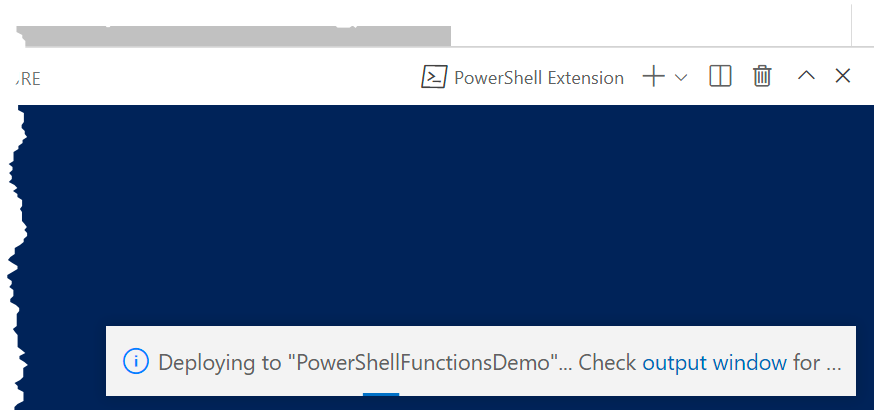
Whereas the operate is deploying, you’ll see a easy progress bar on the backside, as proven beneath.
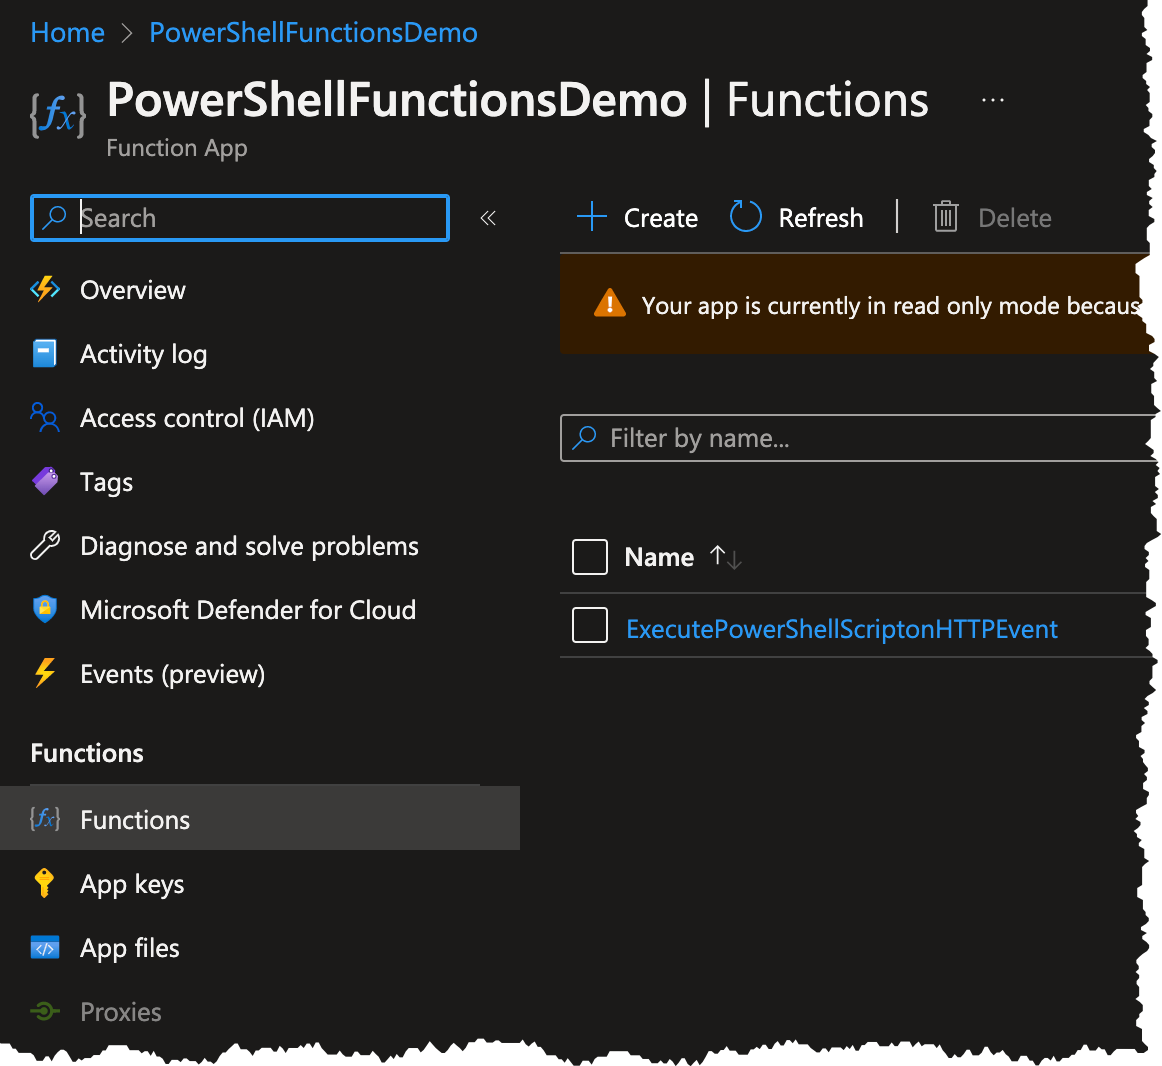
Now navigate to the Azure Portal, and also you’ll see the operate created within the operate app.
Abstract
You’re in your approach to constructing an Azure Operate in PowerShell. This tutorial was the first step within the course of, which included getting the entire preliminary conditions out of the way in which and creating an Azure operate template.
The subsequent tutorial on this sequence will give attention to executing and testing the Azure operate.