


What occurs if you let your coworkers management your lighting
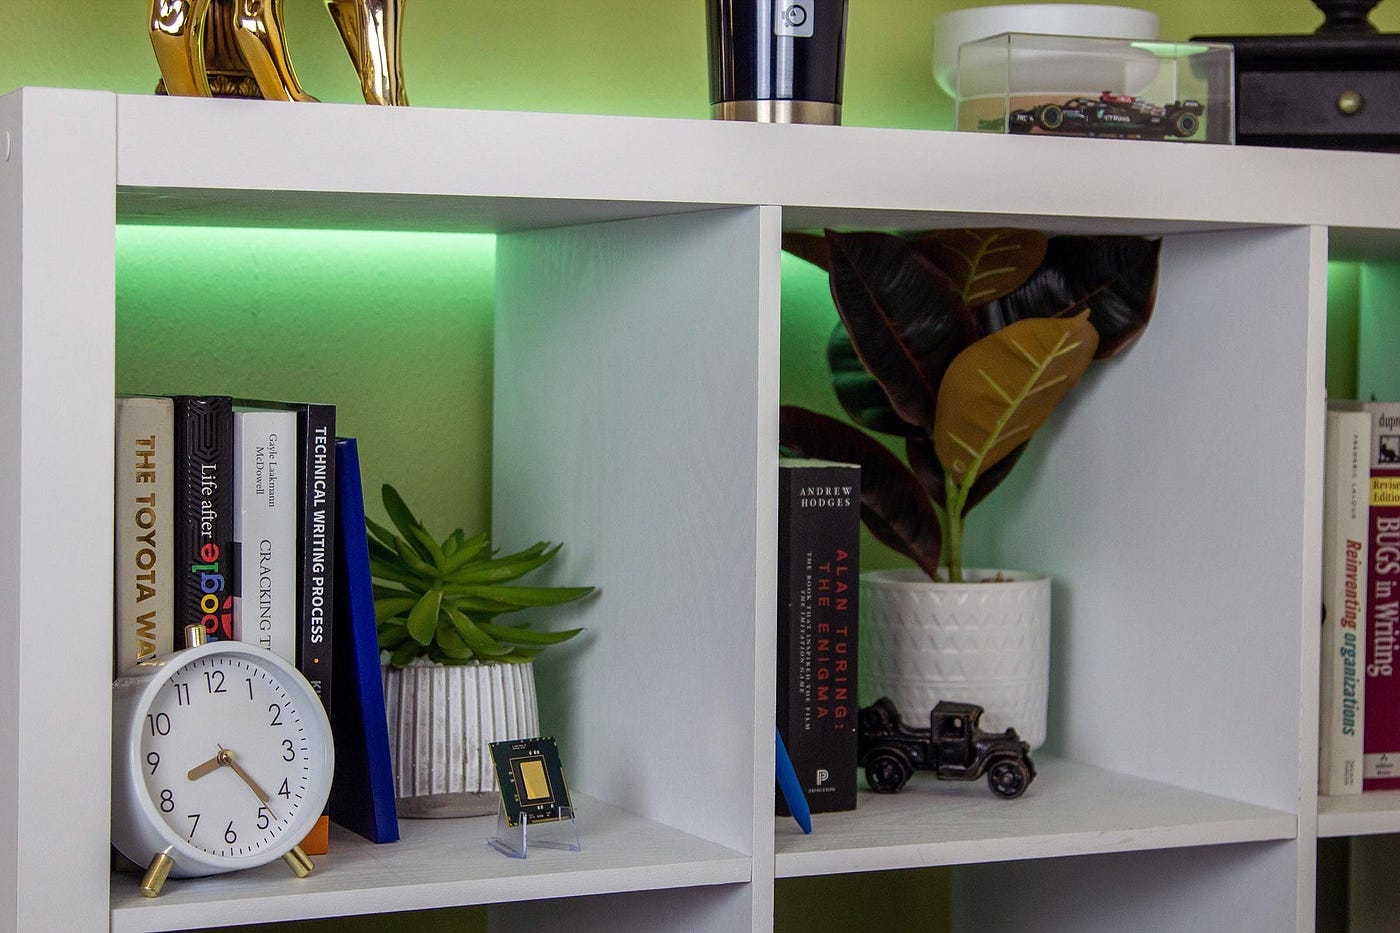
I wished to spruce up the backdrop in my workplace by including some lighting, and I figured what can be higher than controllable RGB LEDs? I additionally thought it could be humorous and probably attention-grabbing to present my coworkers the power to alter the colour of my lighting — I assume till we get too distracted in a gathering.
At first, I assumed to do a polling strategy the place I’d ballot the server and see what the newest shade choice was after which replace the DotStar domestically. My predominant gripe with this concept was how inefficient this technique can be since it could take seconds to see the change mirrored (each domestically and for different potential Customers).
The very best technique, in my view, was to make use of a WebSocket. This fashion, the adjustments might be immediately mirrored for everybody and take away any delay. This additionally simplified the server-side setup since I’d simply must host a easy WebSocket server, with no database or routes required.
Utilizing the WebSocket, each time a Consumer sends a brand new shade the server takes this message and validates the colour, after which rebroadcasts it to the opposite WebSocket purchasers so that they know in regards to the new shade that’s been chosen.
{Hardware} setup
The DotStar strip I selected got here with JST SM connectors on every finish so I bought the matching connectors as properly to make connecting to my system simpler. I soldered and crimped feminine DuPont connectors on the tip in order that I might simply take away the system from the set up if I wanted to appropriate some code for instance.

Since DotStar helps SPI, I opted to hook it up this fashion — Adafruit mentions that is the popular technique regardless since it’s faster than the bit-bang strategy. I’m utilizing a D1 Mini (ESP8266), so I connected the SCLK (Yellow) to D5 and the MOSI (Inexperienced) to D7 however this may differ relying on the system you might be utilizing.
Energy necessities
Since now we have so many LEDs, a superb energy provide with sufficient amperage is required because the microcontroller gained’t provide sufficient present. Adafruit suggests estimating 60 milliamps peak draw per DotStar you probably have it at full white with full brightness. The strip I bought has 60 LEDs so in complete, so at most I’ll solely want 3.6A.
Adafruit sells a 12V 5A energy provide that I’ll use to energy the venture, however we’ll want a step-down regulator to transform the 12V provide to 5V as DotStars solely take 5V. I discovered this converter on Amazon which has labored nice to this point and also will give me some room so as to add further segments if desired. Adafruit additionally sells a screw terminal adapter so you possibly can simply hook up your energy provide to your venture, which I additionally picked up for this venture.

Software program setup
As lined in considered one of my earlier articles, we’re ready to make use of MicroPython on the ESP8266 so I opted to make use of it as soon as once more for this venture. Fortunately for me, a WebSocket library and DotStar library have already been created for MicroPython, so I used to be in a position to load these simply which sped up my improvement drastically.
Server
I arrange a easy WebSocket server utilizing the ws library in Node.JS. Utilizing systemd, I set the server up as a service so that it’ll run indefinitely and gather the logs for us as properly. When a Consumer first connects, the server will relay regardless of the final shade that was chosen, this fashion all Customers are synced. As solely my microcontroller shall be utilizing the non-secure server, the messages from this connection should not rebroadcasted to the safe server.
Microcontroller
The script first handles connecting to the community and beginning the WebSocket consumer. It makes an attempt to learn a message each 5 seconds and can timeout if it fails to assist forestall it from getting caught ready for a message if the server hiccups for some cause. No matter whether or not or not it will get a message, it’ll additionally ship an empty message again to the server to assist hold the connection alive and assist sniff out any connection points and reconnect if wanted.
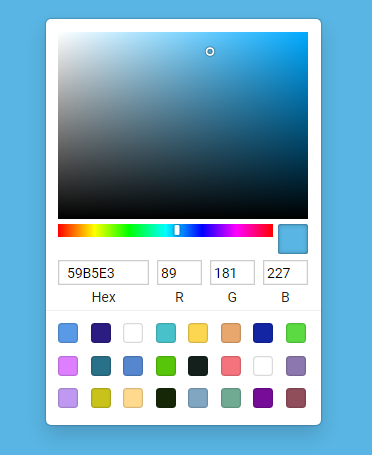
Consumer interface
The consumer interface was fairly easy because it doesn’t do an excessive amount of so I used Angular and ngx-color to offer the colour swatch part. It connects to the identical WebSocket server and takes the colours picked and converts them to the RGB worth (as that is what the DotStar makes use of finally). This additionally makes validation a lot simpler as we all know the values can solely be in a specific format between sure numbers (0–255).
Whereas this venture went rapidly, it was nonetheless tremendous enjoyable! There’s numerous room for growth with this venture, akin to mixing colours, patterns, shade historical past, and way more. I’ll hold tinkering with this concept however I’d have an interest to listen to any concepts for this you will have!