

Just lately the Alternate On-line Module v2 got here out with assist for connecting to Alternate On-line by way of a managed identification. The module has a number of parameters:
- ManagedIdentity
- ManagedIdentityAccountId
- Group
When utilizing the ManagedIdentity parameter you will need to additionally name the Group parameter which is the preliminary, or ‘.onmicrosoft’ area.
What You Will Want
- PowerShell
- Az PowerShell Module (install-module az)
- The Microsoft Graph SDK (install-module Microsoft.Graph
Create the Managed Identification, Permissions, and Runbook
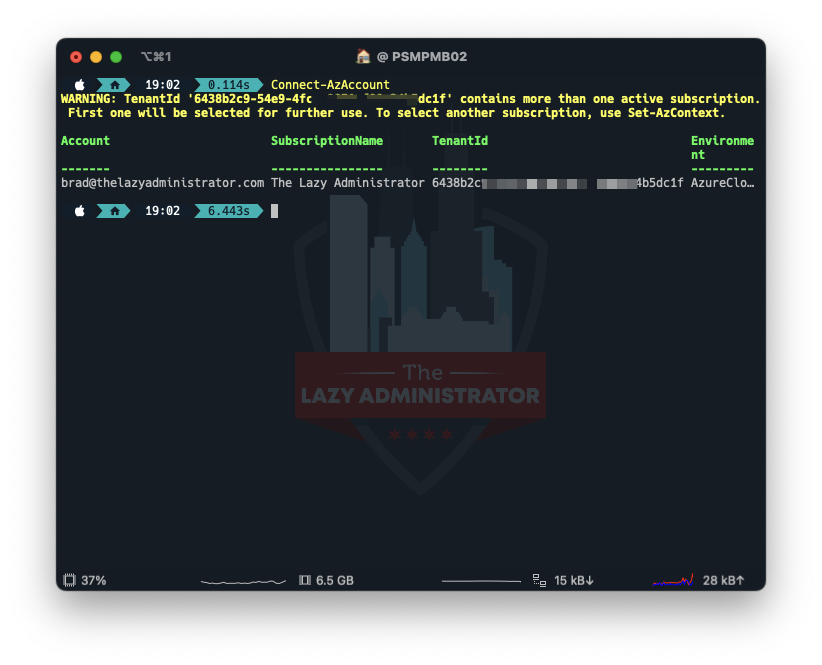
Connect with Azure
Very first thing we should do is hook up with Azure utilizing the Az module. Open a PowerShell window and run
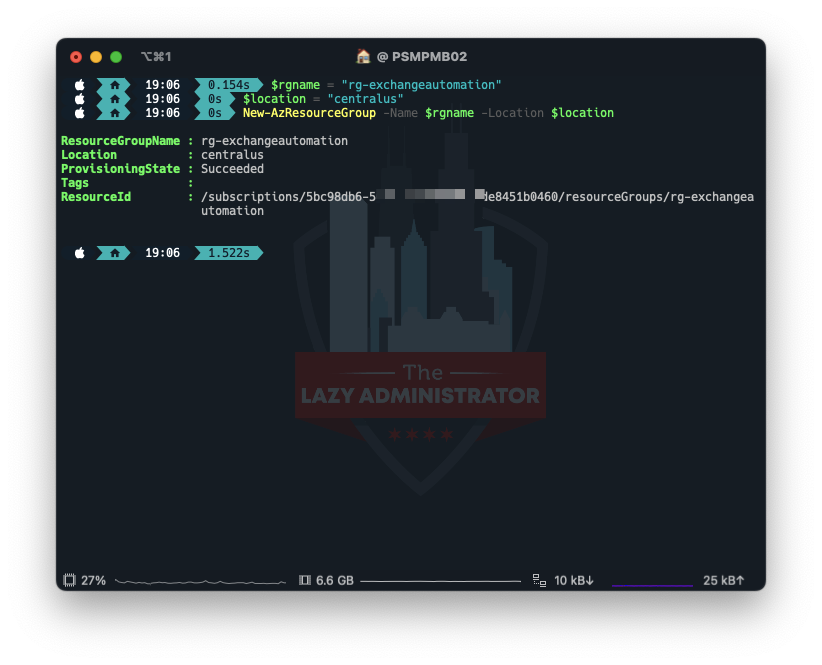
Create a Useful resource Group
After we’re related we have to create a Useful resource Group to deal with the whole lot. In my instance I’ll create a brand new Useful resource Group within the Central US area.
$rgname = "rg-exchangeautomation"
$location = "centralus"
New-AzResourceGroup -Identify $rgname -Location $location
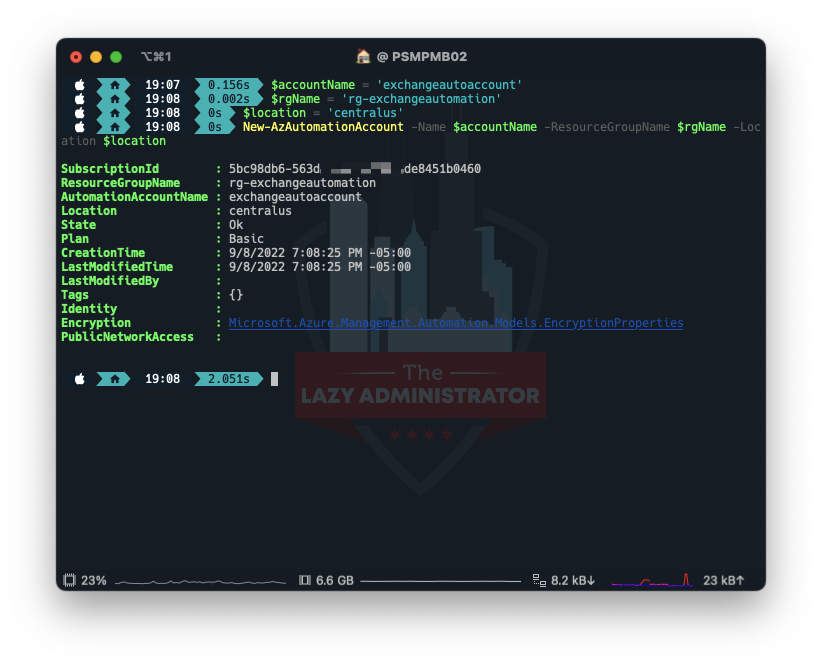
Create the Automation Account
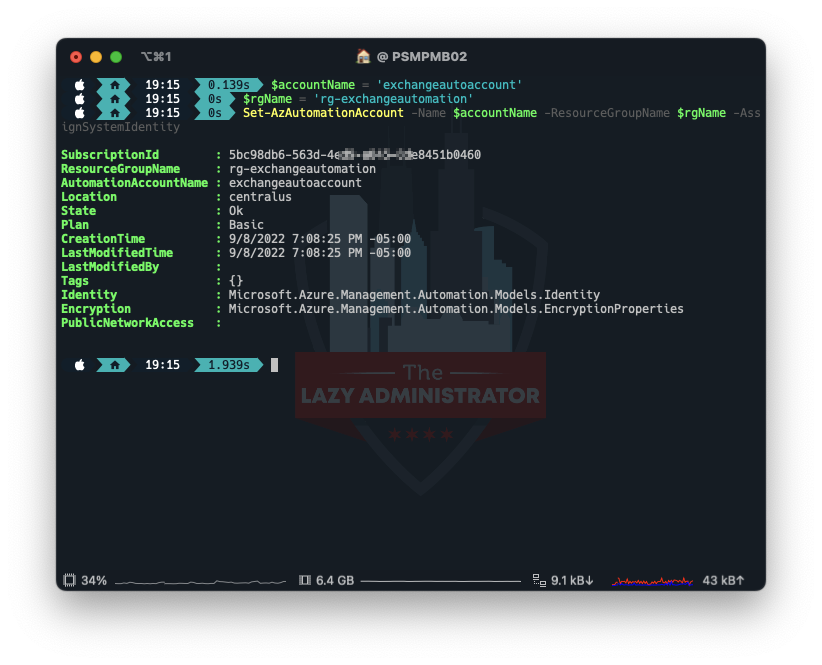
Subsequent, we have to create the Automation Account that runs the runbooks. In my instance I’ll place the Account within the Useful resource Group I created above, and name the account ‘exchangeautoaccount’
$accountName="exchangeautoaccount"
$rgName="rg-exchangeautomation"
$location = 'centralus'
New-AzAutomationAccount -Identify $accountName -ResourceGroupName $rgName -Location $location
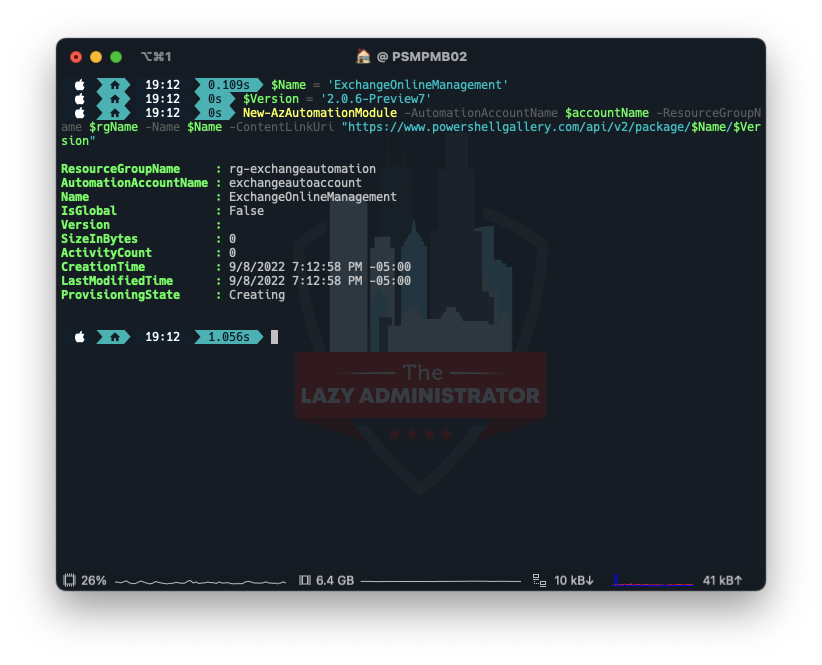
Set up the Module
Subsequent, we have to set up the module into the automation account. I attempted doing it manually and it didn’t appear to work correctly. Notice: You will have the preview model of the module which the most recent preview model at the moment is 2.0.6 preview7. You may at all times examine right here for the most recent.
$accountName="exchangeautoaccount"
$rgName="rg-exchangeautomation"
$Identify="ExchangeOnlineManagement"
$Model = '2.0.6-Preview7'
New-AzAutomationModule -AutomationAccountName $accountName -ResourceGroupName $rgName -Identify $Identify -ContentLinkUri "https://www.powershellgallery.com/api/v2/bundle/$Identify/$Model"
Very Vital! Confirm that the right model obtained put in. Go to your automation account > modules and confirm ExchangeOnlineManagement is the right model! In case you are not on the right model you may even see an error much like:
The position assigned to utility ad423d0-dc5-4a6-a66a-20213fc7 is not supported on this state of affairs. Please examine on-line documentation for assigning right Listing Roles to Azure AD Software for EXO App-Solely Authentication.
Create System Identification
Subsequent, we have to create/allow a system identification for our automation account to make use of. Utilizing the title of our automation account from earlier, we are able to use PowerShell to allow it.
$accountName="exchangeautoaccount"
$rgName="rg-exchangeautomation"
Set-AzAutomationAccount -Identify $accountName -ResourceGroupName $rgName -AssignSystemIdentity
Get Service Principal Info
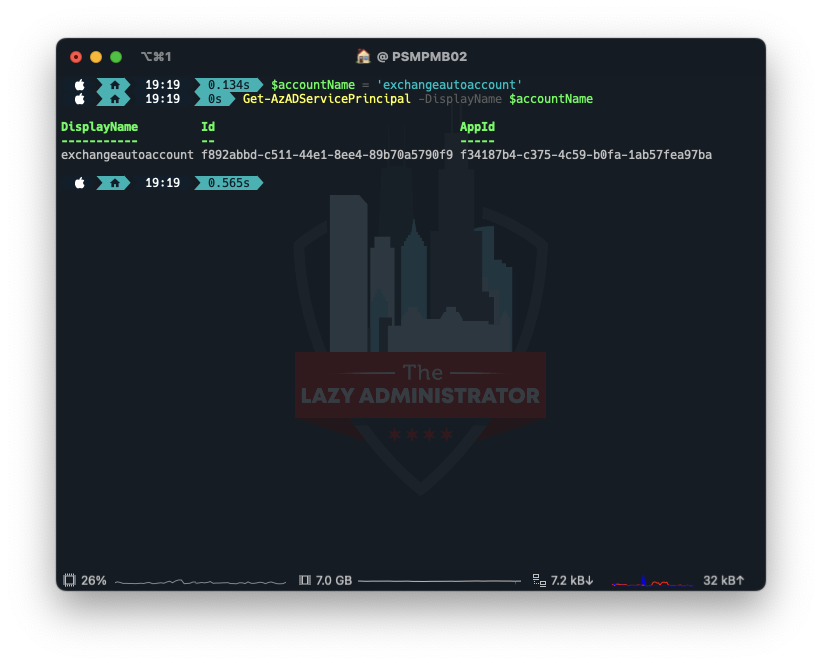
Subsequent, we have to get the Service Principal Info for our managed identification. Be aware of the ID worth (not the AppID). We’ll use it later.
$accountName="exchangeautoaccount"
Get-AzADServicePrincipal -DisplayName $accountName
Connect with Graph
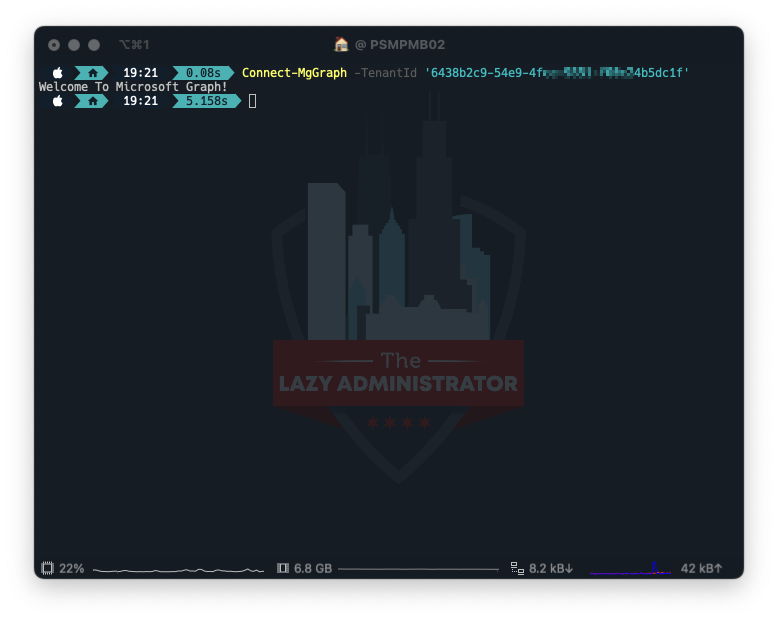
Subsequent, we have to hook up with Graph utilizing the SDK. Be sure that to specify the tenant utilizing the TenantID parameter.
Join-MgGraph -TenantId '6438bc9-49-4c9851-fc45dc1f'
Assign Permissions to our Managed Identification
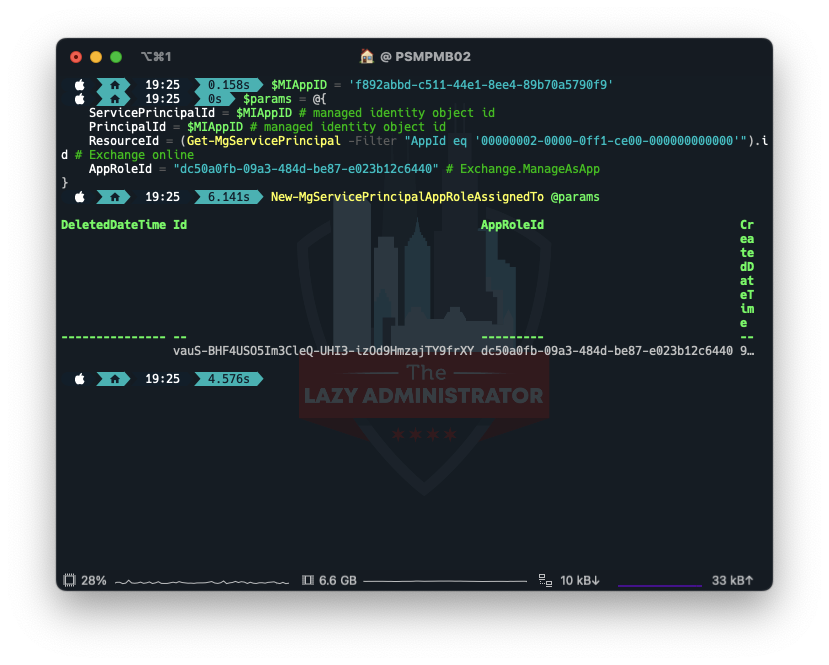
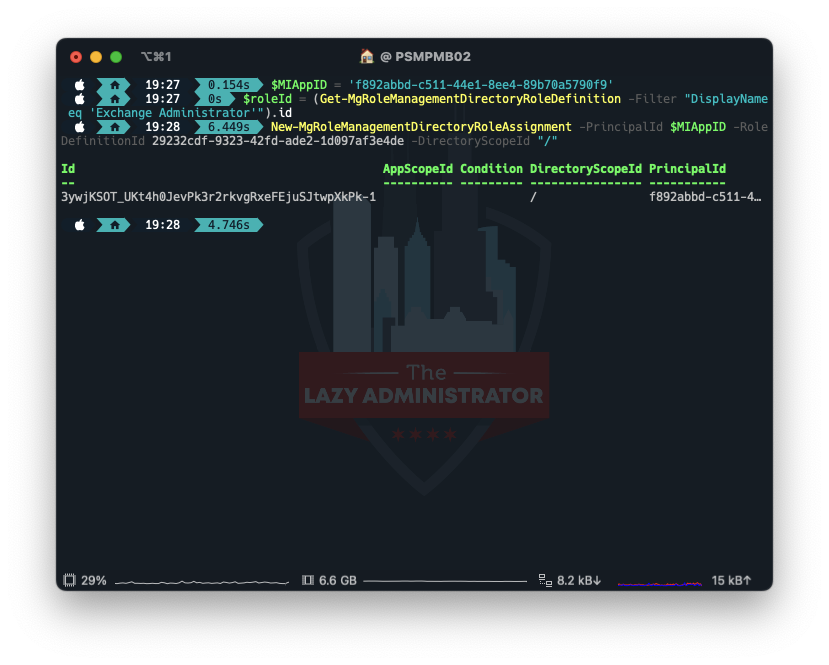
Utilizing the ID we obtained earlier, we now will assign the right permissions to our Managed Identification.
$MIAppID = 'f892abbd-c511-44e1-8ee4-89b70a5790f9'
$params = @{
    ServicePrincipalId = $MIAppID # managed identification object id
    PrincipalId = $MIAppID # managed identification object id
    ResourceId = (Get-MgServicePrincipal -Filter "AppId eq '00000002-0000-0ff1-ce00-000000000000'").id # Alternate on-line
    AppRoleId = "dc50a0fb-09a3-484d-be87-e023b12c6440" # Alternate.ManageAsApp
}
New-MgServicePrincipalAppRoleAssignedTo @params
Assign the Alternate Administrator Function
Lastly, we have to assign the position Alternate Administrator to the managed identification.
$MIAppID = 'f892abbd-c511-44e1-8ee4-89b70a5790f9'
$roleId = (Get-MgRoleManagementDirectoryRoleDefinition -Filter "DisplayName eq 'Alternate Administrator'").id
New-MgRoleManagementDirectoryRoleAssignment -PrincipalId $MIAppID -RoleDefinitionId 29232cdf-9323-42fd-ade2-1d097af3e4de -DirectoryScopeId "/"
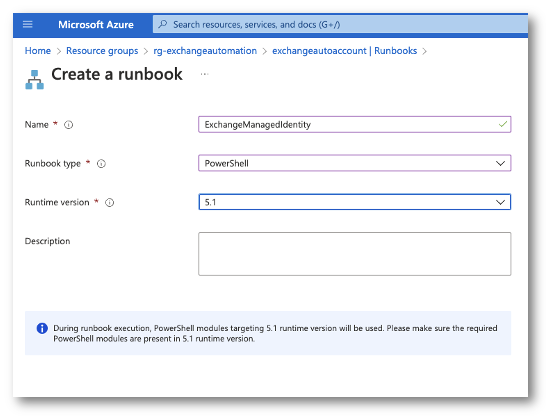
Creating the Runbook
Now within the Azure Portal I’ll go to my Useful resource Group and choose my Automation Account. From there I’ll create a PowerShell runbook. IMPORTANT! When choosing a runtime model, choose 5.1. I attempted PSCore and it may by no means import the ExchangeOnlineManagement module. This can be repair is future variations.
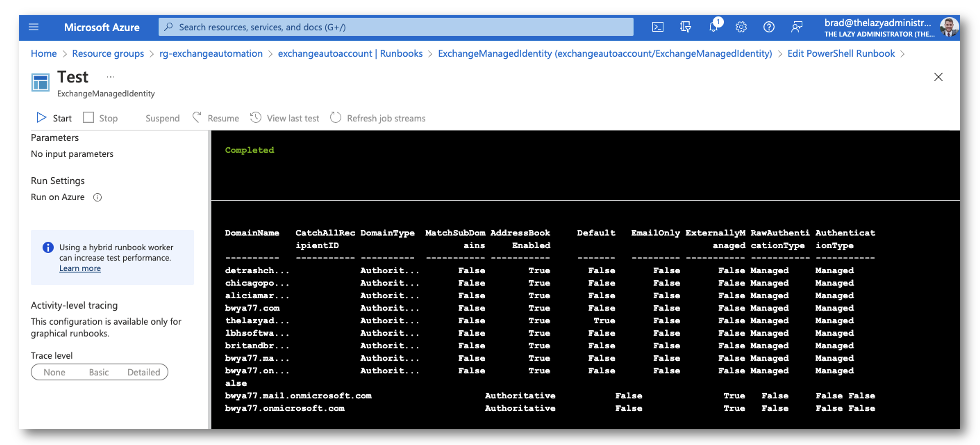
Utilizing Get-AcceptedDomain as a take a look at, we are able to now see if we’re ready to make use of the managed identification that’s tied to the automation account to connect with trade on-line by way of PowerShell. My Runbook has the next code
$group = "bwya77.onmicrosoft.com"
Join-ExchangeOnline -ManagedIdentity -Group $group
Get-AcceptedDomain | Format-Desk -AutoSize
Sources
HUGE shout out to onprem.wtf the place I used to be capable of learn their article to know how the whole lot works. I spent fairly a little bit of time looking for easy methods to use the preview module’s parameters. How to connect with Alternate On-line powershell with a managed identification | onprem.wtf

My title is Bradley Wyatt; I’m a Microsoft Most Invaluable Skilled and I’m presently a Cloud Options Architect at PSM Companions within the Chicagoland space.