

I’ve written a number of articles now on the topic. It was a journey and a profitable one at that.
After getting by all these preliminary steps, the ultimate step is to get the CICD working. Thins signifies that I’ve the supply code on my shopper workstation. After I commit it to the principle department, Azure DevOps will routinely place it onto my Azure Perform which is stay. (NOTE: you must deploy to a deployment slot and never instantly into manufacturing.)
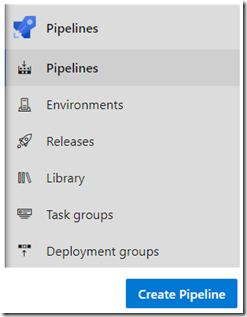
After doing all of the setup, you now must create the Azure Pipeline, Determine 1.

Determine 1, create an Azure DevOps Pipeline
Then it’s a easy matter of strolling by the step, it labored with out downside.

Determine 2, create Azure Pipeline for an Azure Perform
Then all labored as anticipated, I wanted to grant permission since this was the primary time deploying. Going ahead authorization is granted by default.

Determine 3, the deployment from an Azure DevOps pipeline to Azure Capabilities

Determine 4, profitable deployment
It’s also possible to see {that a} configuration for the deployment has been made which is seen on the Deployment Middle blade. Simply in case it’s good to carry out some configuration after the very fact.

Determine 5, Azure Capabilities, Azure DevOps, Azure Pipeline, Deployment
I hope you discover this handy. Now it’s time to break it, troubleshoot and doc that.