


Hello everybody! 👋 After transitioning to a static weblog/web site, I had one drawback. My weblog not had feedback performance. Sure, I may have used Disqus however I personally hate it. It’s bloated with a whole lot of undesirable code. I did some search some time in the past however couldn’t discover something. I did a extra critical search a few weeks in the past and stumbled upon staticman and holy moly it’s the neatest thing ever!
Staticman allowed me to combine feedback in my weblog at no cost and likewise type them in any approach I need! Nonetheless, establishing staticman wasn’t a stroll within the park. On this publish, I’ll listing all of the steps required to setup staticman on a static weblog. I’m going to be utilizing Hugo for this publish as my weblog is predicated on Hugo.
Step 1: Getting a static weblog up and operating
This must be pretty straightforward. Likelihood is that in case you are studying this publish then you have already got a static weblog. I’m internet hosting my weblog on a mixture of GitHub + Netlify. I push updates on GitHub and Netlify builds the HTML recordsdata upon every push. I cannot go into an excessive amount of particulars as a result of the official Hugo web site have some good docs.
Step 2: Creating a brand new GitHub account
So the best way staticman works is that it submits a pull request for every remark submitted. For that, it’s a lot safer to create a brand new GitHub account and provides it permissions to entry your weblog repo solely, relatively than giving it entry to all the things on GitHub. This fashion even when it will get compromised, just one repo can be affected.
Let’s think about this new account known as yasoob-blog (as a result of that’s precisely what mine known as. After getting made that account, give it entry to your repo out of your mother or father account. For instance, my weblog’s supply code is saved in a repo referred to as personal_blog. I’ll go to the settings web page of my repo and add yasoob-blog as a collaborator.
Subsequent step is to generate entry keys for yasoob-blog as a way to use this account through the API. With the intention to try this it’s worthwhile to go to the settings web page of your GitHub account.
Click on on developer settings after which on private entry tokens.
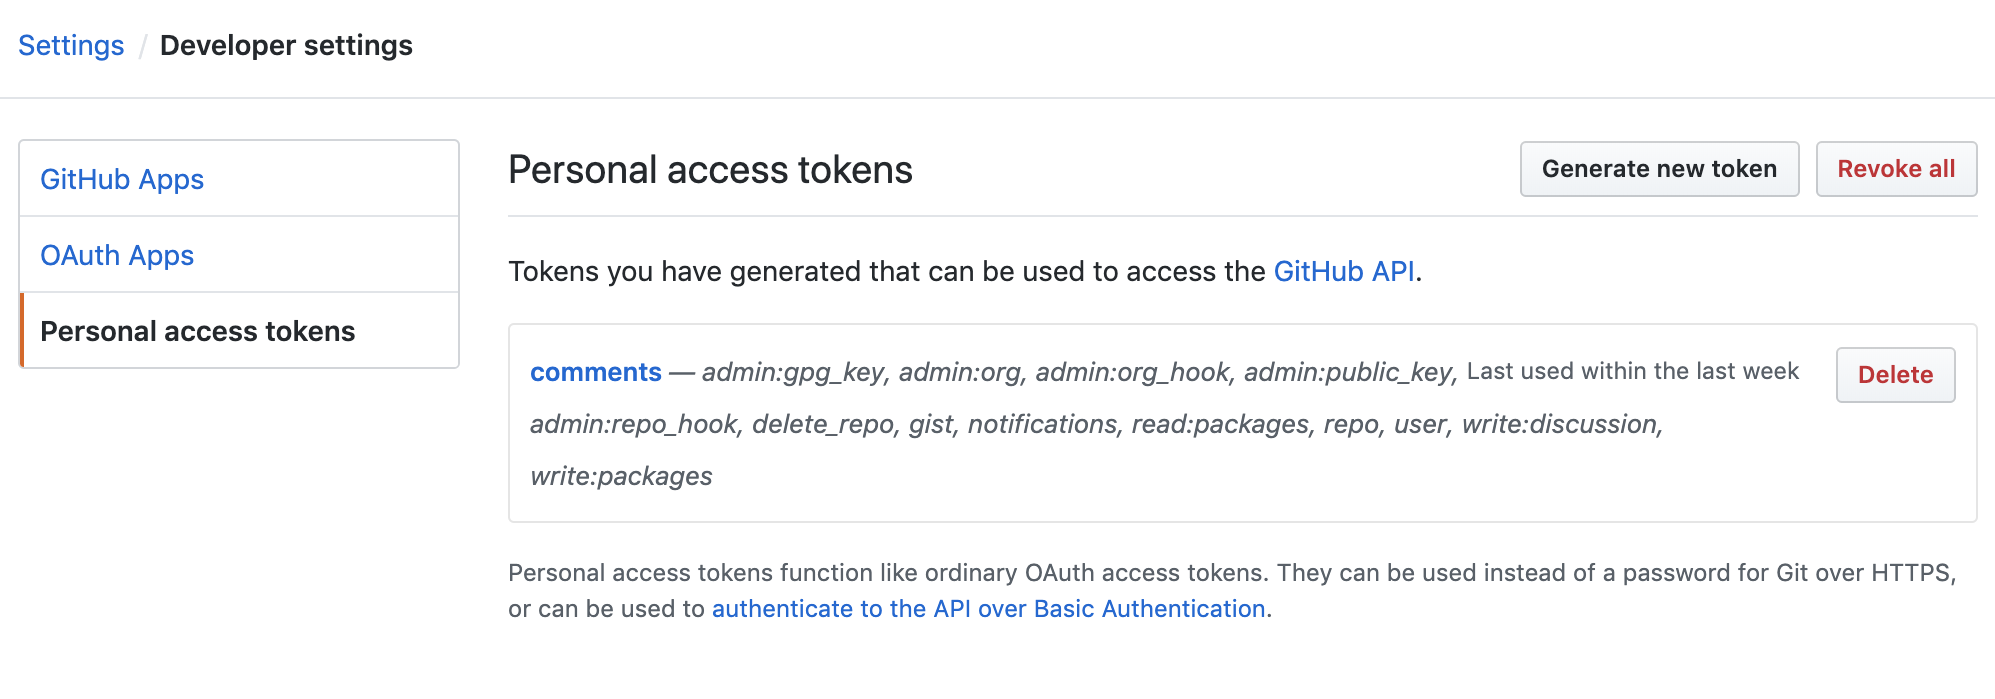
Now generate a brand new token and provides it repo entry.
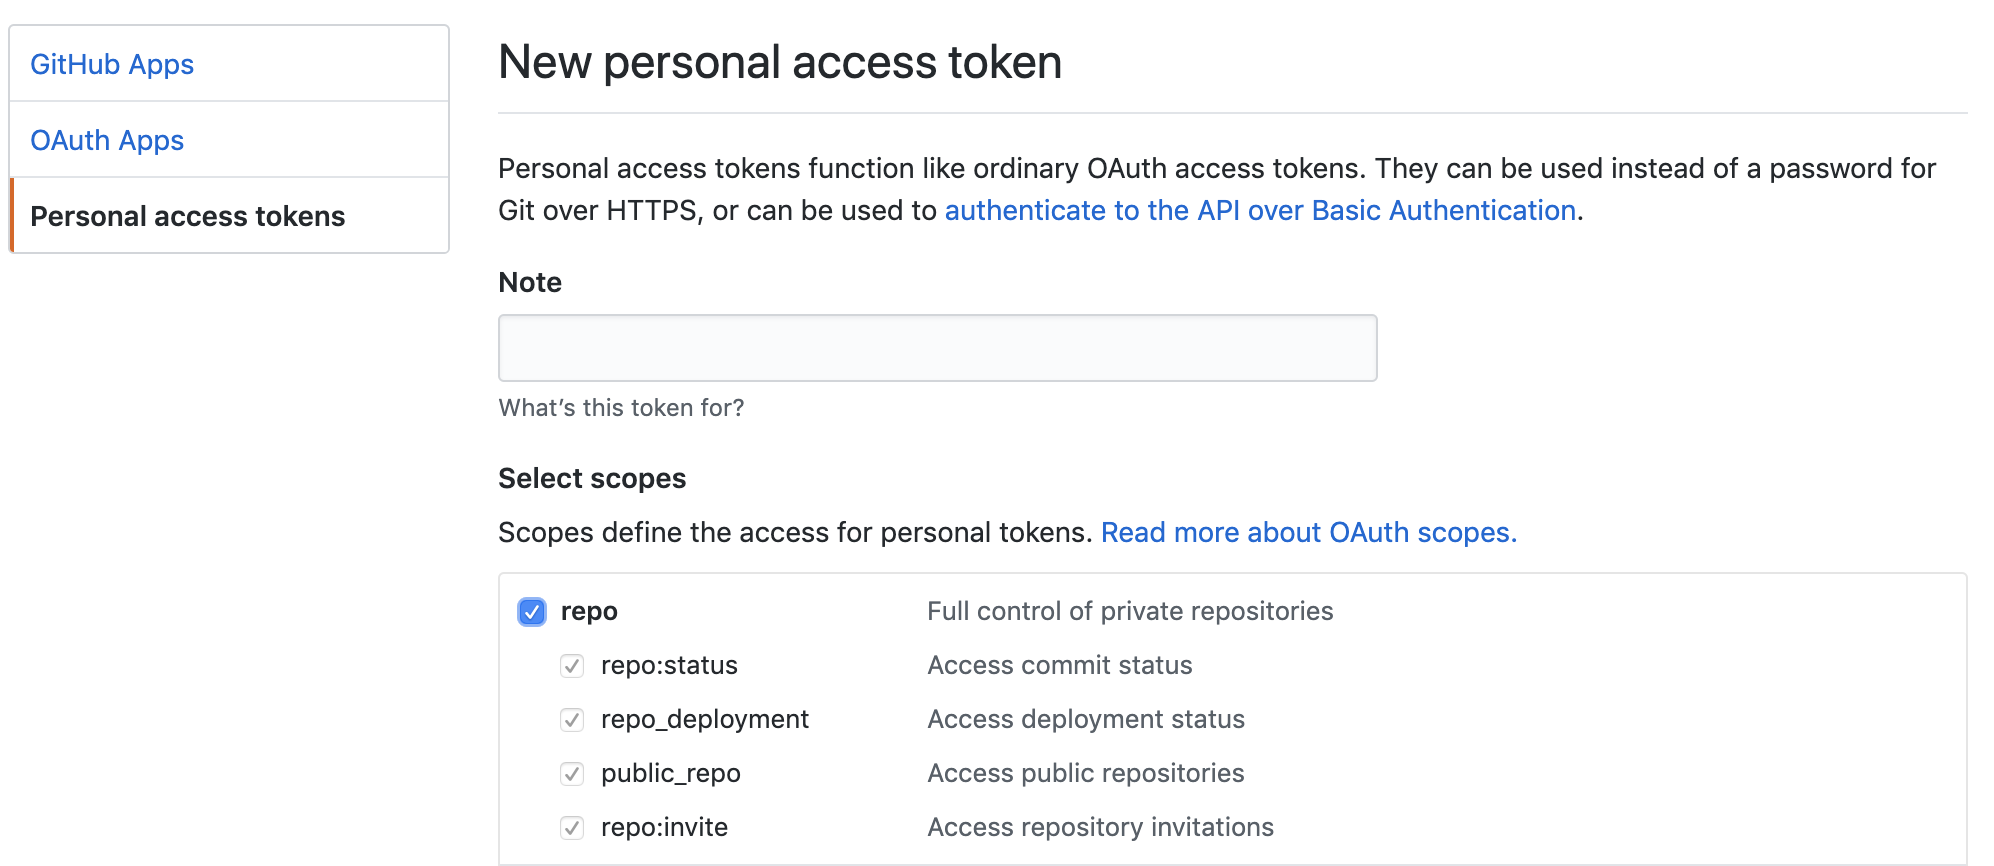
Copy the generated tokens and save them someplace. We can be needing them shortly.
Step 3: Establishing Staticman on Heroku
The general public occasion of Staticman was getting rate-limited not too long ago so I made a decision to arrange my very own occasion on Heroku. + It’s straightforward and free to arrange so why not?
Clone the staticman repo in your pc:
$ git clone git@github.com:eduardoboucas/staticman.git
Now create a config.manufacturing.json file and add the next contents in it:
{
  "githubToken": course of.env.GITHUB_TOKEN,
  "rsaPrivateKey": JSON.stringify(course of.env.RSA_PRIVATE_KEY),
  "port": 8080
}
I don’t know if the port is required or not nevertheless it doesn’t harm to depart it there. You may strive operating it with out the port and let me know within the feedback whether or not it labored or not.
Let’s be certain that our .gitignore isn’t ignoring this file (it’s set to disregard all of the config file by default). Add this line within the .gitignore file within the root of the cloned repo:
!config.manufacturing.json
The ! tells git to disregard the ignore guidelines for this file and truly add it into git. Consider it as whitelisting ignores.
Now create one other file with the identify of Procfile within the root of this cloned repo and add this to it:
internet: npm begin
Subsequent step is to really create a Heroku app and add this code up there. We are able to try this by first logging into Heroku through the command-line and creating the app:
$ heroku login
$ heroku create <app_name>
It’s best to substitute <app_name> with one thing totally different.
You may need noticed that in our config.manufacturing.json file we wrote course of.env.GITHUB_TOKEN and course of.env.RSA_PRIVATE_KEY. These strains are instructing staticman to take these values from the setting variable. That is vital as a result of we don’t wish to really commit our token and RSA key in git. So now let’s really replace the setting variables on Heroku to really replicate this.
heroku config:set GITHUB_TOKEN="*******"
Exchange ******* with the precise token you generated within the earlier step. We additionally have to generate a non-public key for staticman to encrypt stuff with:
$ openssl genrsa -out key.pem
And now let’s put this key in an setting variable on Heroku as effectively:
$ heroku config:set RSA_PRIVATE_KEY="$(cat ./key.pem)"
The one factor left to push all the things onto Heroku is to really commit this code. Let’s try this:
$ git add .
$ git commit -m "added code for launch"
$ git push heroku
This could give some output from Heroku and may point out in the long run that the app has been deployed.
Step 4: Including staticman.yml to Hugo
Now we have to create a brand new file referred to as staticman.yml within the root of our precise weblog repo. That is utilized by staticman for configuration functions and to really maintain monitor of which fields must be allowed within the kind.
My staticman.yml file seems like this:
---
feedback:
  allowedFields:
    - identify
    - e mail
    - web site
    - remark
    - reply_to
  department: grasp
  commitMessage: "New remark in {choices.slug}"
  filename: "comment-{@timestamp}"
  format: yaml
  generatedFields:
    date:
      choices:
        format: iso8601
      kind: date
  moderation: true
  path: "knowledge/feedback/{choices.slug}"
  requiredFields:
    - identify
    - e mail
    - remark
  transforms:
    e mail: md5
That is tremendous easy and tells staticman to do a few issues. It tells it the place to place the remark knowledge (knowledge/feedback/{choices.slug} on this case), which fields are allowed and which of them from amongst them are required. I’ve additionally turned on moderation as a result of spam is an actual challenge. I have to manually average the feedback. I’ve added a reply_to subject as effectively. That is going for use after we implement nested feedback.
After creating this file, we have to create knowledge/feedback folder within the root of our weblog repo as effectively. When you try this, create a .maintain file in there in order that git is aware of so as to add that vacant folder in model management.
Now stage your modifications, commit them and push them:
$ git add .
$ git commit -m "added staticman.yml and knowledge/feedback folder"
$ git push origin grasp
Now the following step is to really create the partials which can show the feedback. Create a partials/feedback.html file in your theme’s format folder and add the next textual content in it:
{{ if and .Web site.Params.staticman (not (or .Web site.Params.disable_comments .Params.disable_comments)) }}
<part id="feedback">
{{ if .Web site.Params.staticman }}
<h3 class="title"><a href="#feedback">✍ Feedback</a></h3>
<part class="staticman-comments post-comments">
{{ $feedback := readDir "knowledge/feedback" }}
{{ $.Scratch.Add "hasComments" 0 }}
{{ $postSlug := .File.BaseFileName }}
{{ vary $feedback }}
{{ if eq .Title $postSlug }}
{{ $.Scratch.Add "hasComments" 1 }}
{{ vary $index, $feedback := (index $.Web site.Knowledge.feedback $postSlug ) }}
{{ if not .reply_to }}
<div id="commentid-{{ ._id }}" class="post-comment">
<div class="post-comment-header">
<img class="post-comment-avatar" src="https://www.gravatar.com/avatar/{{ .e mail }}?s=70&r=pg&d=identicon">
<p class="post-comment-info">
<span class="post-comment-name">{{ .identify }}</span>
<br>
<a href="#commentid-{{ ._id }}" title="Permalink to this remark">
<time class="post-time">{{ dateFormat "Monday, Jan 2, 2006 at 15:04 MST" .date }}</time>
</a>
</p>
</div>
<div class="comment-message">
{ markdownify }
</div>
<div class="comment__reply">
<button id="{{ ._id }}" class="btn-info" href="#comment-form" onclick="changeValue('fields[reply_to]', '{{ ._id }}')">Reply to {{ .identify }}</button>
</div>
</div>
{{ partial "comment-replies" (dict "entryId_parent" $postSlug "SiteDataComments_parent" $.Web site.Knowledge.feedback "parentId" ._id "parentName" .identify "context" .) }}
{{ finish }}
{{ finish }}
{{ finish }}
{{ finish }}
<kind id="comment-form" class="post-new-comment" methodology="publish" motion="{{ .Web site.Params.staticman.endpoint }}/{{ .Web site.Params.staticman.username }}/{{ .Web site.Params.staticman.repository }}/{{ .Web site.Params.staticman.department }}/feedback">
{{ if eq ($.Scratch.Get "hasComments") 0 }}
<p>Be the primary to depart a remark! 🎉</p>
{{ finish }}
<h3 class="immediate">Say one thing</h3>
<enter kind="hidden" identify="choices[redirect]" worth="{{ .Permalink }}#comment-submitted">
<enter kind="hidden" identify="choices[slug]" worth="{{ .File.BaseFileName }}">
<enter kind="textual content" identify="fields[name]" class="post-comment-field" placeholder="Title *" required/>
<enter kind="e mail" identify="fields[email]" class="post-comment-field" placeholder="E-mail deal with (won't be public) *" required/>
<enter kind="hidden" id="comment-parent" identify="fields[reply_to]" worth="">
<textarea identify="fields[comment]" class="post-comment-field" placeholder="Remark (markdown is accepted) *" required rows="10"></textarea>
<enter kind="submit" class="post-comment-field btn btn-primary comment-buttons" worth="Submit">
</kind>
</part>
<div id="comment-submitted" class="dialog">
<h3>Thanks!</h3>
<p>Your remark has been submitted and can be printed as soon as it has been authorised. 😊</p>
<p><a href="#" class="btn btn-primary comment-buttons okay">OK</a></p>
</div>
{{ finish }}
</part>
{{ finish }}
Now create a partials/comment-replies.html file and add the next textual content to it:
{{ vary $index, $feedback := (index $.SiteDataComments_parent $.entryId_parent ) }}
  {{ if eq .reply_to $.parentId }}
    <div id="commentid-{{ ._id }}" class="post-comment reply">
        <div class="arrow-up"></div>
        <div class="post-comment-header">
            <img class="post-comment-avatar" src="https://www.gravatar.com/avatar/{{ .e mail }}?s=70&r=pg&d=identicon">
            <p class="post-comment-info">
                <span class="post-comment-name">{{ .identify }}<br><i><small>In reply to {{ $.parentName }}</i></small></span>
                <br>
                <a href="#commentid-{{ ._id }}" title="Permalink to this remark">
                    <time class="post-time">{{ dateFormat "Monday, Jan 2, 2006 at 15:04 MST" .date }}</time>
                </a>
            </p>
        </div>
        <div class="comment-message">
            { markdownify }
        </div>
        <div class="comment__reply">
            <button id="{{ ._id }}" class="btn-info" href="#comment-form" onclick="changeValue('fields[reply_to]', '{{ $.parentId }}')">Reply to string</button>
        </div>
    </div>
  {{ finish }}
{{ finish }}
Now go to _default/single.html or whichever template you employ to render a blog-post and add this code someplace (will depend on the place you really wish to render the feedback):
{{ partial "feedback.html" .}}
My single.html file seems like this:
{{ partial "header.html" . }}
    <important function="important" class="single-main">
        <article class="single" itemscope itemtype="http://schema.org/BlogPosting">
            <h1 class="entry-title" itemprop="headline">{ emojify}</h1>
            <span class="entry-meta">
                {{ if not (.Params.showthedate) }}
                <time itemprop="datePublished" datetime="{{ .Date.Format "2006-01-02" }}">{{ .Date.Format "January 02, 2006" }}</time>
                {{finish}}
            </span>
            <part itemprop="entry-text">
                {{ .Content material }}
                   {{ partial "tags.html" .}}
            </part>
        </article>
            {{ partial "associated.html" .}}
            {{ partial "feedback.html" .}}
    </important>

{{ partial "footer.html" . }}
Subsequent step is to really type the feedback. You may maintain it clear or go as loopy as you need. I’ll depart the styling to you. You will discover some CSS in one of many posts I’ve linked within the sources part on the finish of this publish. In order for you inspiration from a horrible designer then it’s also possible to open the developer instruments and study this very web page 😄
Now go to your config.toml file within the root of your weblog repo and add the next textual content below the [params] part:
[params.staticman]
    endpoint = "https://app_name.herokuapp.com/v2/entry"
    username = "your_username"
    repository = "your_blog_repo"
    department = "grasp"
Exchange the app_name in endpoint with the URL of your Heroku app. Exchange your_username together with your precise GitHub username and your_blog_repo with the identify of your weblog repo. For example, in case your weblog is situated at https://github.com/awesome-man/best-blog then your username goes to be awesome-man and your repository goes to be best-blog.
Let’s commit and push this to GitHub:
$ git add .
$ git commit -m "added partials and config modifications"
$ git push
After your first push with the config file, you’ll be able to really check the modifications domestically earlier than pushing once more:
$ hugo serve
The primary push is required to place the config file in GitHub in order that staticman can learn it.
Nested feedback must be working as it’s. Within the partials you copied above, the nested feedback performance is mechanically enabled. You simply want so as to add another change. Add this to your js file utilized by your weblog/web site:
perform changeValue(elementName, newValue){
  doc.getElementsByName(elementName)[0].worth=newValue;
  window.location.hash = "#comment-form";
};
It will populate the reply_to subject of your kind based mostly on which remark you are attempting to remark to. After you push this one final change on GitHub all the things must be working positive.
Troubleshooting:
I encountered one challenge throughout this course of. For some purpose staticman was not working accurately and was giving me this error:
2019-06-21T22:39:02.405127+00:00 app[web.1]: Error: Require an `oauthToken` or `token` choice
2019-06-21T22:39:02.405145+00:00 app[web.1]: at new GitHub (/app/lib/GitHub.js:49:13)
2019-06-21T22:39:02.405146+00:00 app[web.1]: at module.exports (/app/controllers/join.js:12:18)
2019-06-21T22:39:02.405152+00:00 app[web.1]: at Layer.deal with [as handle_request] (/app/node_modules/categorical/lib/router/layer.js:95:5)
2019-06-21T22:39:02.405154+00:00 app[web.1]: at subsequent (/app/node_modules/categorical/lib/router/route.js:137:13)
2019-06-21T22:39:02.405156+00:00 app[web.1]: at /app/server.js:130:12
2019-06-21T22:39:02.405157+00:00 app[web.1]: at Layer.deal with [as handle_request] (/app/node_modules/categorical/lib/router/layer.js:95:5)
With the intention to repair this, I needed to edit the staticman/lib/GitHub.js file and edit one if situation from this:
if (choices.oauthToken) {
  this.api.authenticate({
    kind: 'oauth',
    token: choices.oauthToken
  })
} else if (isLegacyAuth) {
  this.api.authenticate({
    kind: 'token',
    token: config.get('githubToken')
  })
} else if (isAppAuth) {
  this.authentication = this._authenticate(
    choices.username,
    choices.repository
  )
} else {
  throw new Error('Require an `oauthToken` or `token` choice')
}
to this:
if (isLegacyAuth) {
  this.api.authenticate({
    kind: 'token',
    token: config.get('githubToken')
  })
} else if (choices.oauthToken) {
  this.api.authenticate({
    kind: 'oauth',
    token: choices.oauthToken
  })
} else if (isAppAuth) {
  this.authentication = this._authenticate(
    choices.username,
    choices.repository
  )
} else {
  throw new Error('Require an `oauthToken` or `token` choice')
}
One other error I encountered was:
"errorCode": "GITHUB_READING_FILE"
This was as a result of I hadn’t created the knowledge/feedback listing. Be sure to have that listing with an empty .maintain file in it.
After these change, all the things began working once more. The one factor I didn’t cowl on this tutorial is e mail notifications for follow-up feedback. I’ll cowl them as soon as I implement them on this weblog. Until then you’ll be able to observe the hyperlink within the sources part beneath. One among them teaches you methods to implement that.
I wrote most of this text from reminiscence. Should you get any error please write a remark beneath and I’ll fortunately replace the publish.
Until subsequent time! ❤️
Edit: Vin100 made some remarks about a number of the points I shared on this article. Make certain to take a look at his remark!
My weblog is now open supply. You may have a look at how I’ve applied this right here.
Sources:
👉 Hugo + Staticman: Nested Replies and E-mail Notifications