

Constructing enjoyable options to seize person curiosity

That is the beginning of a collection the place I doc my course of, coding options from web sites I discover attention-grabbing.
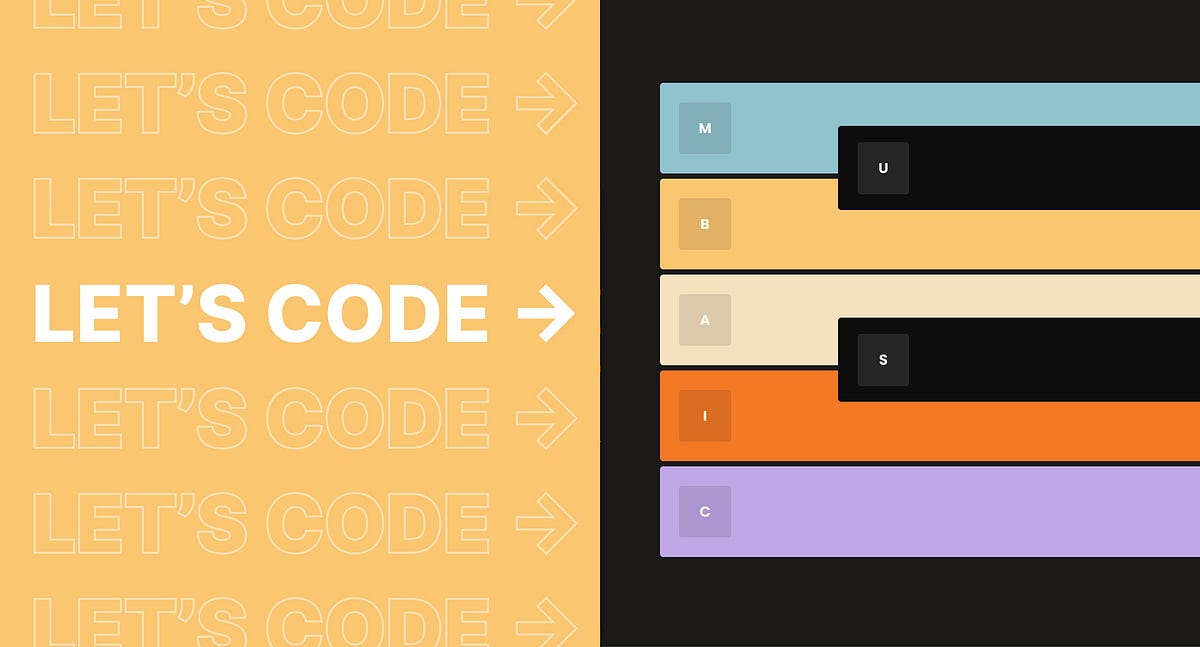
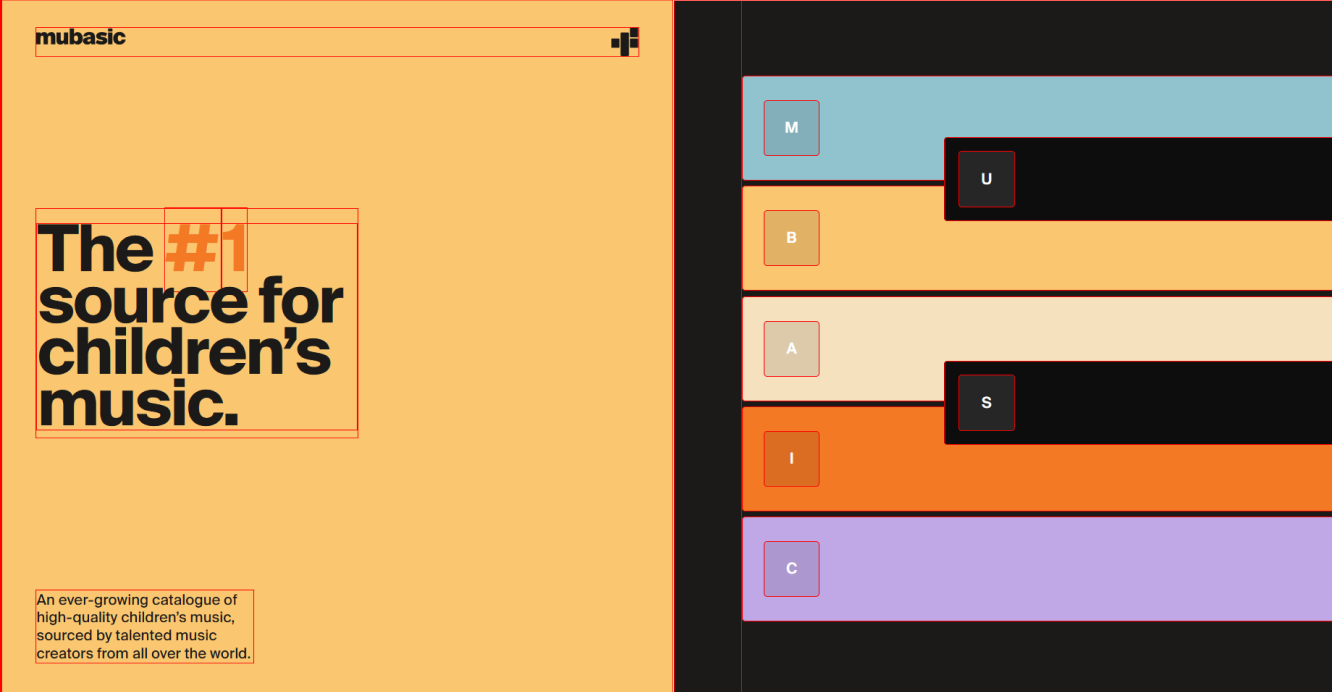
I got here throughout this playful web site, Mubasic, which supplies a listing of youngsters’s music. The piano keys have been a enjoyable function to welcome you into the positioning, and saved me engaged lengthy sufficient to scroll down and uncover what the product was about. To me, a well-designed product web page has options that may hook customers into being inquisitive about it.
I’ll be utilizing React and TypeScript to create elements, Subsequent.js for manufacturing, and Sass to arrange and keep my CSS.
It’s typically a good suggestion to jot down out steps for what we have to do to construct out our function (this is called pseudocode). Pseudocode acts as a casual information and helps us plan our code accordingly.
Even when we don’t know what steps to take, it’s okay to jot down out what we assume are the steps, and regulate them later.
So, let’s check out the design and determine tips on how to method this.
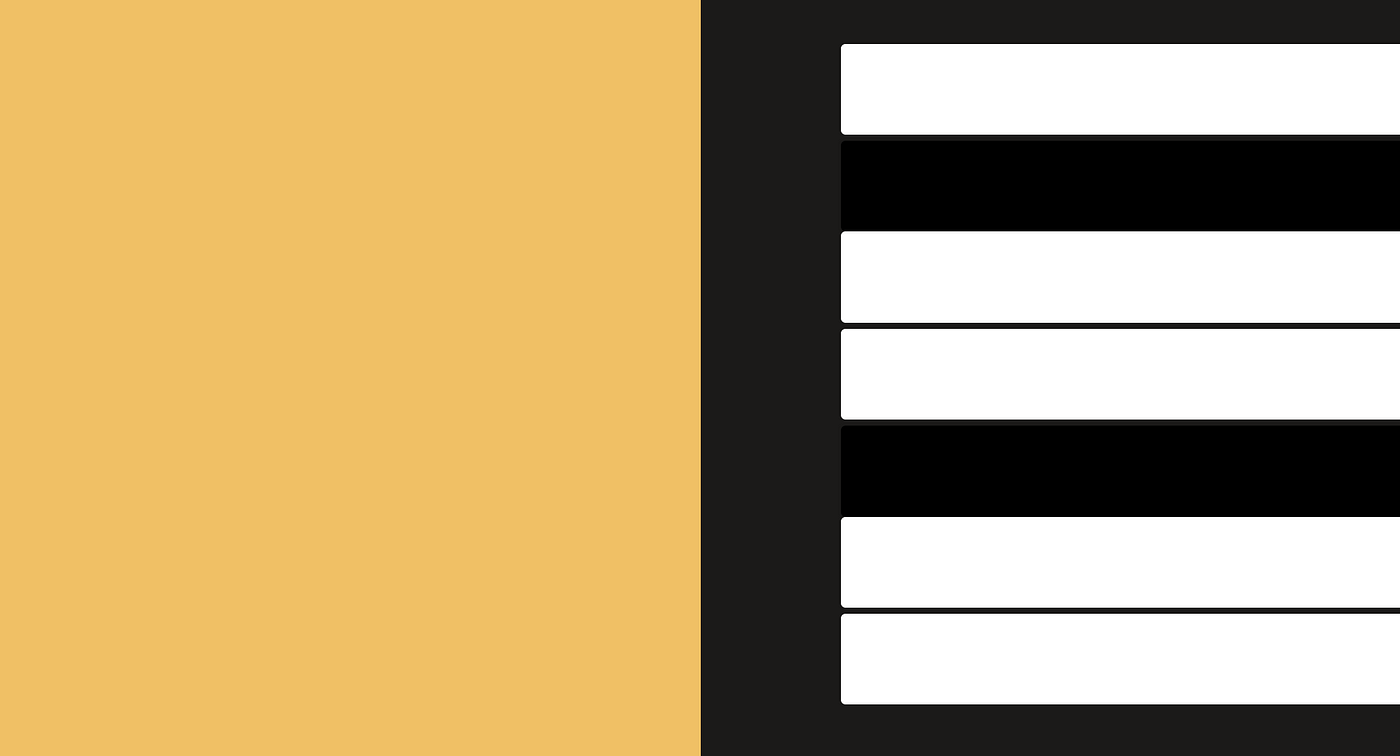
CSS tip — open your browser’s developer instruments (F12) and discover the * selector below the types panel, getting into the CSS beneath:
* { border: 1px strong purple; }
This selects all components and applies a strong, purple border. Helpful for understanding how components are organized, and making it simpler when debugging CSS.
Based mostly on my observations, I’ve written out the next pseudocode:
// create a bit divided into two
// create seven piano keys
// add a letter with button styling for every key
// add hover animations to every key utilizing CSS
// play music when secret's clicked or letter is pressed
I’m creating a brand new web page in my venture listing referred to as Mubasic.tsx.
On this web page, I wrapped two divs in a bit tag and imported the types from a CSS module file.
Then, I color-picked the background colors and saved them as variables. This makes it simpler to take care of the CSS, permitting me to reuse and make modifications to variables from one central file.
Now I can import this CSS module into my stylesheet, permitting me to make use of these variables. Every div has a category which takes up 50% of the part width and 100% of the viewport top.
Let’s depart the left aspect empty in the meanwhile and give attention to the fitting.
I created a React part referred to as PianoKey which accepts a boolean prop, shade. Utilizing a ternary operator, I can conditionally render the styling of every key by passing in both true or false to shade.
I’m continuously considering — how can I enhance what I’ve to date?
I can enhance the part by iterating over information. That manner, I gained’t must duplicate the piano keys a number of occasions.
In a separate file, I create an array of objects for every key, an instance of the array with the primary object would seem like this:
Every object comprises a letter which corresponds to the label proven on the important thing. isColor represents the kind of piano key, used to conditionally render styling for every key. We depart audioName empty for now, till we have to implement audio. The backgroundColor property permits every key to have their very own shade.
It’s time to replace our part.
I imported the information and used the map methodology to iterate over it. The map methodology will return as many JSX components as there are objects within the array.
Now that we have now entry to background colours and letters for every key, I can use inline CSS to set every key’s color, and fill in every letter with dot notation.

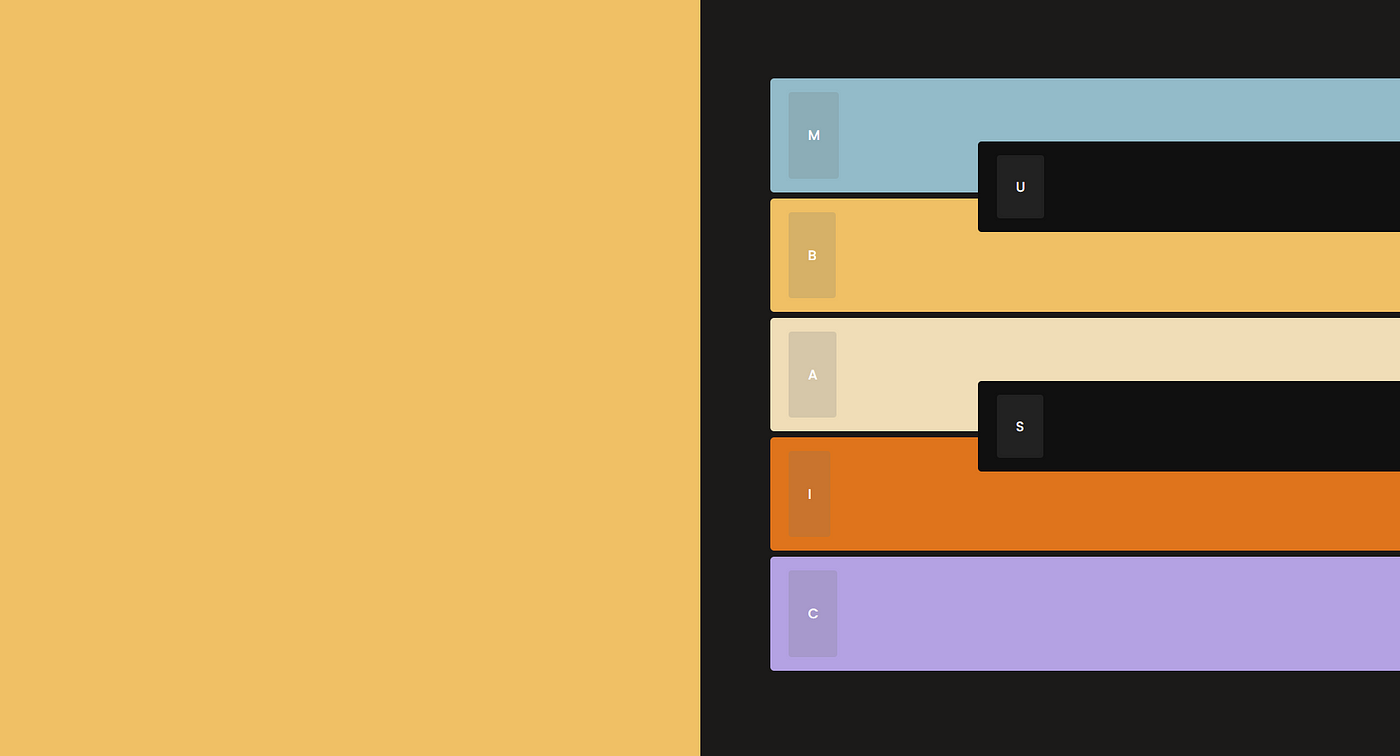
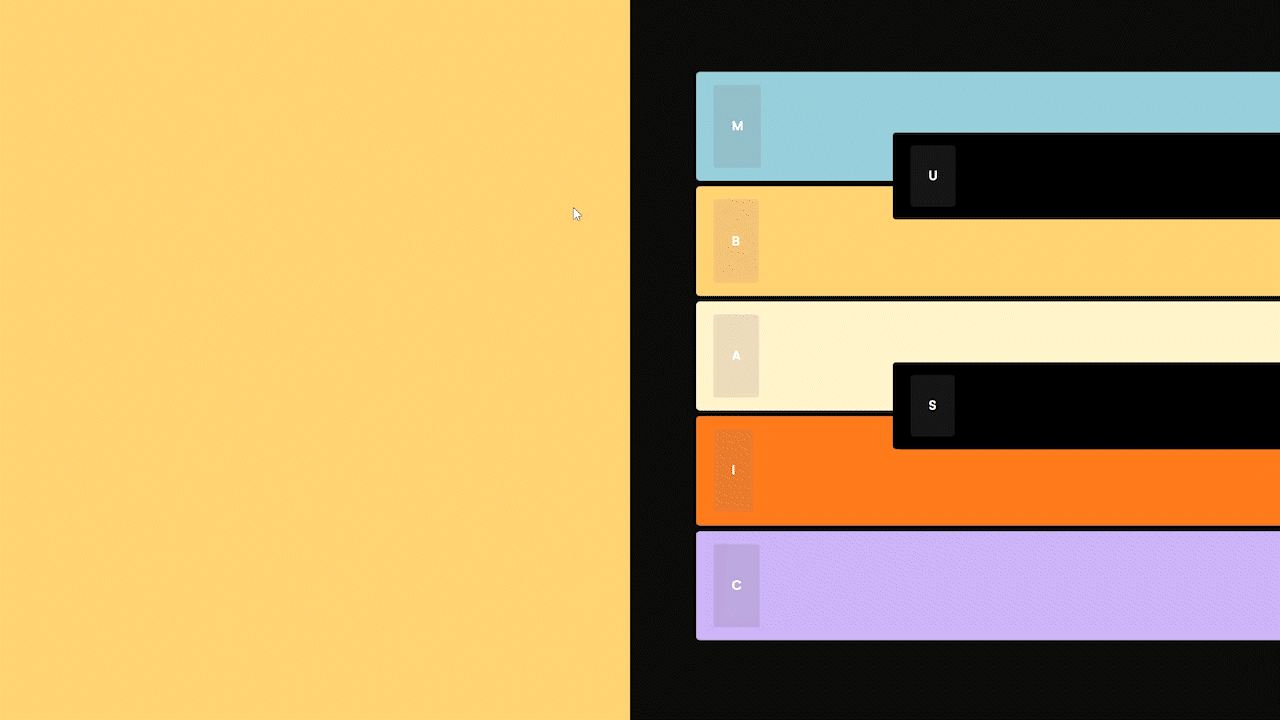
Let’s tackle the positioning for the black keys — they should be positioned on prime, and between the keys adjoining to them.
I wasn’t fairly positive tips on how to obtain this, so I googled “tips on how to overlap components relative to one another.” The primary search end result was this StackOverflow query, requested 9 years in the past.
After studying, I discovered that I can wrap the keys in a relative-positioned div, whereas utilizing absolute-positioning on the keys themselves. Nonetheless, I solely have to wrap the black keys, which implies the wrapper have to be conditionally rendered.
I’m creating one other part referred to as ConditionalWrapper, which accepts three properties: situation, wrapper, and youngsters.
The wrapper prop calls a operate which returns the youngsters of ConditionalWrapper, wrapped, primarily based on the situation prop (isColor).
In our CSS, I place the keys utilizing prime and left (unfavorable worth of prime shifts up, left shifts factor to the fitting).
If you wish to perceive extra about how the conditional wrapper works, right here’s a nice article which works into extra element.
It’s time so as to add some interactivity! Fortunately, the following step doesn’t require many strains of code.
I added a hover pseudo-class to the piano key courses and used the translate operate to shift the keys proper.
To customise the transition’s easing-function, I used cubic-bezier. This device helps visualize the movement of your transitions and permits you to simply export cubic-bezier capabilities into your CSS. Easing capabilities can add life to your product and make transitions seem smoother.
I’m utilizing a React hook referred to as useSound, which lets you add and configure audio in your venture. It’s printed by Josh W. Comeau, who has a tremendous tutorial demo for it.
Following the documentation — I created a SpriteMap, a single file containing a number of audio segments, utilizing Adobe Premiere Professional.
Within the useSound hook, I move within the path to the sprite map, and map the IDs to their respective audio segments.
Lastly, we are able to replace audioName in PianoKeyData to match the IDs that we set in our sprite map.
Then, connect an onClick occasion listener to the piano keys to play the matching audio section.
To make the audio play every time a letter on the secret is pressed — I’m implementing a customized hook referred to as useKeyboardBindings. This hook provides a listener to the window which executes the handleKeyDown operate when a secret’s pressed. The operate checks if the worth of spriteMap[e.key] is a operate, and if that’s the case, executes it.
To make use of the hook, we have now to import it in our part and map the keys to the play operate.
It’s time to wash up the design. I laid out the remaining content material on the left utilizing Flexbox; recreated the emblem in HTML and CSS; adjusted the scale to make it match the unique design extra.
For a greater person expertise, I set the cursor to pointer when hovering over the keys, which lets customers know that the keys are interactive.
After performing some digging, I modified the important thing prop for every key to a singular identifier. I used index within the examples above, which is able to throw errors if the record is modified. Though it doesn’t have an effect on this venture particularly, I really feel prefer it’d be proper to deal with it right here. This thread from StackOverflow explains why you shouldn’t use the array index as your key prop.

Be happy to take a look at the demo:
I hope that by studying this, you’ll be impressed to hunt discomfort in difficult your self with belongings you’ve all the time wished to strive or study, particularly if you happen to assume it’s difficult.
After I began this venture, I knew nothing about utilizing Subsequent.js or writing customized react hooks — and that’s okay. Coding is all about persevering by robust issues, studying, and being cussed once you really feel like giving up.
Take into account that the code introduced on this article is a “finalized” end result and never step one taken. I stumbled by many errors with the aim of studying. I don’t wish to give off the impression that I made a plan and executed it completely.
“Make the plan, execute the plan, count on the plan to go off the rails, throw away the plan.” — Leonard Snart
Thanks for studying.