

A step-by-step information on the best way to arrange monitoring for a Spring Boot app
Monitoring microservices is a difficult process. It’s an important step towards having a steady manufacturing system. By observing numerous metrics, we perceive how the system behaves underneath completely different load circumstances and which metrics want extra consideration.
On this tutorial, I’ll present you the best way to arrange Prometheus and Grafana to watch a Spring Boot utility.
You’ll learn to:
- Configure Spring Boot Actuator to allow metrics
- Configure Prometheus to scrape the metrics
- Use PromQL to question numerous metrics within the Prometheus UI
- Visualize the metrics in a Grafana Dashboard
This text assumes you’ve primary Spring Boot information. We’ll think about the monitoring configuration half.
Let’s get began!
Perceive the elements
First, let’s check out the diagram under to grasp how the monitoring works:

- The Spring Boot app has an Actuator module that enables us to watch and handle our app. It integrates flawlessly with third-party monitoring instruments, akin to Prometheus.
- Micrometer collects the metrics from our app and exposes them to exterior programs, on this case, Prometheus.
- Grafana is a visible software that reveals the metrics from a knowledge supply (e.g. Prometheus) in a Dashboard.
Add the dependencies
I’ve ready a easy Spring Boot venture for this demo. You’ll find the entire supply code underneath the references part.
We want the next dependencies:
<dependency>
<groupId>org.springframework.boot</groupId>
<artifactId>spring-boot-starter-web</artifactId>
</dependency><dependency>
<groupId>org.springframework.boot</groupId>
<artifactId>spring-boot-starter-actuator</artifactId>
</dependency><dependency>
<groupId>io.micrometer</groupId>
<artifactId>micrometer-registry-prometheus</artifactId>
<scope>runtime</scope>
</dependency>
Configure Spring Boot Actuator
Now let’s configure the utility.yml file to allow monitoring:
Observe that we enabled the well being, metrics, and Prometheus paths.
Begin the app and open http://localhost:8080/actuator.
It’s best to see the next endpoints:
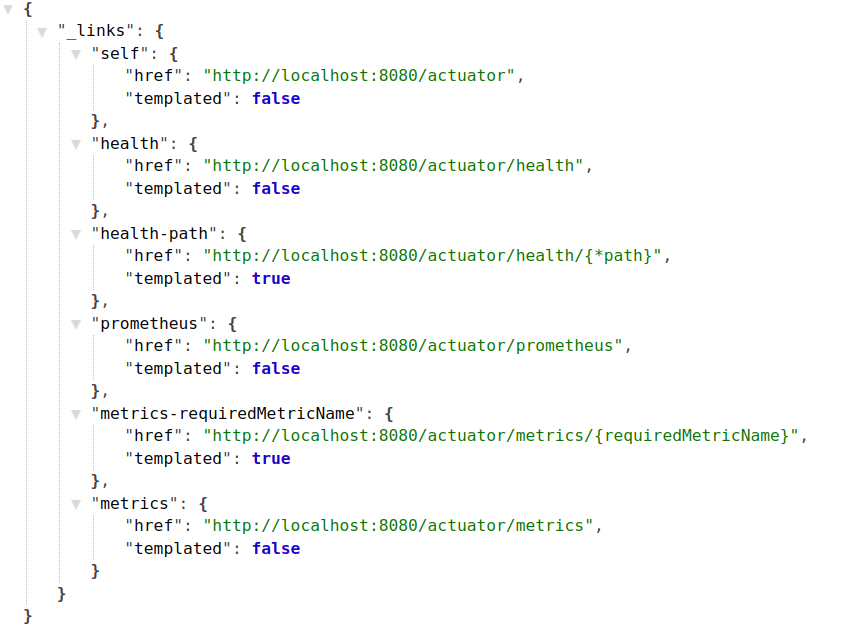
The well being endpoint reveals if our app is operating or not:

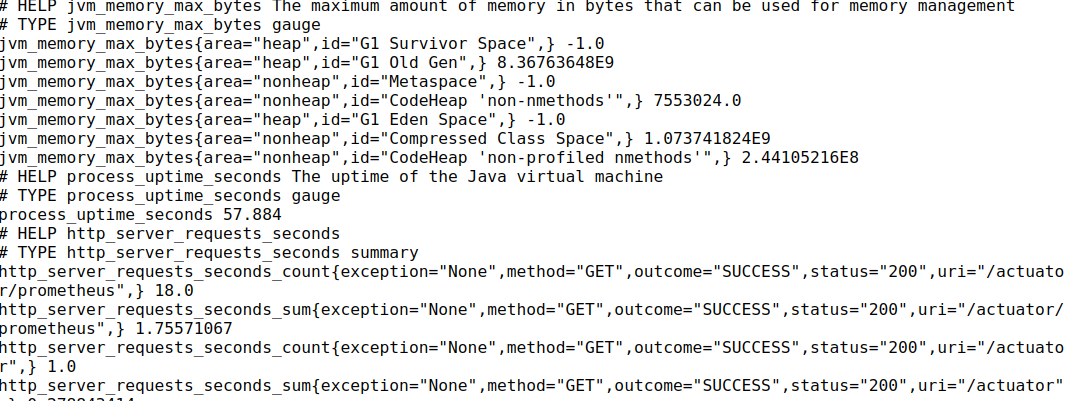
The prometheus endpoint reveals numerous metrics, akin to JVM threads state, details about HTTP server requests, and so forth.
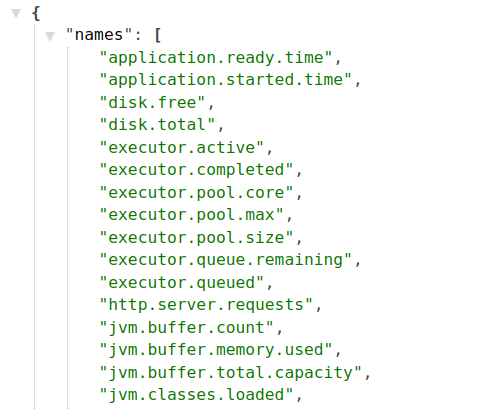
The metrics endpoint provides details about JVM reminiscence, system CPU utilization, and so forth.
Prometheus gathers metrics at intervals and must know the way typically to scrape them. We have to arrange a config file for this.
Create a brand new file prometheus.yaml with the next content material:
Essential notes:
- It instructs Prometheus to scrape the app each three seconds.
- The goal is the host and port of our app.
- The trail we need to scrape is the
prometheuspath, which you noticed earlier.
We’ll create a docker-compose.yml file to put in and begin Prometheus and Grafana.
The file ought to seem like this:
Be sure the trail to the prometheus.yaml file is right!
Let’s begin the companies by operating this command:
$ docker-compose up
Prometheus is accessible by way of http://localhost:9090/.
Grafana is operating on http://localhost:3000/. When it prompts for login particulars, use those from the docker-compose.yml file.
Let’s begin the Spring Boot app to gather and think about some metrics.
Open http://localhost:8080/actuator/prometheus.
If we need to view the information in Prometheus, we will question it utilizing PromQL, which is the Prometheus question language.

Nice! The scraping half works. We will see the metrics in Prometheus.
Though Prometheus has an honest UI, Grafana’s Dashboard is extra highly effective. So, let’s visualize the metrics in Grafana.
First, we have to add Prometheus as a Information supply. You want your native IP handle and 9090 because the port from Prometheus. After all, that is used for native testing solely. In actual life, you’ll have a Prometheus server operating someplace.

Click on Save and Check on the finish of the display. It’s best to see a message that the information supply has been linked.
Go to Dashboards -> New Dashboard -> Add panel.
It’s best to see Prometheus as the information supply. Now we will question all metrics.
Superior! It really works as anticipated.
We will additionally import a ready-to-use dashboard. Grafana presents one thing like a market the place we will select from quite a few templates. Since we now have a Spring Boot app, we will reap the benefits of one of many pre-configured dashboards for spring boot.
Go to Dashboards -> New Dashboard -> Import.
We will both seek for the dashboard or simply enter the template id into the Import subject:

On this instance, the id is 12900. Click on Load. Select Prometheus as the information supply and click on Import.
Nice! You now have a whole Spring Boot Dashboard:
That’s it! It was fairly easy to configure the monitoring half.
Now you understand how to scrape and visualize numerous metrics from a Spring Boot app utilizing Actuator, Prometheus, and Grafana.
The setup was elementary, with none customization and authentication. There may be nonetheless rather more that you can do to watch your app. For instance, you possibly can create your customized endpoints and metrics. Solely approved customers might entry particular data.
I plan to create a complicated tutorial the place I’ll present you the best way to create customized endpoints and add safety.
Thanks for studying, and keep tuned for the subsequent half!