


On this tutorial, you will learn to create an genuine 80s punk flyer with a ragged, tough, and messy look.
For those who’ve been questioning how punk influenced graphic design, the reply is that it broke many guidelines that got here from basic and minimalist types, and punk tradition has had a big effect in different areas like artwork and trend. Throughout that period, it was regular to go the DIY route, and artists created their very own poster designs and trend items. On this tutorial, you will learn to recreate the punk design fashion. This flyer is every part rebellious design stood up for after the minimalist period.
If you’re in search of punk posters, Envato Parts needs to be your go-to useful resource. Parts affords hundreds of premium mockups, graphic templates, logos, photographs, fonts, and far more. And you may obtain as many of those digital belongings as you want, as typically as you want, for one low month-to-month payment.


Concerned with a video tutorial as an alternative? Check out this new video from the Envato Tuts+ YouTube channel and learn to create 80s punk flyers:
What You may Study in This Punk Flyer Tutorial
On this 80s punk flyer tutorial, you will be taught to:
- correctly arrange an InDesign file
- edit photos in Photoshop for InDesign
- create an organized InDesign file with Layers
- export a PDF file for internet and print
What You may Want for This Punk Poster Tutorial
For this tutorial, you will want:
Obtain the belongings, set up the fonts, and also you’re prepared to start this punk flyer tutorial.
1. Methods to Set Up an 80s Punk Flyer in Adobe InDesign
Step 1
In InDesign, create a New Doc. Choose Print from the highest menu and select the A4 preset. Uncheck Going through Pages. Set the Margins on all sides to 0.5 cm. Click on OK.


Step 2
Go to Structure > Create Guides.
Within the popup window, set the Rows to 7 and the Columns to 5. Set the Gutter to 0.5 cm. Beneath Choices, set Match Guides to: Margins.
Click on OK.


Step 3
Within the Layers panel, create new layers to maintain the file organized. Title the layers Background, Sort and Parts, Paper Texture, and Tough Texture.


2. Methods to Edit a Punk Design Fashion Background in Photoshop
Step 1
Open the arms picture in Photoshop.
Within the Layers panel, go to Create New Fill or Adjustment Layer > Black & White. We use these layers to protect the integrity of the picture.


Step 2
Within the Layers panel, go to Create New Fill or Adjustment Layer > Ranges.
Customise the Ranges on the Properties panel to attain a picture with laborious shadows. Set the Black level to 151, Gray to 0.87, and White to 239.
Save the picture as a JPEG.


Step 3
Open the JPEG picture saved within the final step in Photoshop. Go to Picture > Mode > Greyscale. It will assist to create the kind of coloration halftone we want.


Step 4
Go to Filter > Pixelate > Colour Halftone. Use the default settings, on this case:
- Max. Radius: 8 Pixels
- Channel 1: 108
- Channel 2: 162
- Channel 3: 90
- Channel 4: 45
Save the picture as a JPEG.


3. Methods to Design an 80s Punk Flyer Background
Step 1
Head over to Adobe InDesign.
Choose the Background layer from the Layers panel.
Utilizing the Rectangle Body Software (F), create a rectangle that matches inside the margins of the 80s punk flyer.
Drag the hand picture edited in Photoshop into the body. Use the Direct Choice Software (A) to resize the picture. Be happy to resize it as huge as you need it and reposition it.


Step 2
Duplicate the picture body by urgent Possibility and clicking to pull. Resize the picture body and reposition the picture with the Direct Choice Software (A).
On this case, I duplicated the picture within the high left nook and added a second slightly below it. The impact is a superimposed collage of a zoomed-in picture.


4. Methods to Add Punk Design Parts
Step 1
On the Layers panel, conceal the Background layer so we do not get confused with the background for now. Choose the Sort and Parts layer.
Utilizing the Textual content Software (T), create a textual content body and add the phrase “the”. Use the next settings:
- Font: Bergen Textual content Italic
- Measurement: 61 pt
Within the Management panel, set the textual content Fill Colour to Black. Place the textual content body on the second column and on the high of the punk flyer. Set the Background Colour to White.


Step 2
Punk flyers had been stuffed with mix-and-match uppercase and lowercase fonts. For this second textual content body, we’ll use all caps.
Create a brand new textual content body and add the phrases “WORLD TOUR”. Use the next settings:
- Font: Bergen Textual content Common
- Measurement: 40 pt
- Monitoring: 200
Within the Management panel, set the textual content Fill Colour to Black. Place this textual content body slightly below the primary row on the suitable aspect of the punk flyer.


Step 3
Create a brand new textual content body and add the phrase “Marionettes”. Use the next settings:
- Font: Bergen Textual content Daring
- Measurement: 85 pt
- Monitoring: 200
Within the Management panel, set the textual content Fill Colour to #ed1c24 and the body coloration to White. Place the textual content body between the primary and second rows.


Step 4
Create a brand new textual content body and add a beginning date to the punk flyer. Use the next settings:
- Font: Bergen Textual content Daring
- Measurement: 24 pt
- Monitoring: 200
Within the Management panel, set the textual content Fill Colour to Black. Set the textual content body Colour to White.
Create one other textual content body and add an ending date to the punk flyer with the identical settings. Within the Management panel, set the textual content Fill Colour to Black. Set the textual content body Colour to White.
Duplicate this second body a number of occasions and superimpose the copies. Place these textual content frames between the third and fourth rows of the punk flyer.


Step 5
Create a brand new textual content body and add band names for the opening act to the punk flyer. Be happy so as to add completely different symbols to reinforce the textual content. Use the next settings:
- Font: Bergen Textual content Daring
- Measurement: 18 pt
- Monitoring: 620
Within the Management panel, set the “Opening Acts:” textual content Fill Colour to #ed1c24 and the band names to Black. Set the textual content body Colour to White.
Place the body on the sixth row and third column of the punk flyer.


Step 6
Eighties punk flyer collages included many components, generally even repeated ones. For this step, create a brand new textual content body and add the dates once more in a special format. Use the next settings:
- Font: Bergen Textual content Daring
- Measurement: 53 pt
Within the Management panel, set the textual content Fill Colour to White and the Stroke to Black.
Duplicate this textual content body and place one barely off the opposite one. Then choose each frames, right-click, and choose Organize > Convey Again.


Step 7
Create a brand new textual content body and add a number of backlash symbols (/). Use the next settings:
- Font: Bergen Textual content Daring
- Measurement: 135 pt
Rotate the body with the Rotate Software (R), and press Shift whereas rotating to attain an excellent rotation. Rotate the body 90°.


Step 8
Choose all the weather, right-click, and choose Lock.
For the graphic shapes, we’ll be utilizing pink, black, and gray colours. Be happy to discover and use your personal mixture. To create dimension and emphasis, use completely different rectangular shapes.
Let’s begin with the highest left aspect of the punk flyer. Utilizing the Rectangle Software (M), create rectangles that emphasize the identify of the band. On this case, I selected so as to add a black vertical bar and a few different components in black and pink.
To emphasise “WORLD TOUR”, I added a pink bar behind the textual content.


Step 9
For the third and fourth rows, add a black factor to the left to emphasise the date. Full this half by including a pink rectangle on the opposite aspect of the date.
So as to add a punk aptitude, create a black, white, pink, and gray rectangle grid. Place it over the date. End this part by including a black block on the very proper margin. It will add steadiness.


Step 10
Duplicate the identical grid you created within the step above by urgent Possibility and dragging. Be happy to resize and stretch the grid. I positioned a much bigger grid on the left aspect to replenish the area. The second grid is positioned over the “OPENING ACTS” textual content so as to add emphasis.


Step 11
To finish the poster, duplicate one other grid to put within the backside left nook. Add a pink bar to the underside proper nook so as to add steadiness and stability.


5. Methods to Add Particulars to Your 80s Punk Flyer
Step 1
The true 80s punk flyers collages had been tough, so for this one we’ll add a tough, crumpled paper texture. Within the Layers panel, choose the Paper Texture layer. Lock the primary two layers.
Find the paper textures in your pc. Choose the White Invert folder and the BG _10.JPG file. Drag the file into InDesign.


Step 2
Within the Management panel, set the Measurement to 65%.
Open the Results panel and set the Mixing Mode to Multiply.
Duplicate the identical picture by urgent Command-C and Command-V.


Step 3
Within the Layers panel, lock the Paper Texture layer and choose the Tough Texture layer.
Find the Edgeless Scuff Textures folder in your pc. I used Scuff-A4.png, Scuff-B3.png, and Scuff-C1.png. Convey these three into InDesign.
Be happy to resize, multiply, and place the photographs wherever you need—ideally locations the place it is smart, for example, over greater blocks of coloration to attain the tough impact.


6. Methods to Export the 80s Punk Flyer
Step 1
To export a file for printing, go to File > Export.
Choose the specified location, rename the file, and set the Format to Adobe PDF (Print). Click on Save.


Step 2
Set the Adobe PDF Preset to Press High quality.
Choose the Marks and Bleeds possibility from the left aspect menu. Test All Printer’s Mark and Use Doc Bleed Settings.
Click on Export.


Step 3
To export your file for the online, go to File > Export. Choose the specified location, rename the file, and set the Format to Adobe PDF (Interactive). Click on Save.
Within the Export for Interactive PDF window, click on Export.


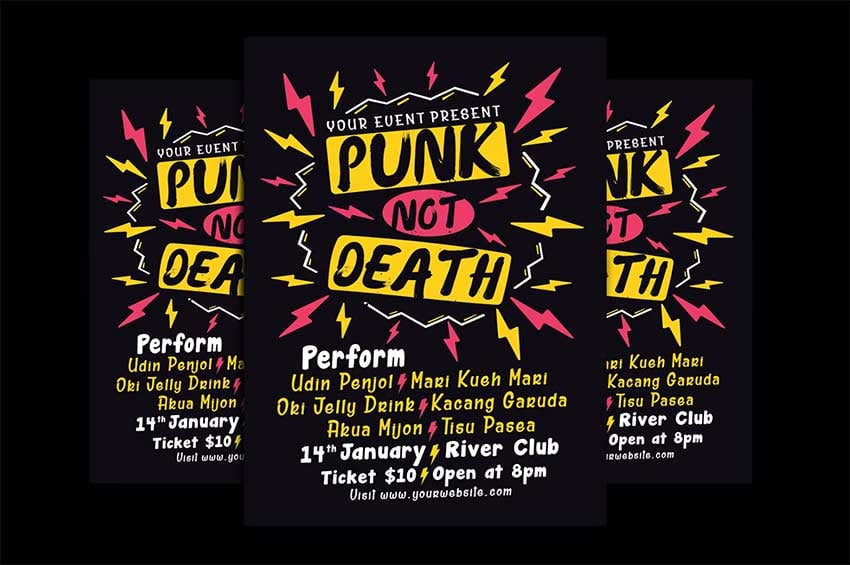
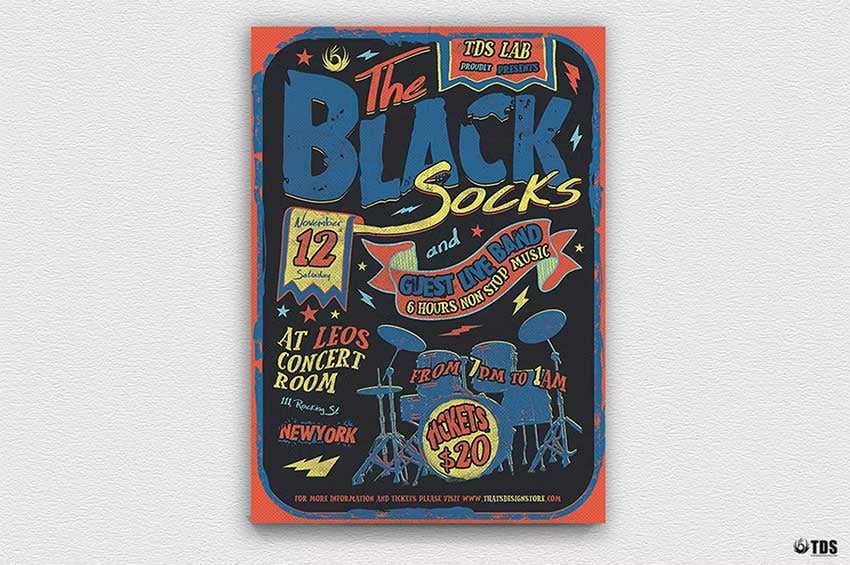
5 Prime Punk Present Flyers at Envato Parts
Indie Rock Fest Flyer (PSD)


This indie rock flyer contains the essence of 80s punk posters, with the tough edges, scuffs, and barely rotated content material. The photographs maintain power, identical to the punk design fashion images. This flyer is simple to edit and print-ready.
Rock Music Flyer Template (PSD)


Punk graphic design stood out for missing grids and putting components spontaneously. This template has the identical vibe as previous punk flyers. The subdued and restricted coloration palette makes it look easy, however the components are extra attention-grabbing in form.
Pop Punk Flyer (AI, EPS, PNG)


This totally editable PDF contains the very well-known photocopy punk design fashion. Photocopying was fashionable throughout this period as a result of it was inexpensive and straightforward. Eighties punk posters then developed a really inky look that added distinction with the background.
Punk Rock Flyer Template (PSD)


Punk present flyers are well-known for trying tough and worn out. This 80s punk flyer template is the right steadiness of tough and order. The punk design fashion is proven with the scuff marks, the halftone picture, and the tough typography, whereas the order is created with the organized and tremendous legible font.
Emo Punk Band Flyer (PSD)


A real punk graphic design poster like that is excellent for a rock live performance. Punk present flyers generally characteristic fonts that are not from the period, however this poster is nice. The font is energetic and creates a base for rebellious design.
That is It!
On this tutorial, you realized how punk influenced graphic design and design an 80s punk flyer. This iconic subculture revolutionized completely different design disciplines that had been in want of a shake-up. Previous punk flyers had been well-known for his or her DIY high quality, and we’ve got utilized that to this rebellious design. Punk graphic design remains to be round and evolving, and whereas it is not as fashionable because it as soon as was, punk posters nonetheless stay on.
If you’re in search of 80s punk flyers, Envato Parts needs to be your go-to useful resource. Parts affords hundreds of premium mockups, graphic templates, logos, photographs, fonts, and far more. And you may obtain as many of those digital belongings as you want, as typically as you want, for one low month-to-month payment.
For those who appreciated this tutorial, you may like: