


Behold the free Heroku different!

On November twenty eighth, Heroku’s free tier will not be out there. It could grow to be barely annoying to most of us who need to deploy servers at no further value with ease. The elimination of the free tier forces us to both transfer elsewhere or give in to their paid plans.
On this article, I’ll present you an upcoming different, Render. Render supplies the identical options as Heroku however with enhancements and bonus options.
To deploy our app to Heroku’s mighty successor, you’ll want accounts at each Render and GitHub. You additionally want an app to deploy. Yow will discover the ultimate code for the AI Assistant sequence right here.
First, create a new GitHub repository. Now, run the next instructions to push our code to the repo.
git initgit add .
git commit -m "first commit"
git department -M fundamentalgit distant add origin git@github.com:USERNAME/REPO.gitgit push -u origin fundamental
Now that our code is on GitHub, we are able to deploy it to Render.
After you have signed up, click on Net Companies on the dashboard web page to create the app.

Subsequent, configure your GitHub account in order that Render can entry your repo. Then click on Join subsequent to the repo title.
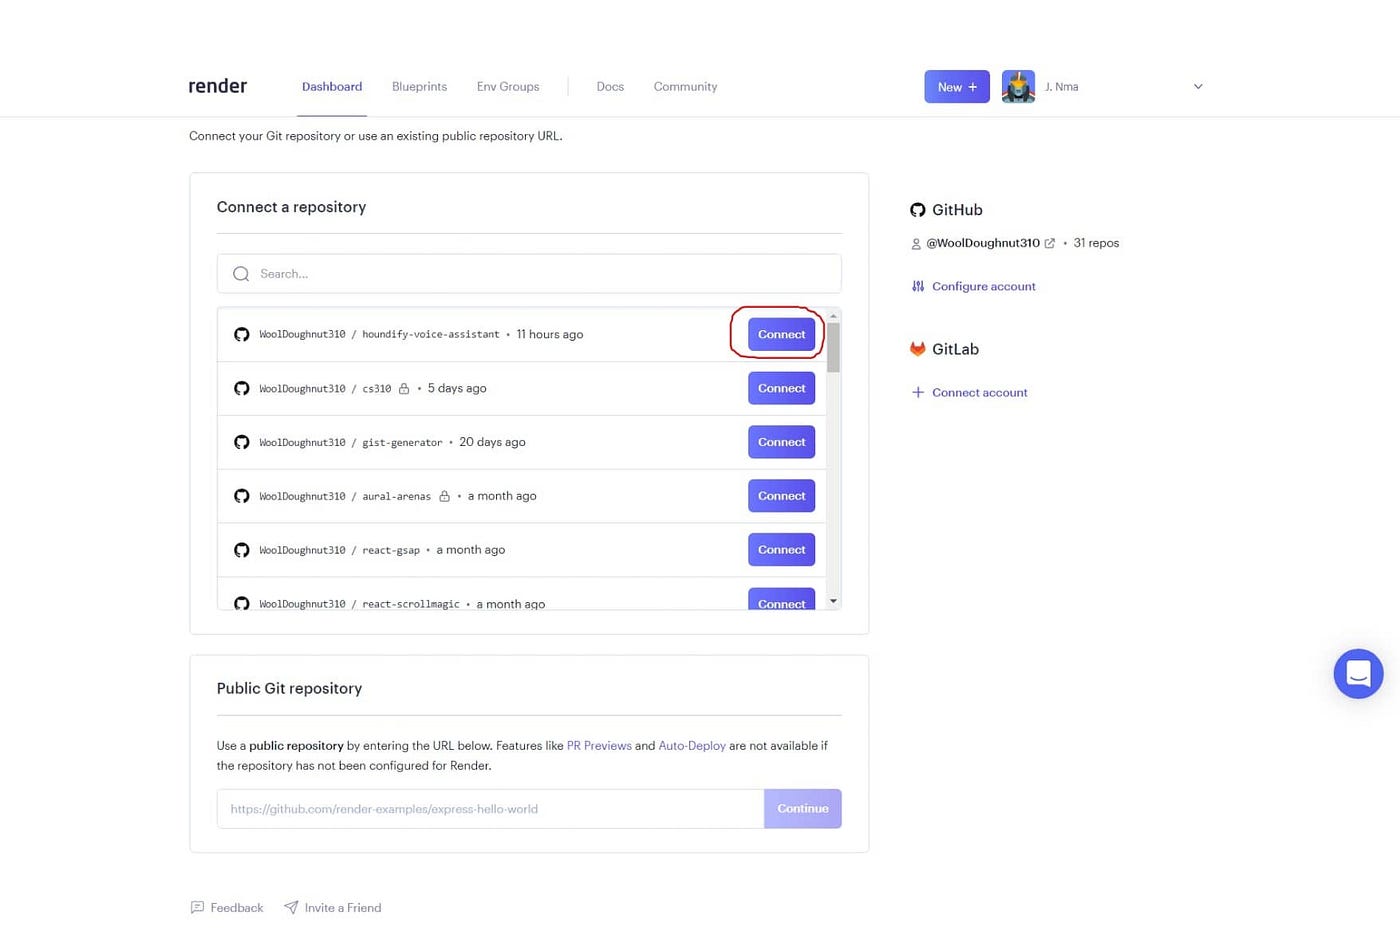
Now fill within the particulars within the kind. If you happen to pushed the code appropriately, the surroundings ought to already be set to “Node.”

Observe that we’ve got to put in our NPM packages earlier than working the construct.
- Scroll all the way down to the button labelled Superior and click on
- Now click on on Add secret file to open a modal dialogue
- Set the filename to “.env” and fill the contents with the contents of your
.envfile from earlier articles

To complete issues up, click on Create Net Service. After a couple of minutes, Render ought to have deployed your utility. They even present a site to check it out.
If you happen to’re already a ordinary person of Heroku, switching to Render is seamless. Even should you’re a paying person of Heroku, I’ll now define a quick comparability between every:
- Pricing — Heroku has a a lot much less lenient pricing scheme with solely three plans. Render has eight totally different plans to offer extra flexibility primarily based in your utilization.
- Disk storage — Render helps disk storage to retailer knowledge between deployments. Heroku doesn’t provide this.
- HTTP Model — Render servers your functions over HTTP/2, which provides higher velocity and effectivity. Heroku nonetheless makes use of HTTP/1.1.
- Well being Checks — With Render, customers can present paths to Well being Checks, so your app can restart if one thing is improper. Well being Checks enable Render to haven’t any downtime. Heroku apps restart each 24 hours, which can result in downtime. The one strategy to keep away from that is to improve from the free tier.
- DDoS Safety — Render supplies superior DDoS safety for all of your functions. Nevertheless, Heroku supplies extra fundamental strategies. They even advocate utilizing a devoted service to deal with stronger assaults.
- TLS Certificates — Render supplies free and automatic TLS certificates for functions on customized domains. Heroku doesn’t.
- Docker — Utilizing Render, you possibly can embrace a
Dockerfilein your repository. They may then acknowledge it and robotically construct it. Heroku’s technique of Docker deployment is far more tedious. - Secrets and techniques — Secret information might be imported into Render. Heroku solely has assist for config variables (env variables), which is proscribed.
You now know tips on how to initialise a Git repository, push it to GitHub, and deploy it to Render without cost.
If you happen to’ve learn the complete sequence from begin to end, congratulations. I actually recognize it.
And should you’ve loved this sequence, be happy to observe me for extra content material and share it with others. Thanks!
https://render.com/docs/web-services