

Welcome to the primary a part of our weblog sequence, “Designing a React E-Commerce App for Digital Merchandise.” This sequence is designed to information you thru constructing a completely useful, client-side, single-page e-commerce platform specializing in digital merchandise reminiscent of e-books, themes, templates, thumbnails, and NFTs utilizing React.
As this venture is primarily for studying functions, we’ll concentrate on making a single-page app rendered on the shopper facet quite than optimization for website positioning. All through this course of, we’ll adhere to one of the best practices of software program engineering and front-end improvement.
So, let’s embark on this thrilling journey of making a digital market with React.
Necessities
In any typical product improvement course of, we have to perceive the product’s function, its audience, and the precise options it must serve its customers successfully.
As soon as the product specs are established, the following step is to translate these necessities right into a useful design. This design serves as a blueprint that guides the event group in constructing the app.
We’ll comply with an identical method. We’ll establish the mandatory pages for our e-commerce app and create a visible circulate diagram to characterize the consumer journey via these pages. This diagram will act as our roadmap all through improvement, making certain we construct a cohesive and user-friendly app.
Listed here are some key elements we have to define for our e-commerce app:
- Touchdown web page: A web page the place customers can browse the listed merchandise.
- Product web page: Every product ought to have a devoted web page for detailed descriptions.
- Checkout web page: A essential web page for customers to finalize their purchases.
- Login web page: A web page the place customers can log into the app.
- Dashboard web page: A web page the place customers can create their merchandise.
- Product add web page: A web page the place the merchandise could be listed.
- Thanks web page: A web page to acknowledge customers after they’ve made a purchase order.
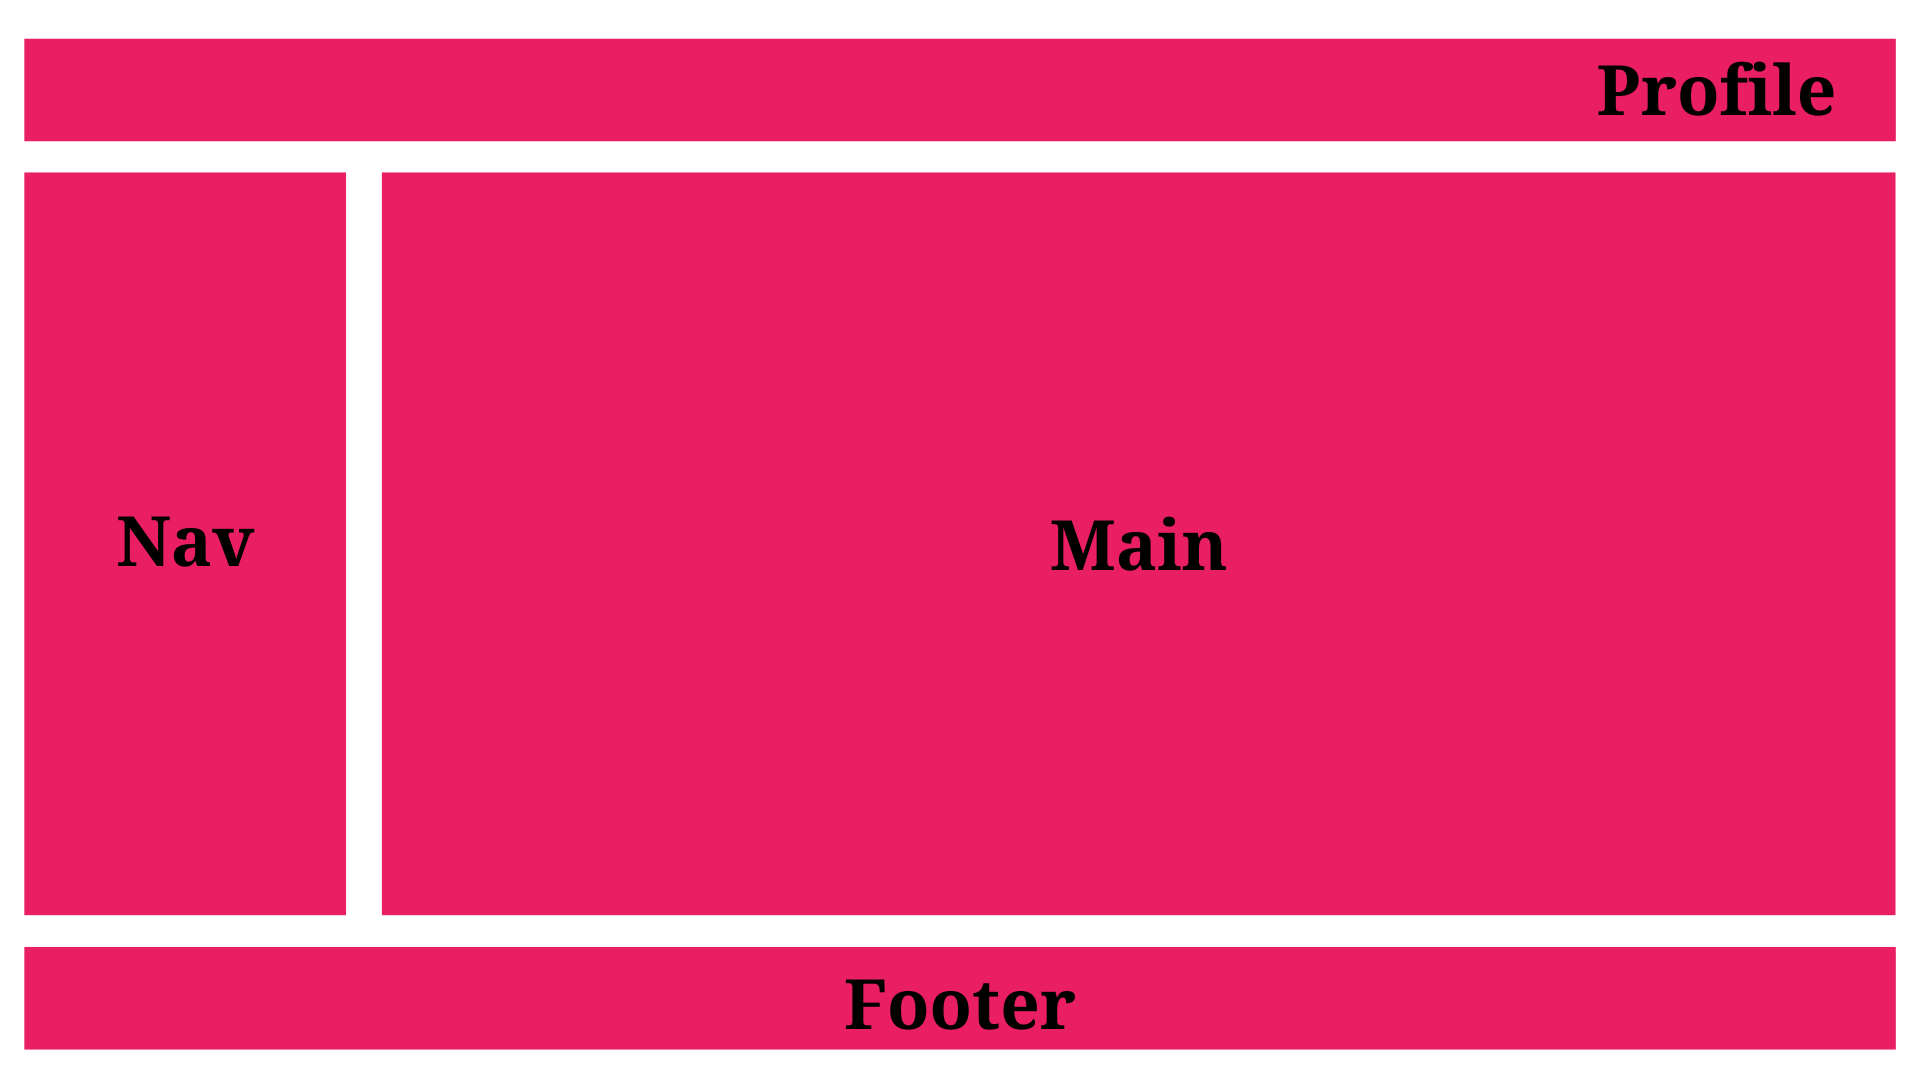
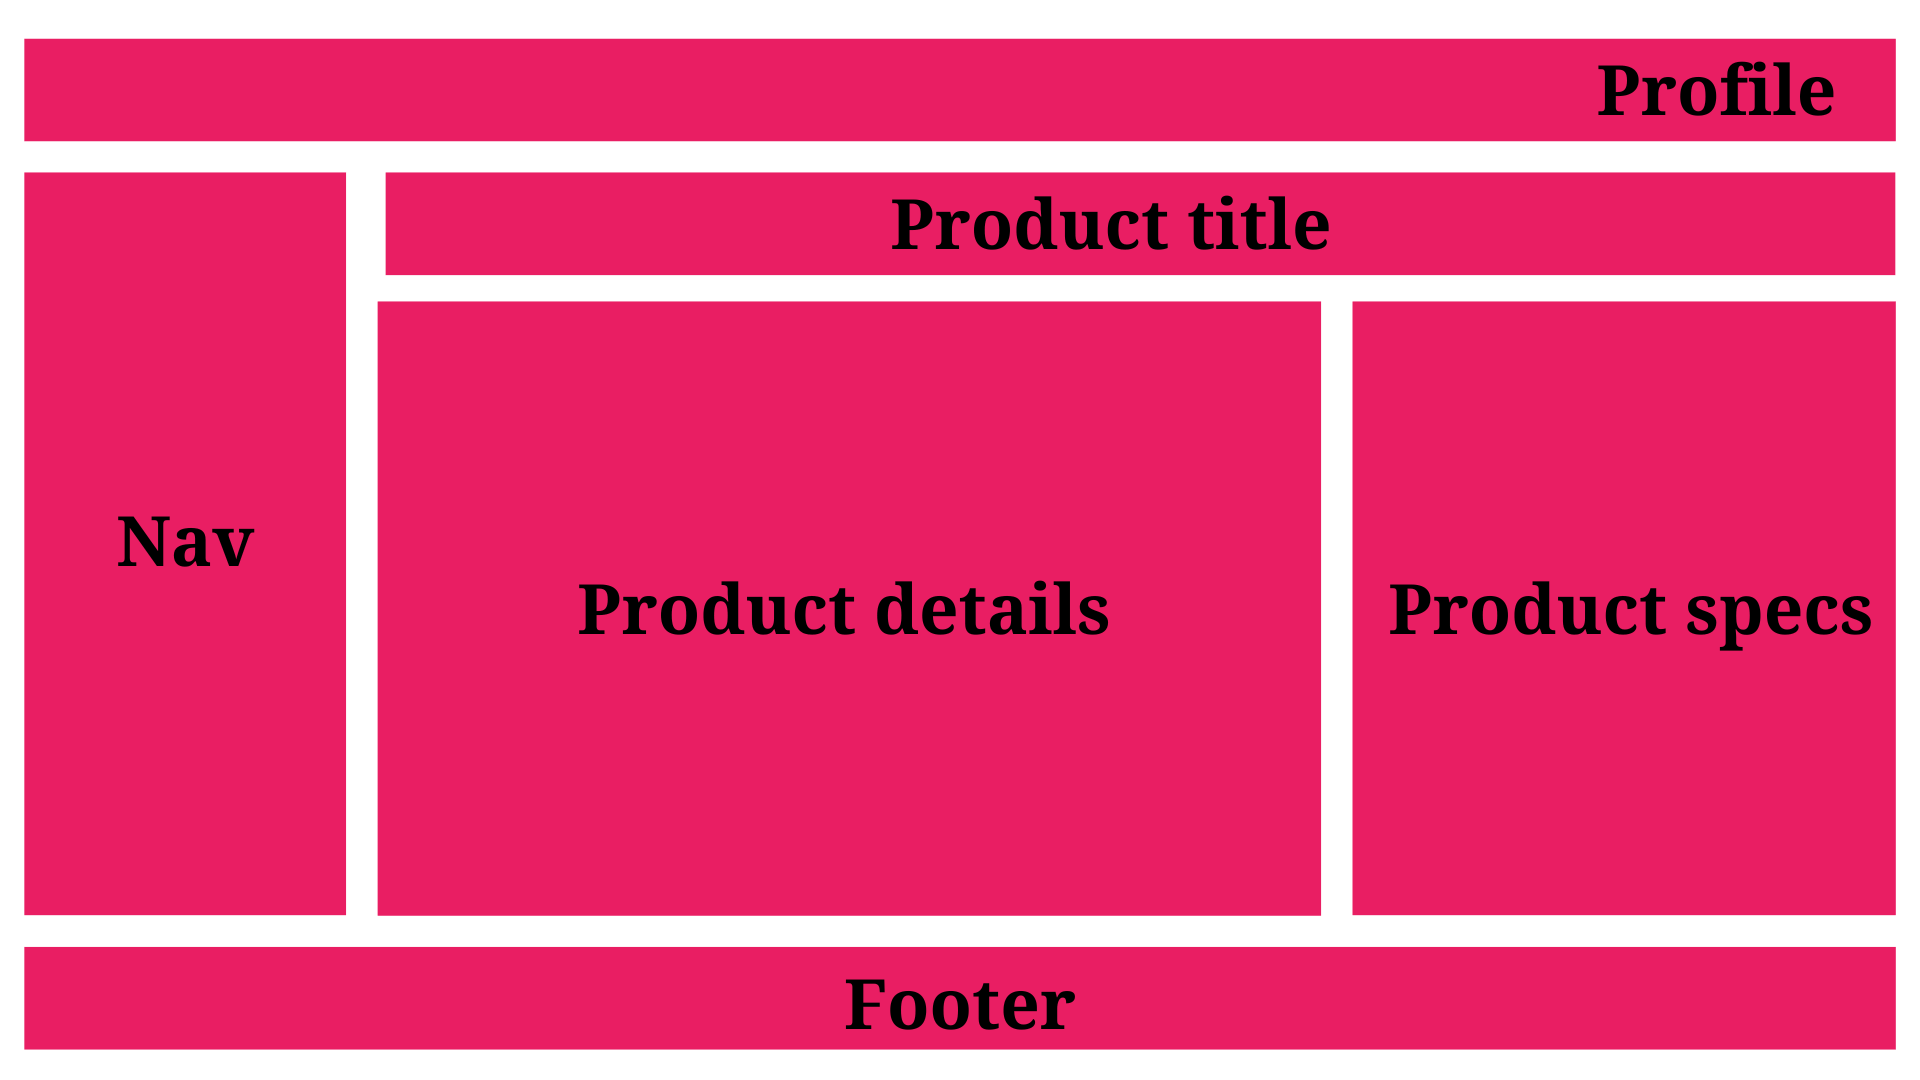
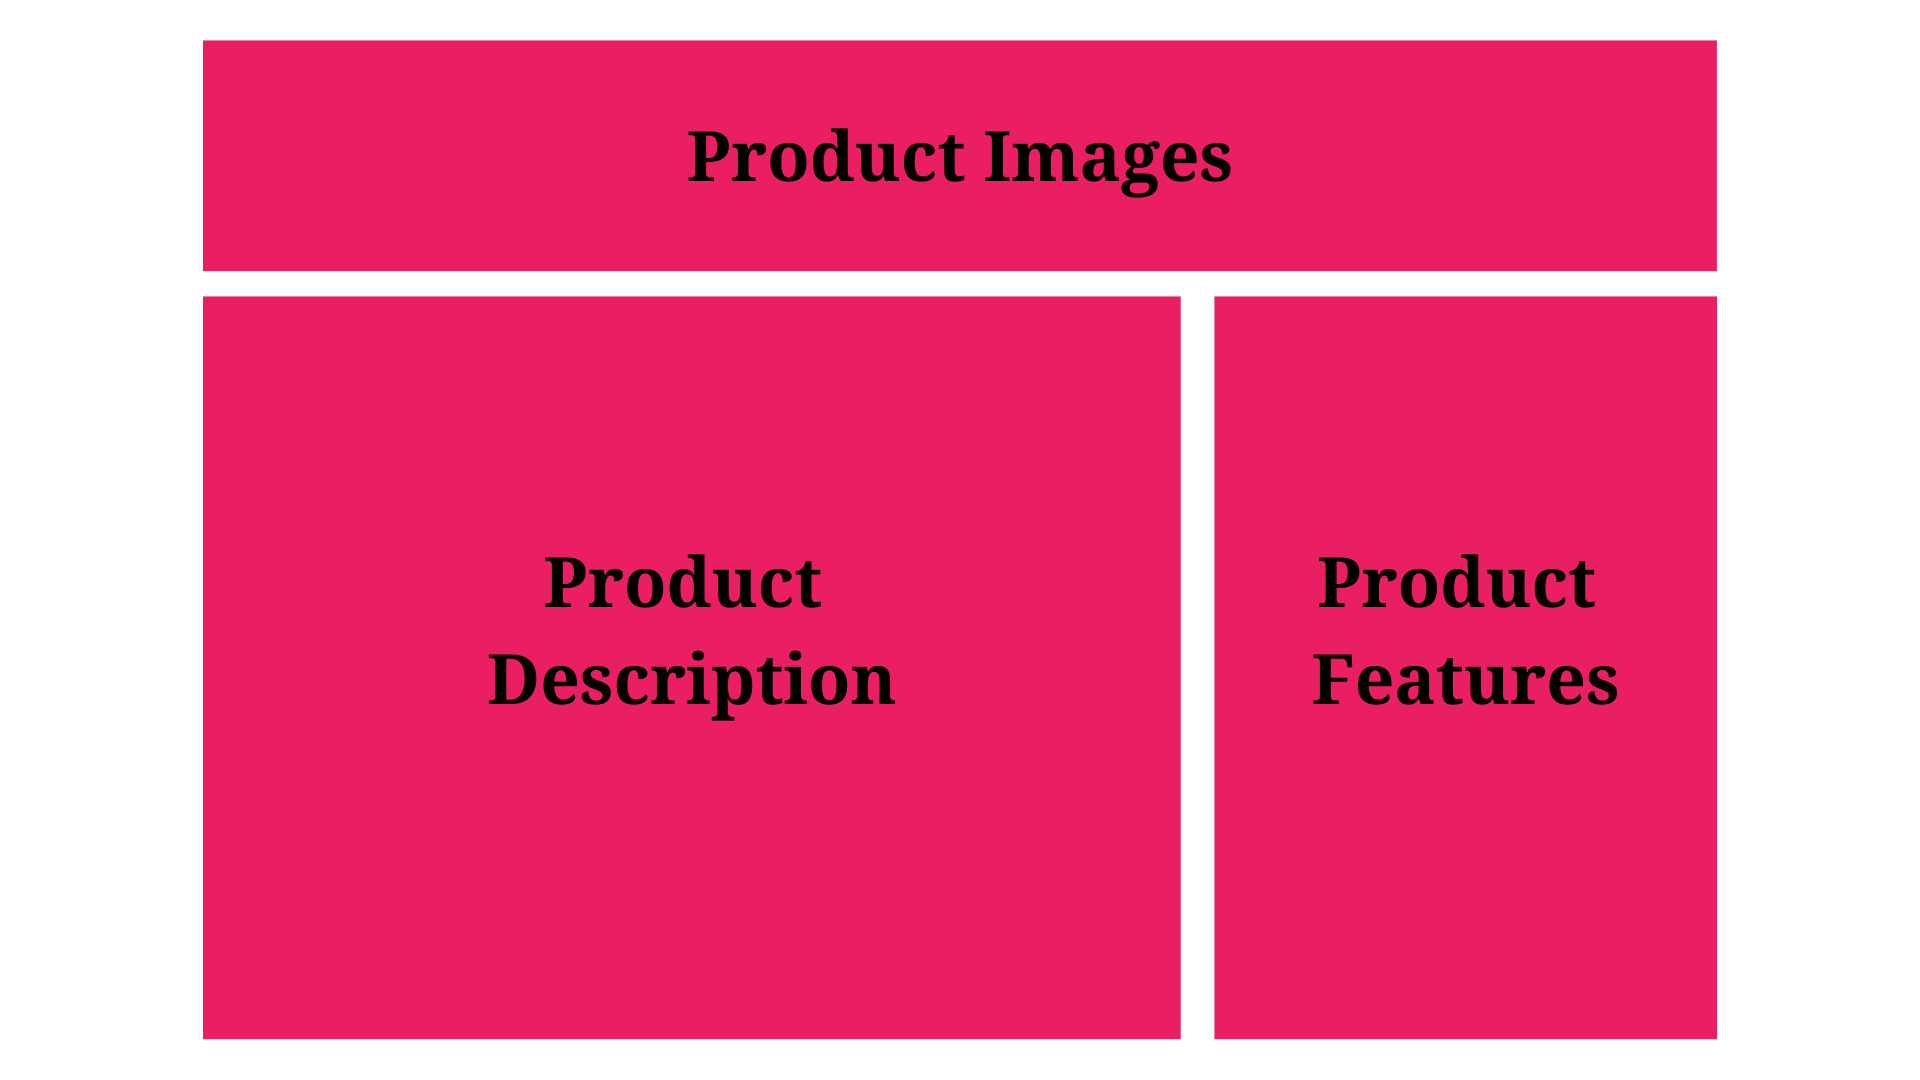
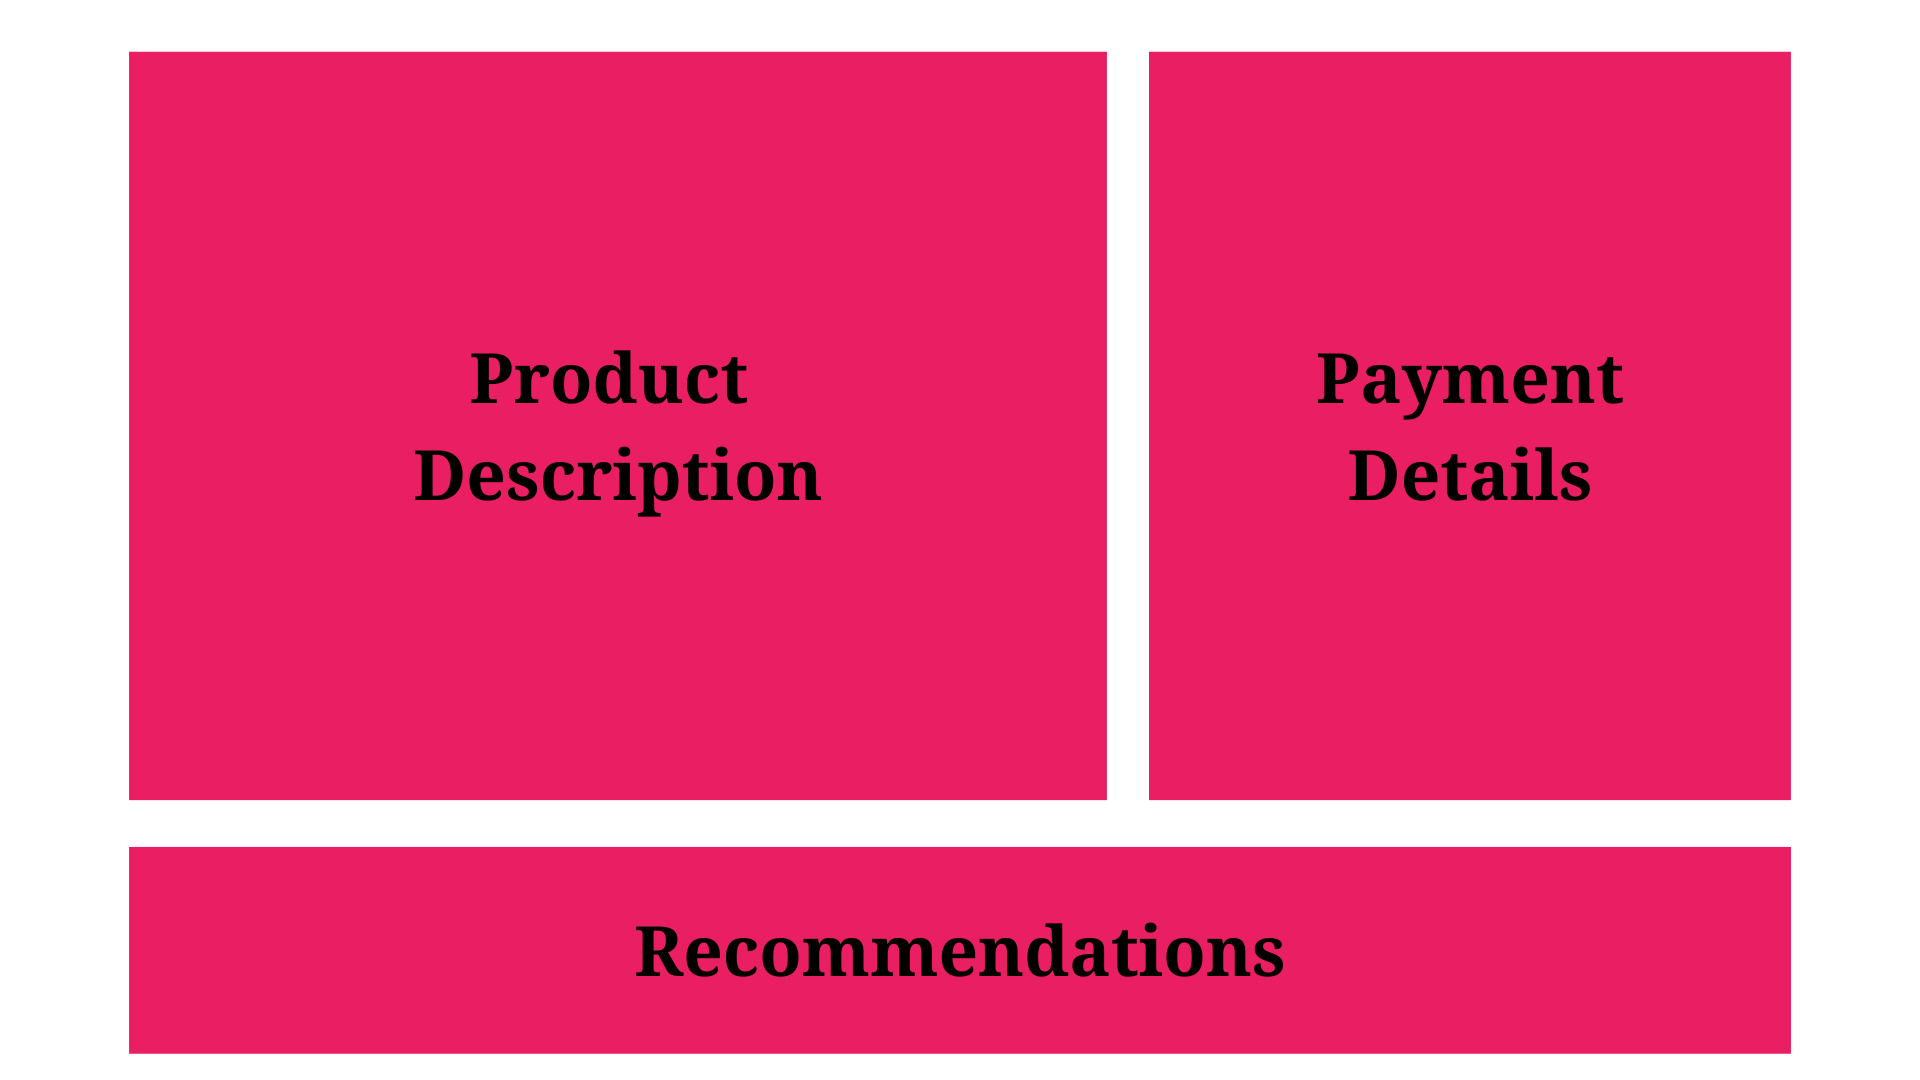
Confer with the next picture.
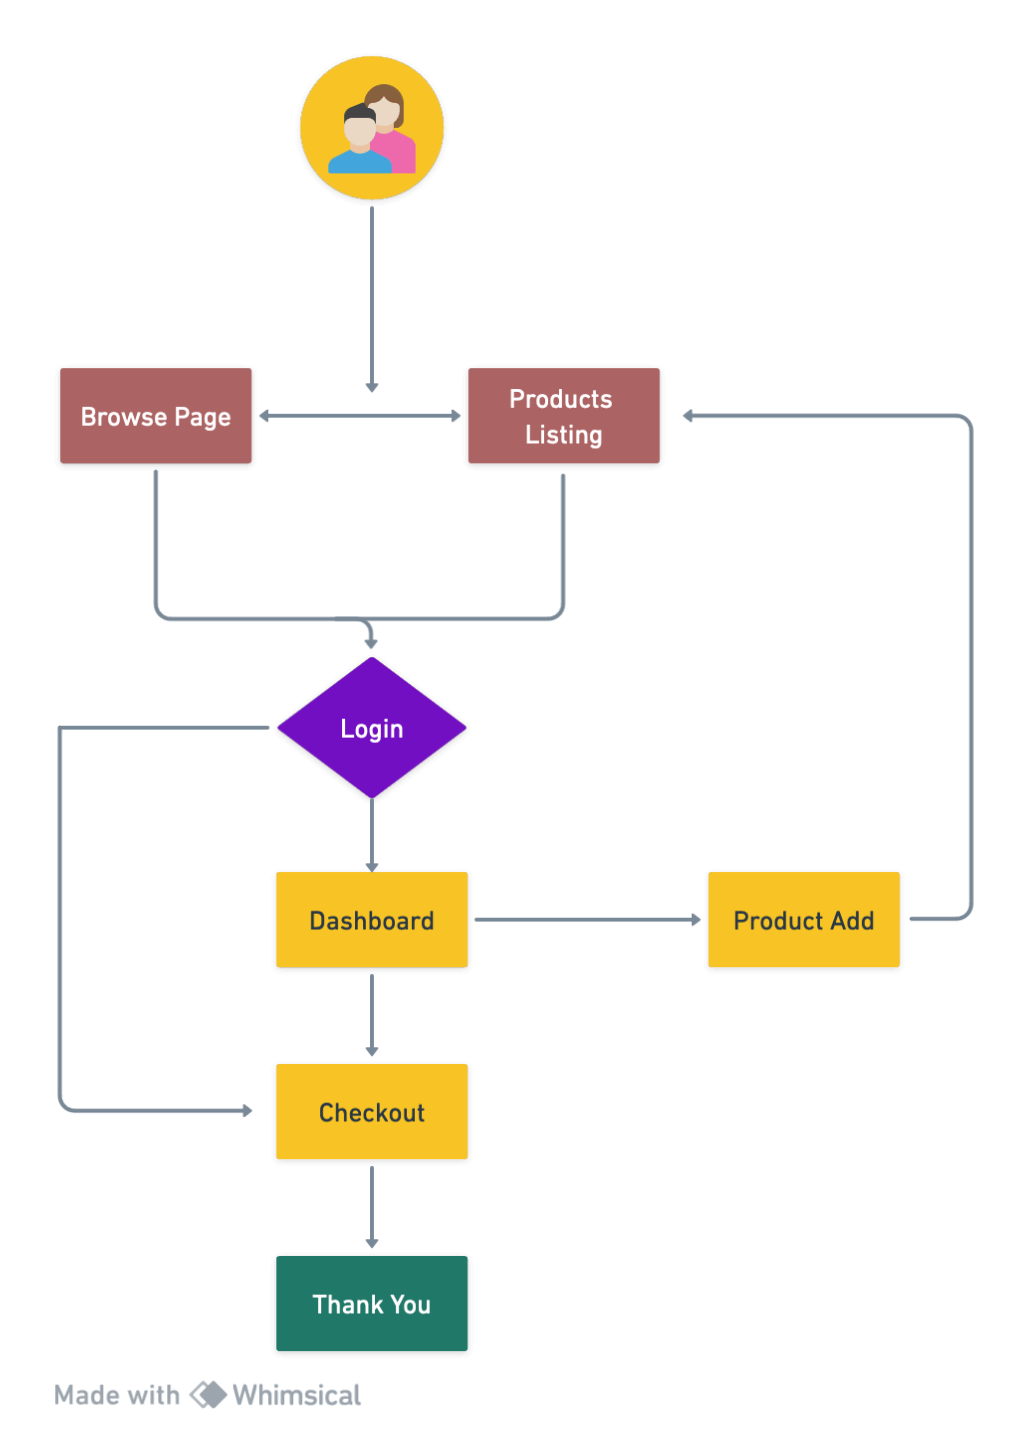
The circulate diagram actively assists in figuring out the information circulate from one web page to a different. On condition that we make use of component-driven improvement in React, we are able to actively analyze the state of every part and establish the information that wants centralization for sharing.
Wireframes
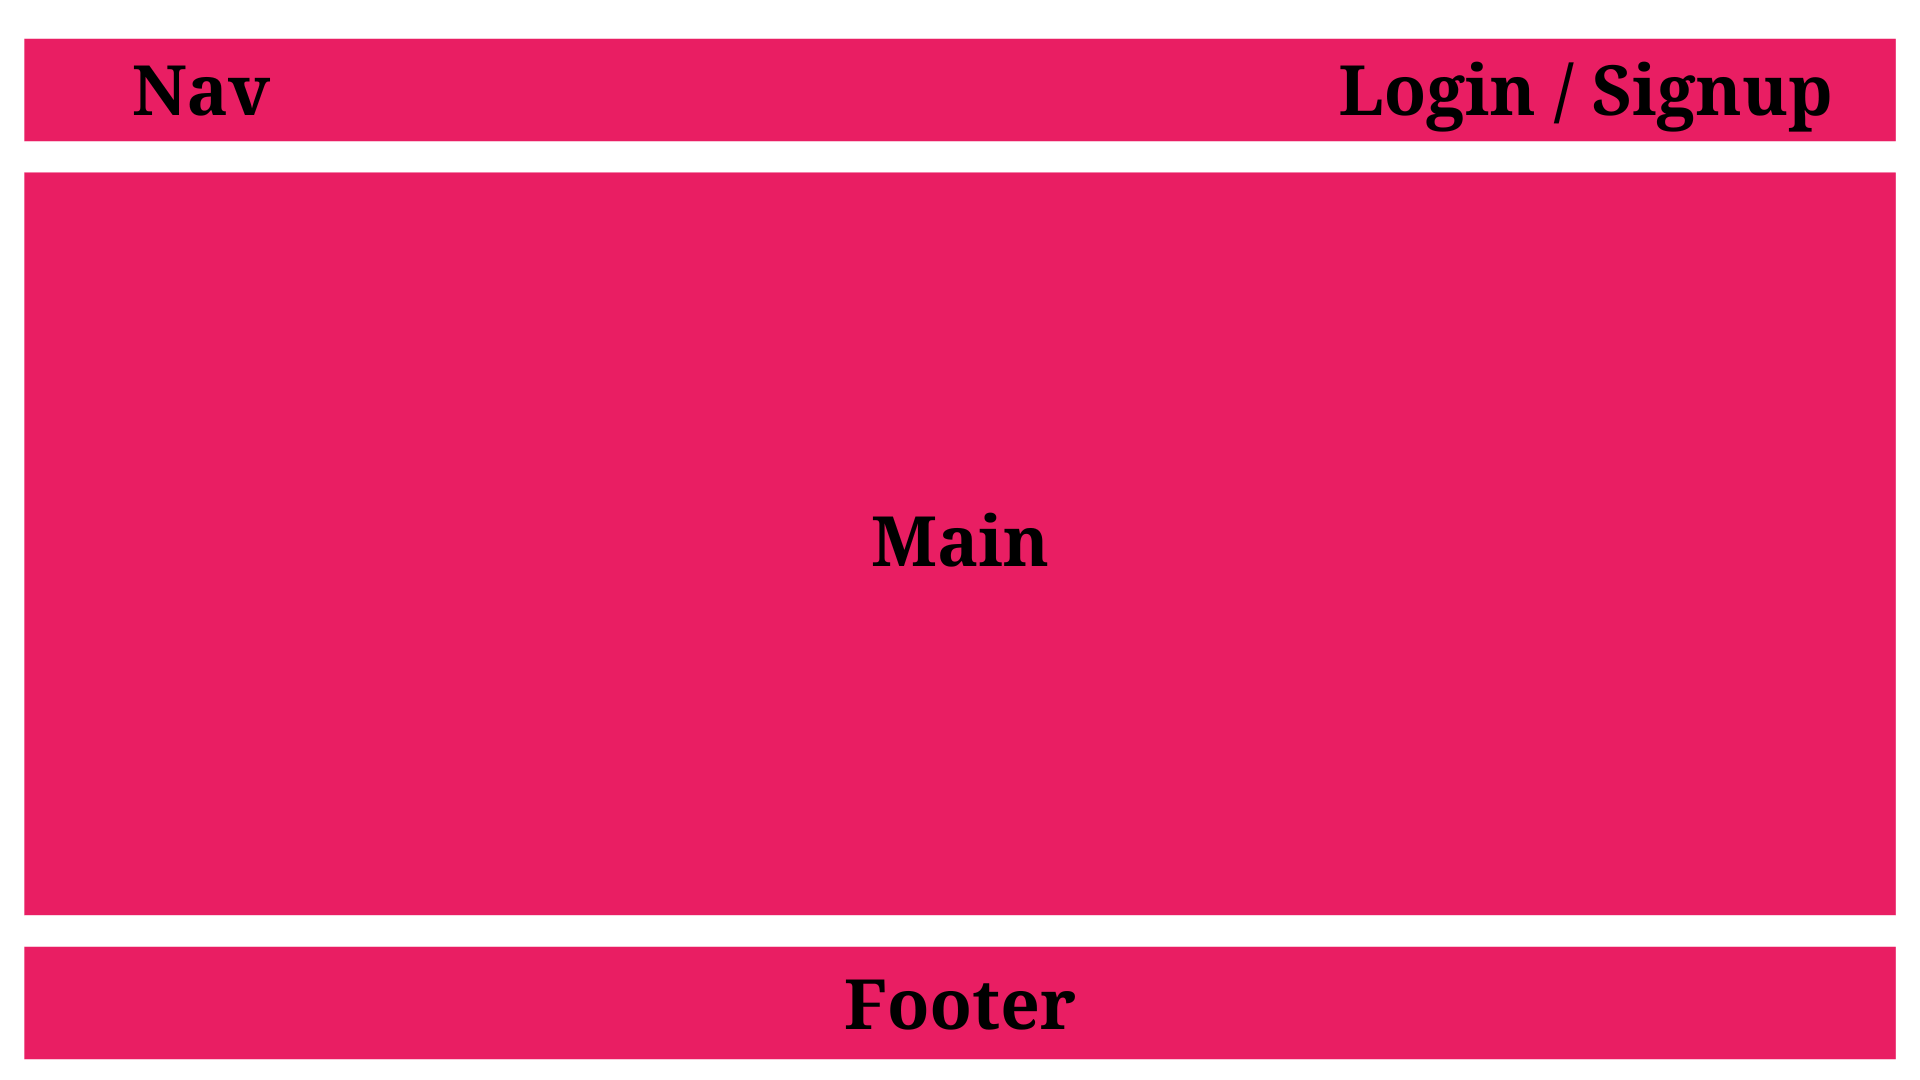
With no pre-existing structure or circulate, we usually assemble these parts utilizing Figma or from the designs we obtain. To achieve a transparent perspective on the looks of my pages, I’ve actively created a wireframe for every web page.
Touchdown Web page
That is the primary level of contact between the consumer and our e-commerce website. The touchdown web page performs a significant position in shaping the consumer’s expertise. It showcases the catalog of digital merchandise out there on the location, every accompanied by a short description and a thumbnail picture. Merchandise are organized into classes for simple navigation, and a search perform is offered for fast entry to particular gadgets.
Furthermore, the touchdown web page facilitates consumer authentication with a distinguished Login button. This can result in the login web page.
In abstract, the touchdown web page offers a complete snapshot of the e-commerce website’s choices and equips customers with the mandatory instruments to work together with its content material.
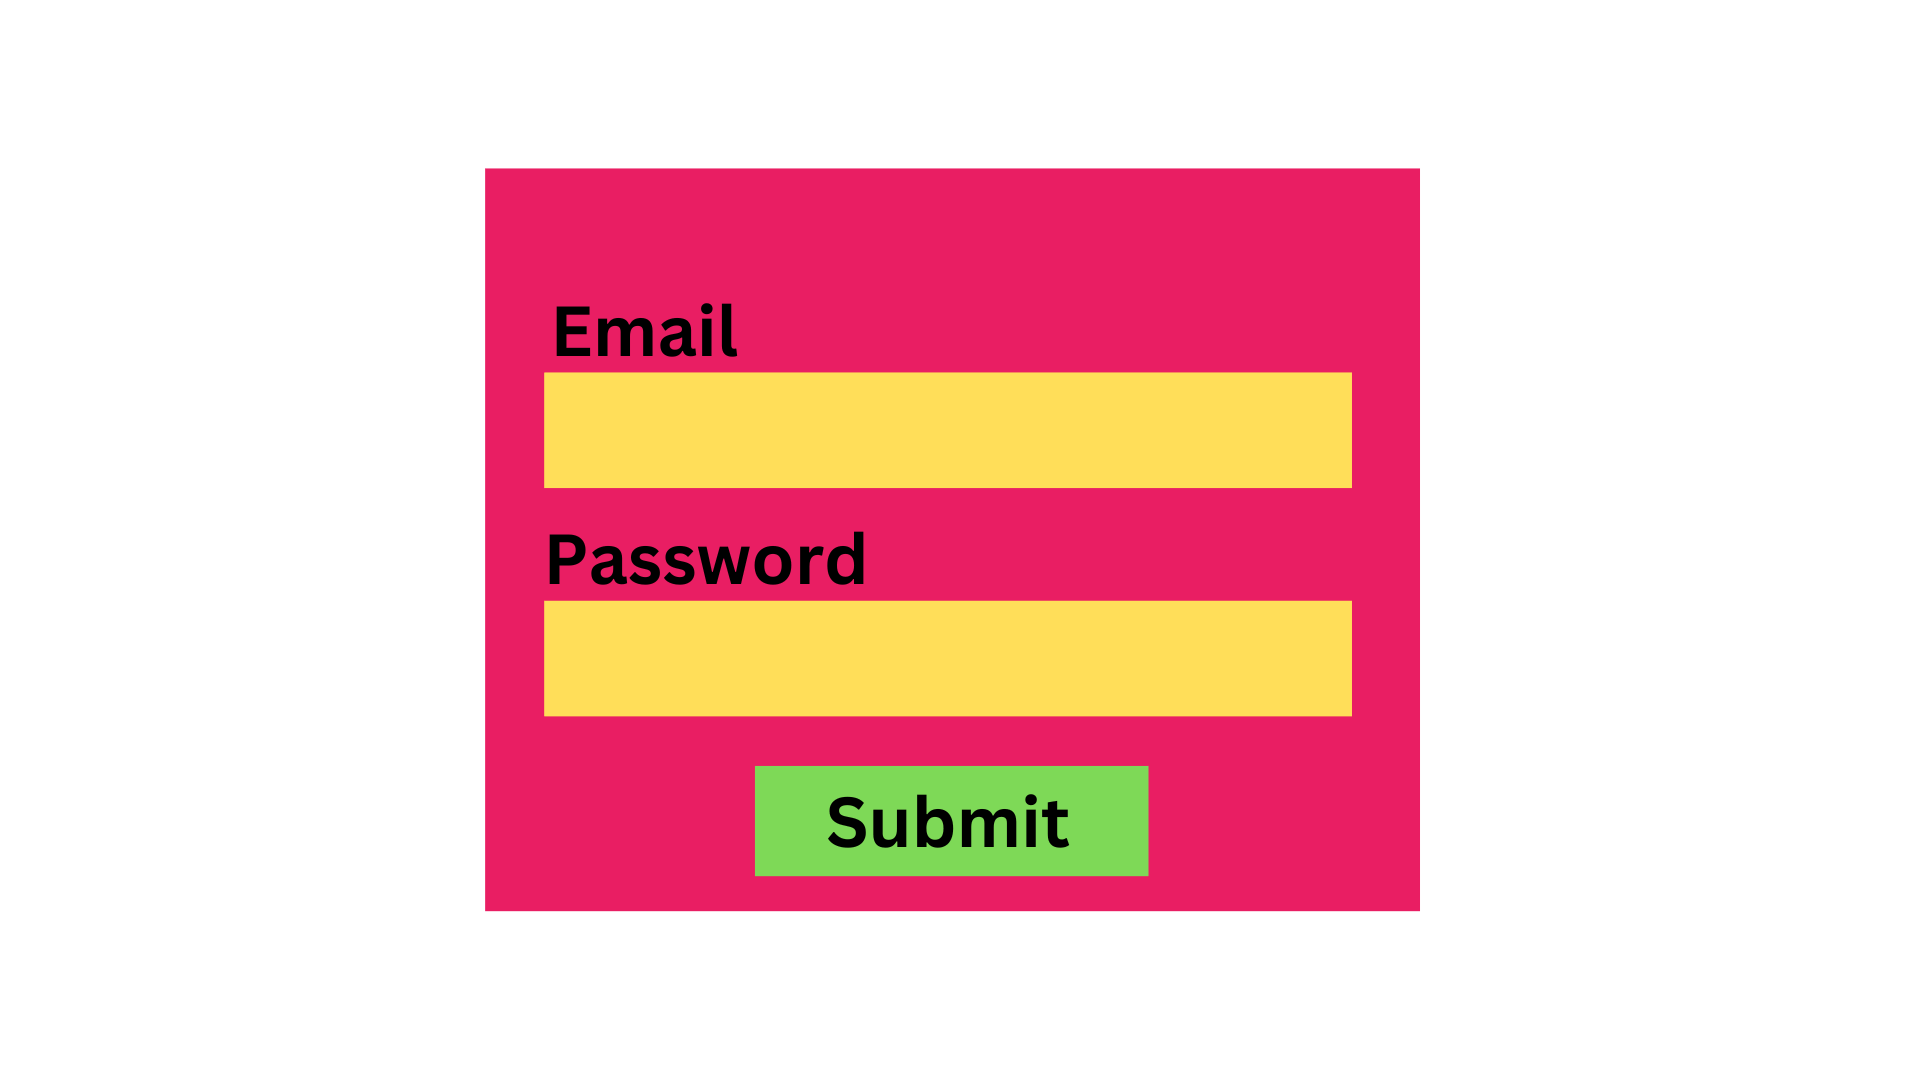
Login Web page
The login web page is one other key factor of our e-commerce website, performing as a safe gateway for consumer authentication. Customers enter their username or e-mail and password, that are verified to grant entry to the system.
Upon profitable login, customers can discover and buy digital merchandise. They will browse classes, view product particulars, add gadgets to their cart, and proceed to checkout.
Furthermore, authenticated customers can create new merchandise on the market. They will fill out a product creation type with particulars like product identify, description, value, and the digital file for obtain.
In abstract, the login web page not solely ensures safe entry to the system but in addition facilitates consumer engagement in shopping for and promoting actions. This web page is a crucial part in delivering a complete and user-friendly e-commerce expertise.
Dashboard Web page
We will entry the dashboard web page post-login. This web page serves as a customized hub for customers to handle their actions and look at pertinent website info.
It prominently encompasses a show of all user-created merchandise offered in an inventory or grid format. Every merchandise, full with its identify, picture, and value, could be managed by the consumer. They will edit particulars, delete a product, or add new ones.
Moreover, the dashboard web page presents an order abstract, offering customers with a complete overview of their buy historical past. This contains particulars just like the product identify, buy date, cost quantity, and order standing (delivered, pending, cancelled).
In abstract, the dashboard web page is a user-centric area that facilitates environment friendly administration of merchandise and order monitoring. Thus, it enhances the general consumer expertise on our e-commerce website.
Product Add Web page
This web page allows customers so as to add a brand new product on the market and specify its particulars utilizing a WYSIWYG editor.
Product Checklist Web page
A devoted web page will exist for every product that can present its particulars.
Checkout Web page
As soon as the consumer has determined to buy a product, they’ll try and make the cost on this web page.
Thank You Web page
After a profitable cost, the consumer can obtain the product and can see the thanks web page.

Tech Stack
With the beforehand proven circulate diagram and wireframes, it’s time to finalize our know-how stack and arrange the app’s boilerplate.
We’ll use React as this venture’s front-end JavaScript framework. Zustand will probably be our state administration software, whereas React-Router-V6 will deal with client-side routing. Lastly, the Synfusion React part library will support in our improvement course of.
Boilerplate
- First, arrange a brand new React client-side rendered app utilizing the next command.
npx create-react-app digital-shop
- As soon as the app is prepared, please set up the next packages in it.
npm i zustand react-router-dom
- After that, create the next three folders within the root of the app:
- Retailer: This can comprise all of the centralized shops of Zustand to share the information throughout the elements.
- Pages: To comprise all of the pages of the app.
- Routes: This can comprise private and non-private route wrappers that limit customers from accessing pages relying on their authentication state.
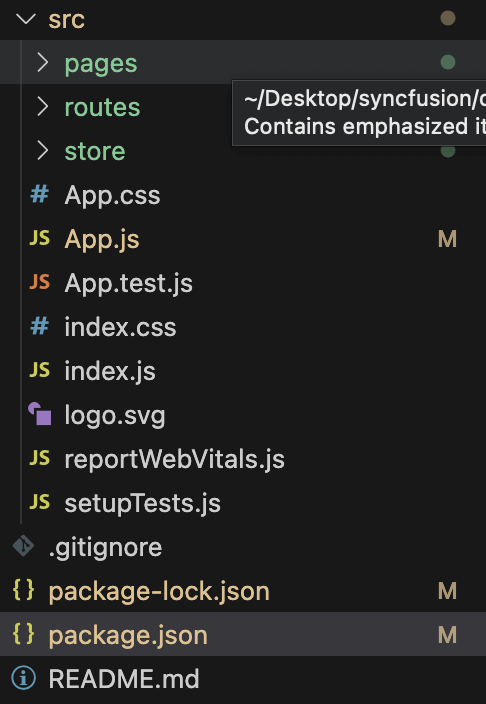
Creating folders within the React app
Notice: This construction will change as we proceed extra with the event, however this is sufficient to get us began.
Beginning with Coding
Let’s begin designing the React e-commerce app for digital merchandise.
Consumer Login State
First, create the consumer retailer to carry the session particulars of whether or not the consumer is logged in or not. These particulars will assist us to limit the customers’ entry to pages.
Beneath the retailer folder, create a file named consumer.js and add the next code to it.
import { create } from "zustand";
import { persist } from "zustand/middleware";
let retailer = (set) => ({
  isLoggedIn: false,
  setUserState: (isLoggedIn) => set(() => ({ isLoggedIn })),
});
//persist the state with key "randomKey"
retailer = persist(retailer, { identify: "user-store" });
//create the shop
let useStore = create(retailer);
export default useStore;
We’ve created a hook that has the preliminary state of is logged in as false and the strategy setUserState to replace the state.
The state is endured within the native storage. We will entry this state utilizing the hook, and we’ll replace its knowledge as soon as the consumer logs in. Utilizing the default state, we’ll create the route wrappers for now.
Defining the Public and Personal Routes
Our client-side routing method must handle routes based mostly on state knowledge.
As an example, if an unauthenticated consumer makes an attempt to entry a web page that requires authentication, we’ll redirect them to the login web page. Conversely, if an authenticated consumer tries to entry a web page that doesn’t require login, such because the login web page itself, we’ll redirect them to the dashboard web page.
To perform this, we’ll make the most of the Outlet, which solely renders route parts when the route is visited. If the consumer isn’t authenticated, we’ll create a wrapper to facilitate redirection to the suitable web page.
First, we create two recordsdata, non-public.js and public.js, throughout the routes folder.
The non-public.js file will limit entry to pages that necessitate authentication.
Confer with the next code instance.
import React from 'react';
import { Outlet, Navigate } from 'react-router-dom';
import  useStore  from '../retailer/consumer';
const Personal = () => {
  const isLoggedIn = useStore((state) => state.isLoggedIn);
  return isLoggedIn ? <Outlet /> : <Navigate to="/" />;
};
export default Personal;
The public.js web page is used to limit entry to public pages after authentication.
import React from 'react';
import { Outlet, Navigate } from 'react-router-dom';
import  useStore  from '../retailer/consumer';
const Public = () => {
  const isLoggedIn = useStore((state) => state.isLoggedIn);
  return !isLoggedIn ? <Outlet /> : <Navigate to="/dashboard" />;
};
export default Public;
As soon as the wrappers are prepared, we add them to the routes in our app.js file.
import { BrowserRouter, Routes, Route } from "react-router-dom";
import Login from "./pages/login";
import PrivateRoutes from "./routes/non-public";
import PublicRoutes from "./routes/public";
const App = () => {
  return (
	<BrowserRouter >
  	<Routes>
    	<Route path="/" factor={<PublicRoutes />}>
        	<Route index factor={<h1>Browse</h1>} />
        	<Route path="product-list" factor={<h1>Product Checklist</h1>}></Route>
        	<Route path="login" factor={<Login />}></Route>
    	</Route>
    	<Route path="/" factor={<PrivateRoutes />}>
        	<Route path="dashboard" factor={<h1>Dashboard</h1>}></Route>
        	<Route path="product-add" factor={<h1>Product Add</h1>}></Route>
        	<Route path="checkout" factor={<h1>checkout</h1>}></Route>
        	<Route path="thank-you" factor={<h1>Thank You</h1>}></Route>
    	</Route>
  	</Routes>
	</BrowserRouter>
  );
}
export default App;
Now, we run the app utilizing the npm run begin command after which attempt to entry a non-public route like /dashboard. It’ll redirect us to the login web page.
Equally, we replace the consumer state in retailer/consumer.js and set the default state to LoggedIn.
let retailer = (set) => ({
  isLoggedIn: true,
  setUserState: (isLoggedIn) => set(() => ({ isLoggedIn })),
});
After we restart the app, clear the native storage, or run the app in incognito mode and attempt to entry the general public pages, we will probably be redirected to the dashboard web page.
Now that our setup is prepared, within the subsequent half, we’ll create the login web page, authenticate the consumer, after which design the dashboard and product add pages.
Conclusion
We recognize your effort and time in studying this weblog! We’re offering a complete information on setting up a completely useful e-commerce app for digital merchandise with React. We encourage you to place this information into follow and share your experiences within the feedback part beneath!
Syncfusion’s Important Studio for React is a one-stop resolution providing over 80 high-performance, light-weight, modular, and responsive UI elements. It’s the right suite to construct any net app.
For our current Syncfusion customers, the newest model of Important Studio is available for obtain on the License and Downloads web page. For those who’re new to Syncfusion, we invite you to discover our merchandise’ options and capabilities with our 30-day free trial.
For questions, you may contact us via our assist discussion board, assist portal, or suggestions portal. We’re at all times right here to help you!