

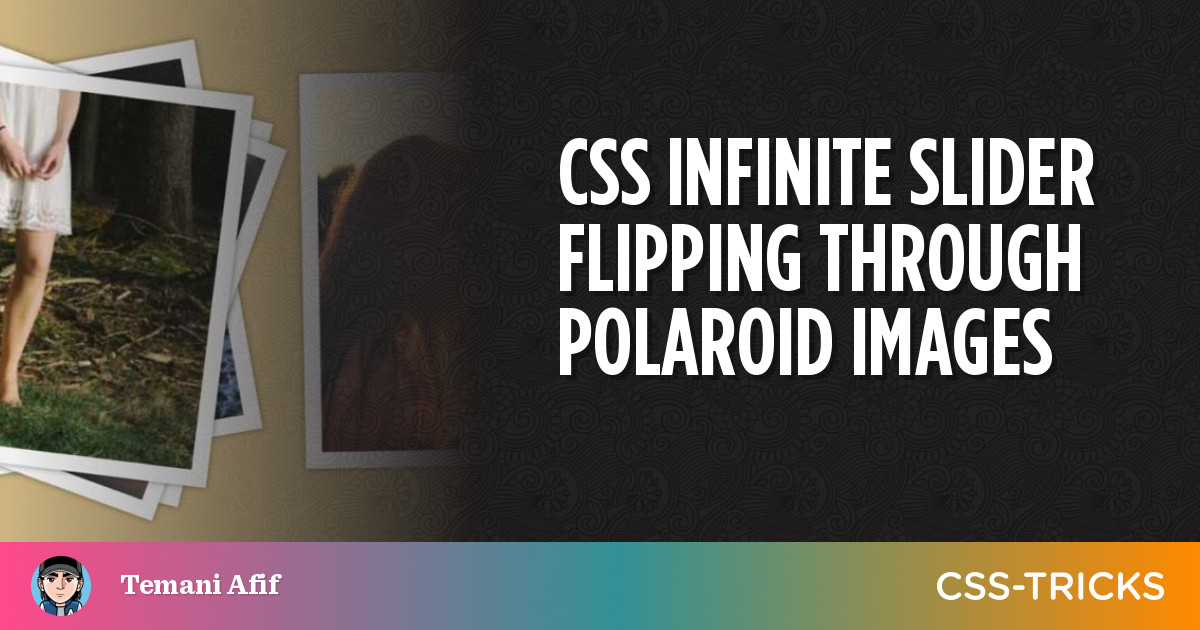
Within the final article, we made a fairly cool little slider (or “carousel” if that’s what you favor) that rotates in a round path. This time we’re going to make one which flips by a stack of Polaroid photographs.
Cool proper? Don’t have a look at the code fairly but as a result of there’s rather a lot to unravel. Be part of me, will ya?
The essential setup
Many of the HTML and CSS for this slider is just like the round one we made final time. The truth is, we’re utilizing the very same markup:
<div class="gallery">
  <img src="" alt="">
  <img src="" alt="">
  <img src="" alt="">
  <img src="" alt="">
</div>
And that is the essential CSS that units our father or mother .gallery container as a grid the place all the photographs are stacked one on prime of each other:
.gallery  {
  show: grid;
  width: 220px; /* controls the dimensions */
}
.gallery > img {
  grid-area: 1 / 1;
  width: 100%;
  aspect-ratio: 1;
  object-fit: cowl;
  border: 10px strong #f2f2f2;
  box-shadow: 0 0 4px #0007;
}
Nothing advanced to date. Even for the Polaroid-like model for the photographs, all I’m utilizing is a few border and box-shadow. You would possibly be capable of do it higher, so be at liberty to mess around with these ornamental kinds! We’re going to place most of our concentrate on the animation, which is the trickiest half.
What’s the trick?
The logic of this slider depends on the stacking order of the photographs — so sure, we’re going to play with z-index. All the photographs begin with the identical z-index worth (2) which can logically make the final picture on the highest of the stack.
We take that final picture and slide it to the appropriate till it reveals the subsequent picture within the stack. Then we lower the picture’s z-index worth then we slide it again into the deck. And since its z-index worth is decrease than the remainder of the photographs, it turns into the final picture within the stack.
Here’s a stripped again demo that exhibits the trick. Hover the picture to activate the animation:
Now, think about the identical trick utilized to all the photographs. Right here’s the sample if we’re utilizing the :nth-child() pseudo-selector to distinguish the photographs:
- We slide the final picture (
N). The following picture is seen (N - 1). - We slide the subsequent picture (
N - 1). The following picture is seen (N - 2) - We slide the subsequent picture (
N - 2). The following picture is seen (N - 3) - (We proceed the identical course of till we attain the primary picture)
- We slide the primary picture (
1). The final picture (N) is seen once more.
That’s our infinite slider!
Dissecting the animation
For those who keep in mind the earlier article, I outlined just one animation and performed with delays to regulate every picture. We will likely be doing the identical factor right here. Let’s first attempt to visualize the timeline of our animation. We are going to begin with three photographs, then generalize it later for any quantity (N) of photographs.

Our animation is split into three components: “slide to proper”, “slide to left” and “don’t transfer”. We are able to simply establish the delay between every picture. If we think about that the primary picture begins at 0s, and the length is the same as 6s, then the second will begin at -2s and the third one at -4s.
.gallery > img:nth-child(2) { animation-delay: -2s; } /* -1 * 6s / 3 */
.gallery > img:nth-child(3) { animation-delay: -4s; } /* -2 * 6s / 3 */
We are able to additionally see that the “don’t transfer” half takes two-thirds of the entire animation (2*100%/3) whereas the “slide to proper” and “slide to left” components take one-third of it collectively — so, each is the same as 100%/6 of the overall animation.
We are able to write our animation keyframes like this:
@keyframes slide {
  0%     { rework: translateX(0%); }
  16.67% { rework: translateX(120%); }
  33.34% { rework: translateX(0%); }
  100%   { rework: translateX(0%); }
}
That 120% is an arbitrary worth. I wanted one thing greater than 100%. The photographs want to slip to the straight away from the remainder of the photographs. To do this, it wants to maneuver by not less than 100% of its measurement. That’s why I went 120% — to realize some further area.
Now we have to think about the z-index. Don’t neglect that we have to replace the picture’s z-index worth after it slides to the appropriate of the pile, and earlier than we slide it again to the underside of the pile.
@keyframes slide {
  0%     { rework: translateX(0%);   z-index: 2; }
  16.66% { rework: translateX(120%); z-index: 2; }
  16.67% { rework: translateX(120%); z-index: 1; } /* we replace the z-order right here */
  33.34% { rework: translateX(0%);   z-index: 1; }
  100%   { rework: translateX(0% );  z-index: 1; }
}
As a substitute of defining one state on the 16.67% (100%/6) level within the timeline, we’re defining two states at practically an identical factors (16.66% and 16.67%) the place the z-index worth decreases earlier than we slide again the picture again to the deck.
Right here’s what occurs once we pull of all that collectively:
Hmmm, the sliding half appears to work wonderful, however the stacking order is all scrambled! The animation begins properly for the reason that prime picture is transferring to the again… however the subsequent photographs don’t comply with swimsuit. For those who discover, the second picture within the sequence returns to the highest of the stack earlier than the subsequent picture blinks on prime of it.
We have to carefully comply with the z-index modifications. Initially, all the photographs have are z-index: 2. Which means the stacking order ought to go…
Our eyes 👀 --> third (2) | 2nd (2) | 1st (2)We slide the third picture and replace its z-index to get this order:
Our eyes 👀 --> 2nd (2) | 1st (2) | third (1)We do the identical with the second:
Our eyes 👀 --> 1st (2) | third (1) | 2nd (1)…and the primary one:
Our eyes 👀 --> third (1) | 2nd (1) | 1st (1)We try this and every part appears to be wonderful. However in actuality, it’s not! When the primary picture is moved to the again, the third picture will begin one other iteration, that means it returns to z-index: 2:
Our eyes 👀 --> third (2) | 2nd (1) | 1st (1)So, in actuality we by no means had all the photographs at z-index: 2 in any respect! When the photographs aren’t transferring (i.e., the “don’t transfer” a part of the animation) the z-index is 1. If we slide the third picture and replace its z-index worth from 2 to 1, it can stay on the highest! When all the photographs have the identical z-index, the final one within the supply order — our third picture on this case — is on prime of the stack. Sliding the third picture ends in the next:
Our eyes 👀 --> third (1) | 2nd (1) | 1st (1)The third picture remains to be on the highest and, proper after it, we transfer the second picture to the highest when its animation restarts at z-index: 2:
Our eyes 👀 --> 2nd (2) | third (1) | 1st (1)As soon as we slide it, we get:
Our eyes 👀 --> third (1) | 2nd (1) | 1st (1)Then the primary picture will bounce on the highest:
Our eyes 👀 --> 1st(2) | third (1) | 2nd (1)OK, I’m misplaced. All of the logic is incorrect then?
I do know, it’s complicated. However our logic will not be utterly incorrect. We solely should rectify the animation just a little to make every part work the best way we would like. The trick is to appropriately reset the z-index.
Let’s take the state of affairs the place the third picture is on the highest:
Our eyes 👀 --> third (2) | 2nd (1) | 1st (1)We noticed that sliding the third picture and altering its z-index retains it on prime. What we have to do is replace the z-index of the second picture. So, earlier than we slide the third picture away from the deck, we replace the z-index of the second picture to 2.
In different phrases, we reset the z-index of the second picture earlier than the animation ends.

The inexperienced plus image represents rising z-index to 2, and the crimson minus image correlates to z-index: 1. The second picture begins with z-index: 2, then we replace it to 1 when it slides away from the deck. However earlier than the primary picture slides away from the deck, we modify the z-index of the second picture again to 2. This may be certain each photographs have the identical z-index, however nonetheless, the third one will stay on the highest as a result of it seems later within the DOM. However after the third picture slides and its z-index is up to date, it strikes to the underside.
This two-thirds by the animation, so let’s replace our keyframes accordingly:
@keyframes slide {
  0%     { rework: translateX(0%);   z-index: 2; }
  16.66% { rework: translateX(120%); z-index: 2; }
  16.67% { rework: translateX(120%); z-index: 1; } /* we replace the z-order right here */
  33.34% { rework: translateX(0%);   z-index: 1; }
  66.33% { rework: translateX(0%);   z-index: 1; }
  66.34% { rework: translateX(0%);   z-index: 2; } /* and in addition right here */
  100%   { rework: translateX(0%);   z-index: 2; }
}A bit higher, however nonetheless not fairly there. There’s one other situation…
Oh no, this can by no means finish!
Don’t fear, we aren’t going to vary the keyframes once more as a result of this situation solely occurs when the final picture is concerned. We are able to make a “particular” keyframe animation particularly for the final picture to sort things up.
When the primary picture is on the highest, we have now the next state of affairs:
Our eyes 👀 --> 1st (2) | third (1) | 2nd (1)Contemplating the earlier adjustment we made, the third picture will bounce on the highest earlier than the primary picture slides. It solely occurs on this state of affairs as a result of the subsequent picture that strikes after the primary picture is the final picture which has a better order within the DOM. The remainder of the photographs are wonderful as a result of we have now N, then N - 1, then we go from 3 to 2, and 2 to 1… however then we go from 1 to N.
To keep away from that, we’ll use the next keyframes for the final picture:
@keyframes slide-last {
  0%     { rework: translateX(0%);   z-index: 2;}
  16.66% { rework: translateX(120%); z-index: 2; }
  16.67% { rework: translateX(120%); z-index: 1; } /* we replace the z-order right here */
  33.34% { rework: translateX(0%);   z-index: 1; }
  83.33% { rework: translateX(0%);   z-index: 1; }
  83.34% { rework: translateX(0%);   z-index: 2; } /* and in addition right here */
  100%   { rework: translateX(0%);   z-index: 2; }
}
We reset the z-index worth 5/6 by the animation (as an alternative of two-thirds) which is when the primary picture is out of the pile. So we don’t see any leaping!
TADA! Our infinite slider is now good! Right here’s our last code in all its glory:
.gallery > img {
  animation: slide 6s infinite;
}
.gallery > img:last-child {
  animation-name: slide-last;
}
.gallery > img:nth-child(2) { animation-delay: -2s; }
.gallery > img:nth-child(3) { animation-delay: -4s; }

@keyframes slide {
  0% { rework: translateX(0%); z-index: 2; }
  16.66% { rework: translateX(120%); z-index: 2; }
  16.67% { rework: translateX(120%); z-index: 1; }
  33.34% { rework: translateX(0%); z-index: 1; }
  66.33% { rework: translateX(0%); z-index: 1; }
  66.34% { rework: translateX(0%); z-index: 2; }
  100% { rework: translateX(0%); z-index: 2; }
}
@keyframes slide-last {
  0% { rework: translateX(0%); z-index: 2; }
  16.66% { rework: translateX(120%); z-index: 2; }
  16.67% { rework: translateX(120%); z-index: 1; }
  33.34% { rework: translateX(0%); z-index: 1; }
  83.33% { rework: translateX(0%); z-index: 1; }
  83.34% { rework: translateX(0%); z-index: 2; }
  100%  { rework: translateX(0%); z-index: 2; }
}
Supporting any variety of photographs
Now that our animation works for 3 photographs, let’s make it work for any quantity (N) of photographs. However first, we are able to optimize our work just a little by splitting the animation as much as keep away from redundancy:
.gallery > img {
  z-index: 2;
  animation:
    slide 6s infinite,
    z-order 6s infinite steps(1);
}
.gallery > img:last-child {
  animation-name: slide, z-order-last;
}
.gallery > img:nth-child(2) { animation-delay: -2s; }
.gallery > img:nth-child(3) { animation-delay: -4s; }

@keyframes slide {
  16.67% { rework: translateX(120%); }
  33.33% { rework: translateX(0%); }
}
@keyframes z-order {
  16.67%,
  33.33% { z-index: 1; }
  66.33% { z-index: 2; }
}
@keyframes z-order-last {
  16.67%,
  33.33% { z-index: 1; }
  83.33% { z-index: 2; }
}
Approach much less code now! We make one animation for the sliding half and one other one for the z-index updates. Be aware that we use steps(1) on the z-index animation. That’s as a result of I need to abruptly change the z-index worth, not like the sliding animation the place we would like clean motion.
Now that the code is simpler to learn and preserve, we have now a greater view for determining find out how to assist any variety of photographs. What we have to do is replace the animation delays and the chances of the keyframes. The delay are straightforward as a result of we are able to use the very same loop we made within the final article to assist a number of photographs within the round slider:
@for $i from 2 to ($n + 1) {
  .gallery > img:nth-child(#{$i}) {
    animation-delay: calc(#{(1 - $i)/$n}*6s);
  }
}
Which means we’re transferring from vanilla CSS to Sass. Subsequent, we have to think about how the timeline scale with N photographs. Let’s not neglect that the animation occurs in three phases:

After “slide to proper” and “slide to left”, the picture ought to keep put till the remainder of the photographs undergo the sequence. So the “don’t transfer” half must take the identical period of time as (N - 1) as “slide to proper” and “slide to left”. And inside one iteration, N photographs will slide. So, “slide to proper” and “slide to left” each take 100%/N of the overall animation timeline. The picture slides away from the pile at (100%/N)/2 and slides again at 100%/N .
We are able to change this:
@keyframes slide {
  16.67% { rework: translateX(120%); }
  33.33% { rework: translateX(0%); }
}
…to this:
@keyframes slide {
  #{50/$n}%  { rework: translateX(120%); }
  #{100/$n}% { rework: translateX(0%); }
}
If we exchange N with 3, we get 16.67% and 33.33% when there are 3 photographs within the stack. It’s the identical logic with the stacking order the place we could have this:
@keyframes z-order {
  #{50/$n}%,
  #{100/$n}% { z-index: 1; }
  66.33% { z-index: 2; }
}
We nonetheless must replace the 66.33% level. That’s presupposed to be the place the picture resets its z-index earlier than the tip of the animation. At that very same time, the subsequent picture begins to slip. For the reason that sliding half takes 100%/N, the reset ought to occur at 100% - 100%/N:
@keyframes z-order {
  #{50/$n}%,
  #{100/$n}% { z-index: 1; }
  #{100 - 100/$n}% { z-index: 2; }
}
However for our z-order-last animation to work, it ought to occur a bit later within the sequence. Keep in mind the repair we did for the final picture? Resetting the z-index worth must occur when the primary picture is out of the pile and never when it begins sliding. We are able to use the identical reasoning right here in our keyframes:
@keyframes z-order-last {
  #{50/$n}%,
  #{100/$n}% { z-index: 1; }
  #{100 - 50/$n}% { z-index: 2; }
}
We’re performed! Right here’s what we get when utilizing 5 photographs:
We are able to add a contact of rotation to make issues a bit fancier:
All I did is append rotate(var(--r)) to the rework property. Contained in the loop, --r is outlined with a random angle:
@for $i from 1 to ($n + 1) {
  .gallery > img:nth-child(#{$i}) {
    --r: #{(-20 + random(40))*1deg}; /* a random angle between -20deg and 20deg */
  }
}
The rotation creates small glitches as we are able to typically see a number of the photographs leaping to the again of the stack, however it’s not an enormous deal.
Wrapping up
All that z-index work was an enormous balancing act, proper? For those who have been uncertain how stacking order work earlier than this train, then you definately most likely have a significantly better thought now! For those who discovered a number of the explanations exhausting to comply with, I extremely advocate you to take one other learn of the article and map issues out with pencil and paper. Attempt to illustrate every step of the animation utilizing a unique variety of photographs to higher perceive the trick.
Final time, we used a number of geometry methods to create a round slider that rotates again to the primary picture after a full sequence. This time, we achieved an identical trick utilizing z-index. In each circumstances, we didn’t duplicate any of the photographs to simulate a steady animation, nor did we attain for JavaScript to assist with the calculations.
Subsequent time, we’ll make 3D sliders. Keep tuned!