


On this article, we’ll current a newbie’s information to Webflow, a no-code net design software for designers, exploring how one can begin utilizing it at this time.
No-code instruments provide help to design and construct web sites with out realizing the way to code. They’re changing into an increasing number of fashionable as curiosity ranges in these instruments have steadily elevated.
Webflow is among the extra fashionable on-line no-code instruments. It helps you design and construct web sites with out realizing languages like CSS or having to jot down customized JavaScript code, whereas nonetheless supplying you with the power to create gorgeous web sites.
Net Design for Non-coders
Instruments like Webflow are nice for non-coders like most of the people and for these within the artistic discipline who need extra management over their websites with out spending tons of time studying coding languages first (for instance, graphic designers who’re eager to get into net design).
Webflow appears to have positioned itself in a manner that caters to most of the people all the way in which as much as skilled net designers and builders who already know the way to code, however searching for options to assist them be higher and extra environment friendly.
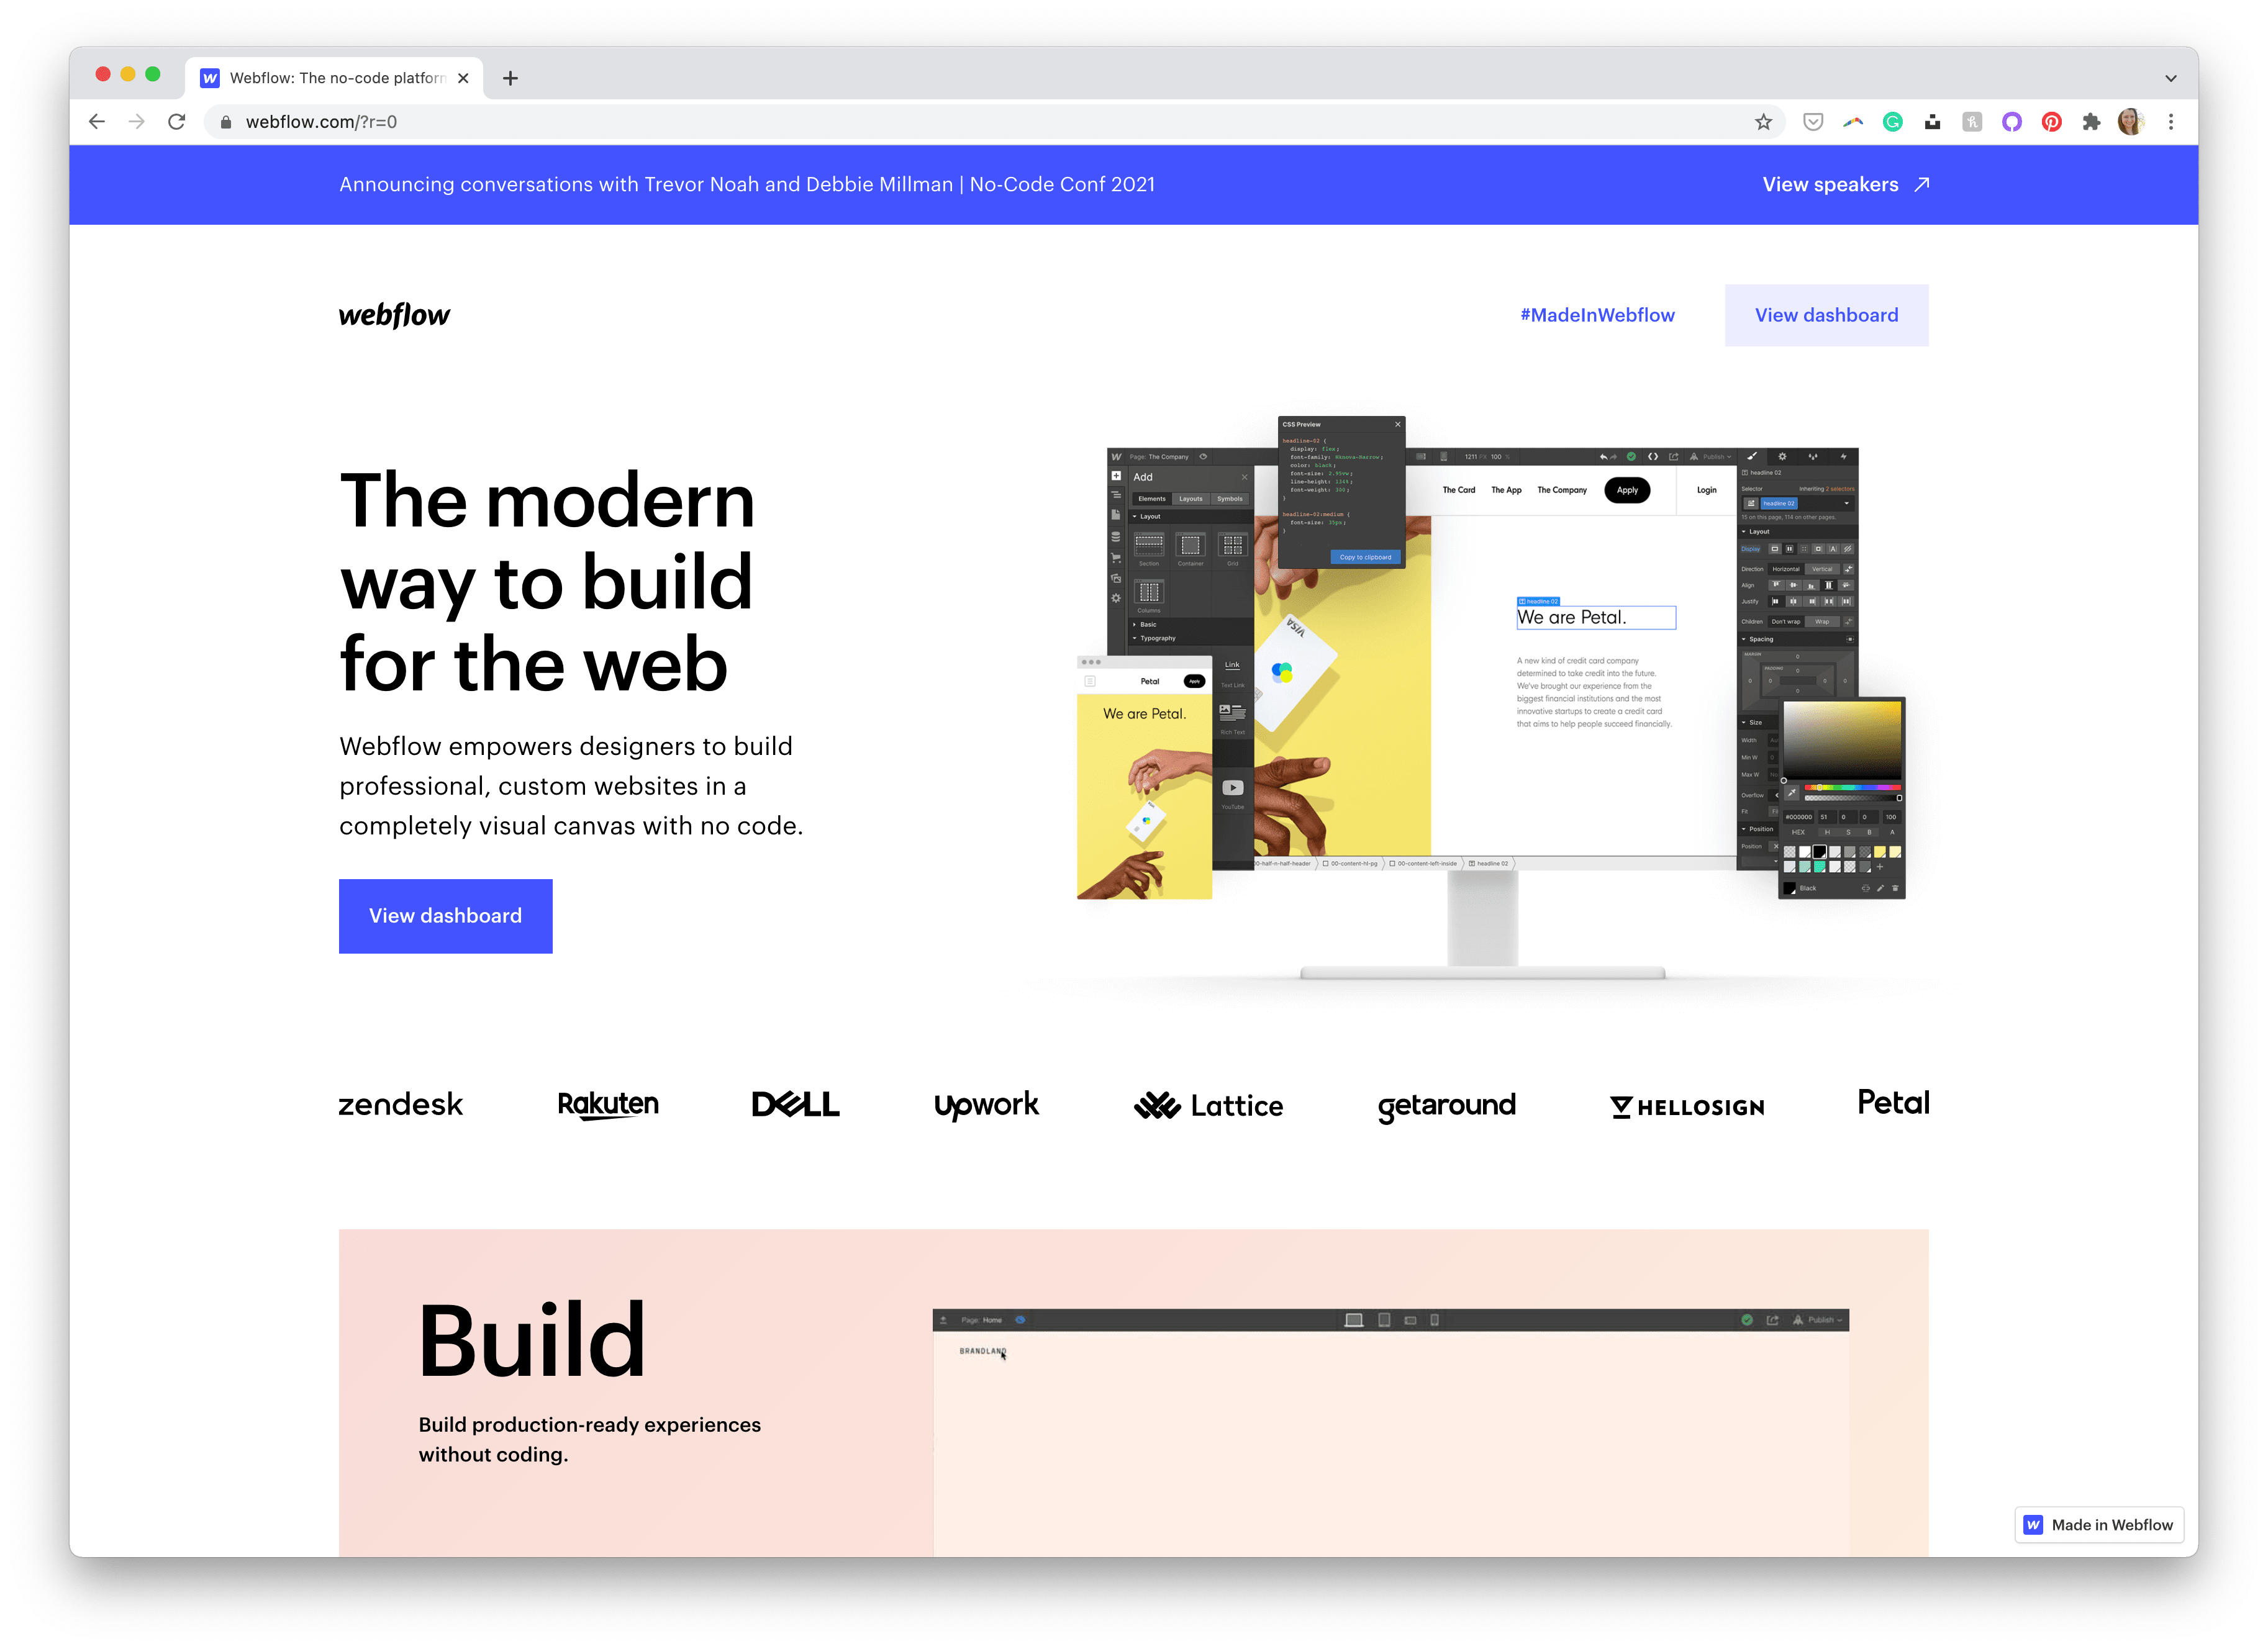
Webflow does most (if not all) of the heavy lifting for you in the case of creating your web site. Designed with a person interface (UI) — known as the Designer — that feels extra like a design what-you-see-is-what-you-get app, it writes the code for you within the background as you begin laying out your parts and customizing your types. Webflow has free templates that will help you get began (which is nice for novice customers and people who don’t really feel their design abilities are any higher than the templates), however it’s also possible to begin from scratch in case you’re a extra skilled person or know your manner round front-end coding languages.
With Webflow, there’s seemingly two several types of customers that may frequently use Webflow: those that don’t have the know-how to code their very own web site and want the help that Webflow and its visible editor offers, and people who can design and code their very own web sites and wish to velocity up/simplify the method.
For many who want help in creating their very own web site, Webflow helps you alongside the way in which with templates and tutorials to do many of the coding give you the results you want. Nevertheless, you’ll seemingly study that you simply’ll wish to begin selecting up some coding abilities in an effort to actually customise issues to your liking and to completely perceive the breadth of options that Webflow affords.
For net designers/builders who’re skilled at creating their very own websites, Webflow can get out of your manner and mean you can get straight to work inside their visible designer. Nevertheless, with a few of their options restricted, you’ll seemingly run into issues shortly you could’t do that you simply want you may, and certain will end up diving into the code sooner or later alongside the way in which.
Pricing
Webflow does come at a month-to-month worth, relying on the way you wish to use the platform. You may pay month-to-month per web site, or month-to-month for a person account with a number of initiatives. Whereas not clear from the beginning, these two pricing plans cater to the 2 several types of customers mentioned above.
For many who personal their web site and wish only one or two websites, the location plan is probably going the place you’ll wish to be. For many who are net designers/builders who plan to make use of Webflow as a software to develop websites at hand over to shoppers, the account plans are seemingly the higher match (particularly in case you’d prefer to obtain your web site from Webflow and use it elsewhere, reminiscent of by yourself server or with CMSs reminiscent of WordPress).
Both manner, you get a free-forever plan that permits you experiment and work with Webflow to get your web site the place you need it to be earlier than you determine to improve. (Nevertheless, the free-forever plan limits what you possibly can and might’t do. For instance, you possibly can’t join your web site to a customized area.)
Webflow’s pricing is nice for many who simply want one or two websites. Nevertheless, it might get fairly costly for somebody who’d prefer to have a number of web sites directly. Considerably tied to the pricing is one other downside (maybe extra so a downside for the extra skilled customers): with the ability to design then export your web site to then use/modify for an additional platform (reminiscent of WordPress) isn’t essentially the most supreme, and requires you to pay month-to-month for the power as nicely, even in case you decide to not launch/host your web site on Webflow.
Total, Webflow’s reputation implies that individuals are reaping the advantages from the no-code software, and it continues to attract the eye of not solely most of the people, however those that are pretty novice with net growth all the way in which as much as those that are skilled net designers and builders.
Because you’ve seemingly landed on this text since you too are fascinated by Webflow and the way it may be useful in your scenario, let’s dive in to the way to get began with Webflow to get you aware of the platform and the way you may put it to use in your wants. We’ll then finish with details about one of the best path to take do you have to proceed in your Webflow journey.
Talent Stage
Regardless that Webflow is billed as a “no-code” software, it ought to be acknowledged that it doesn’t imply “no-skill”. Webflow has a little bit of a studying curve to grasp, even for the seasoned net developer. Those that don’t have a lot of a background in net design/growth could discover this studying curve extra steep than they have been hoping for when making an attempt out a software billed as “no-code”. Having some fundamental understanding of internet sites (reminiscent of layouts and the field mannequin) and the way to fashion issues (reminiscent of margins, paddings, floats, positions, and so on.) is helpful and reduces the training curve, however isn’t important for utilizing Webflow.
Whereas I’d say that Webflow is simple to select up and study (which is a biased opinion, as I’ve coded dozens of internet sites in my profession), be ready for a while studying the ropes and understanding not solely how Webflow works, however net design and growth rules as nicely. Those that have expertise constructing web sites will seemingly fare higher via the preliminary studying curve than these new to constructing web sites in no-code instruments.
The good factor, nevertheless, is that Webflow understands this and has spent vital time creating what they name “Webflow College” that will help you study their instruments and develop your net design and growth abilities on their platform. It’s additionally an important useful resource past what this getting began information will cowl, do you have to wish to take your Webflow experiment/talent set to the following degree.
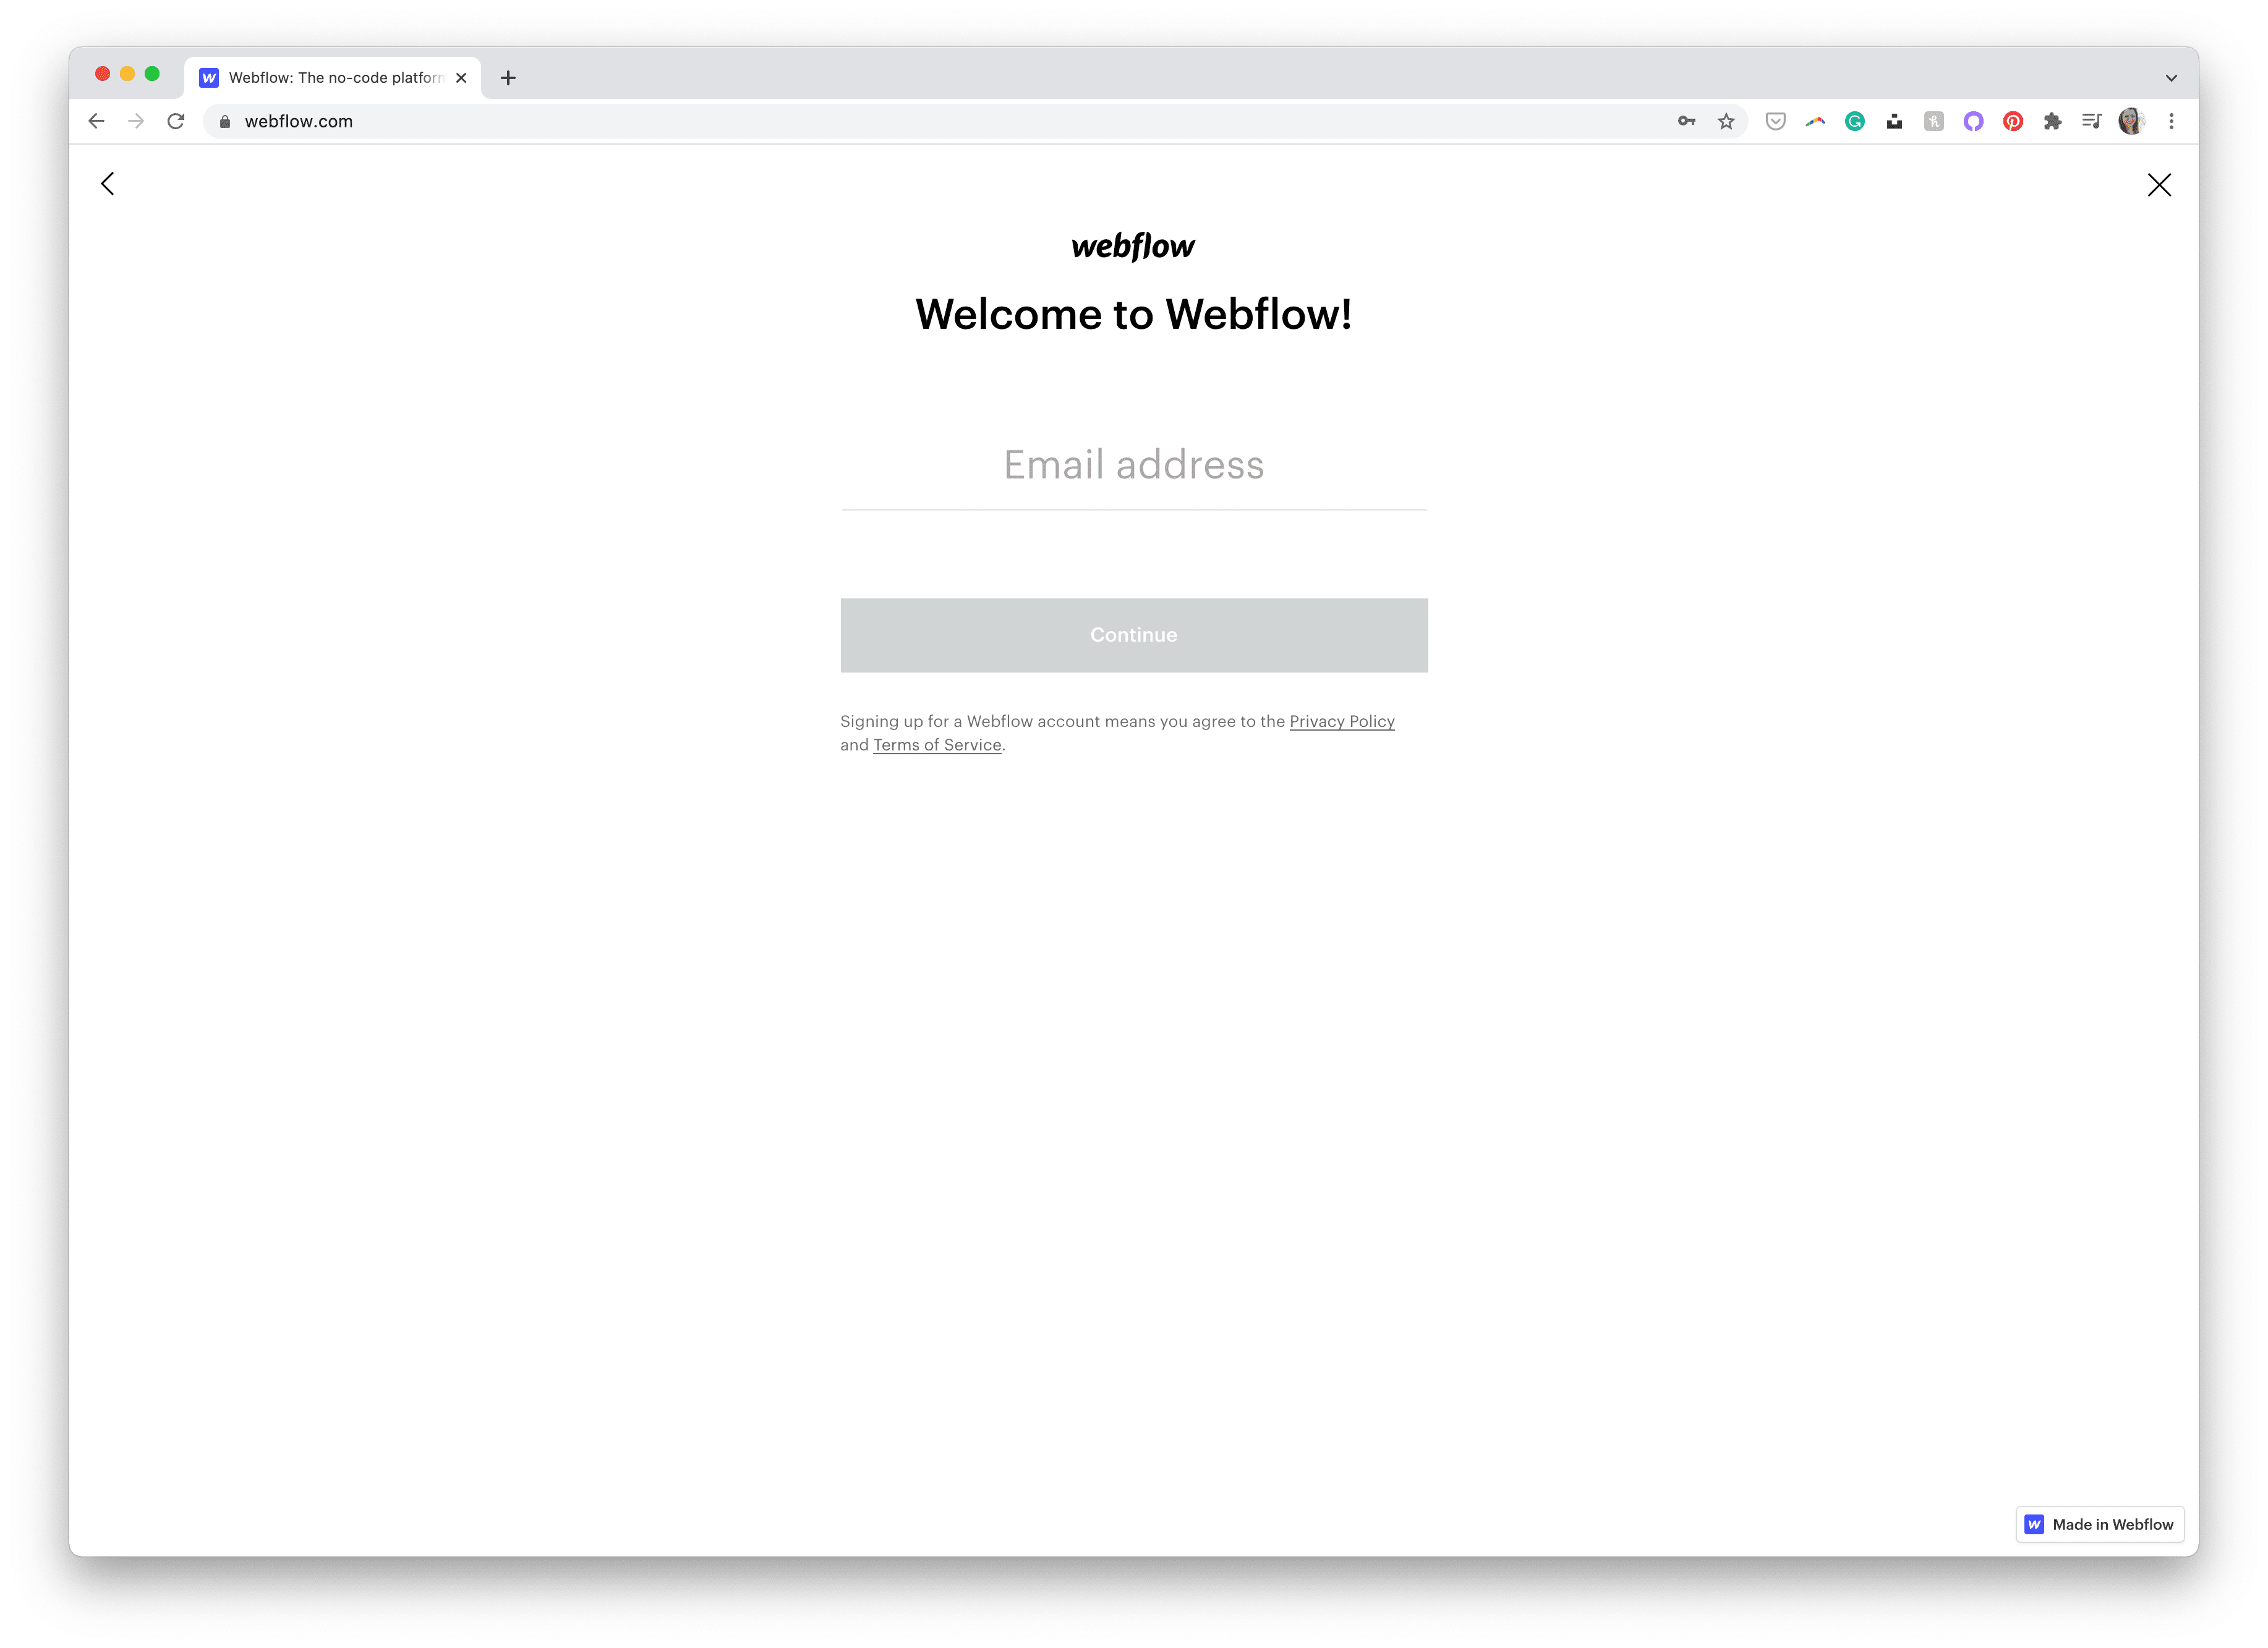
Signal Up and Onboarding
Signing up for an account with Webflow is as simple as it’s on most different websites you’ve created accounts with. Clicking “Get Began” on the prime of the house web page will stroll you thru the signup and onboarding course of. The onboarding course of will provide help to set your account up accurately by asking inquiries to get to know extra about you.
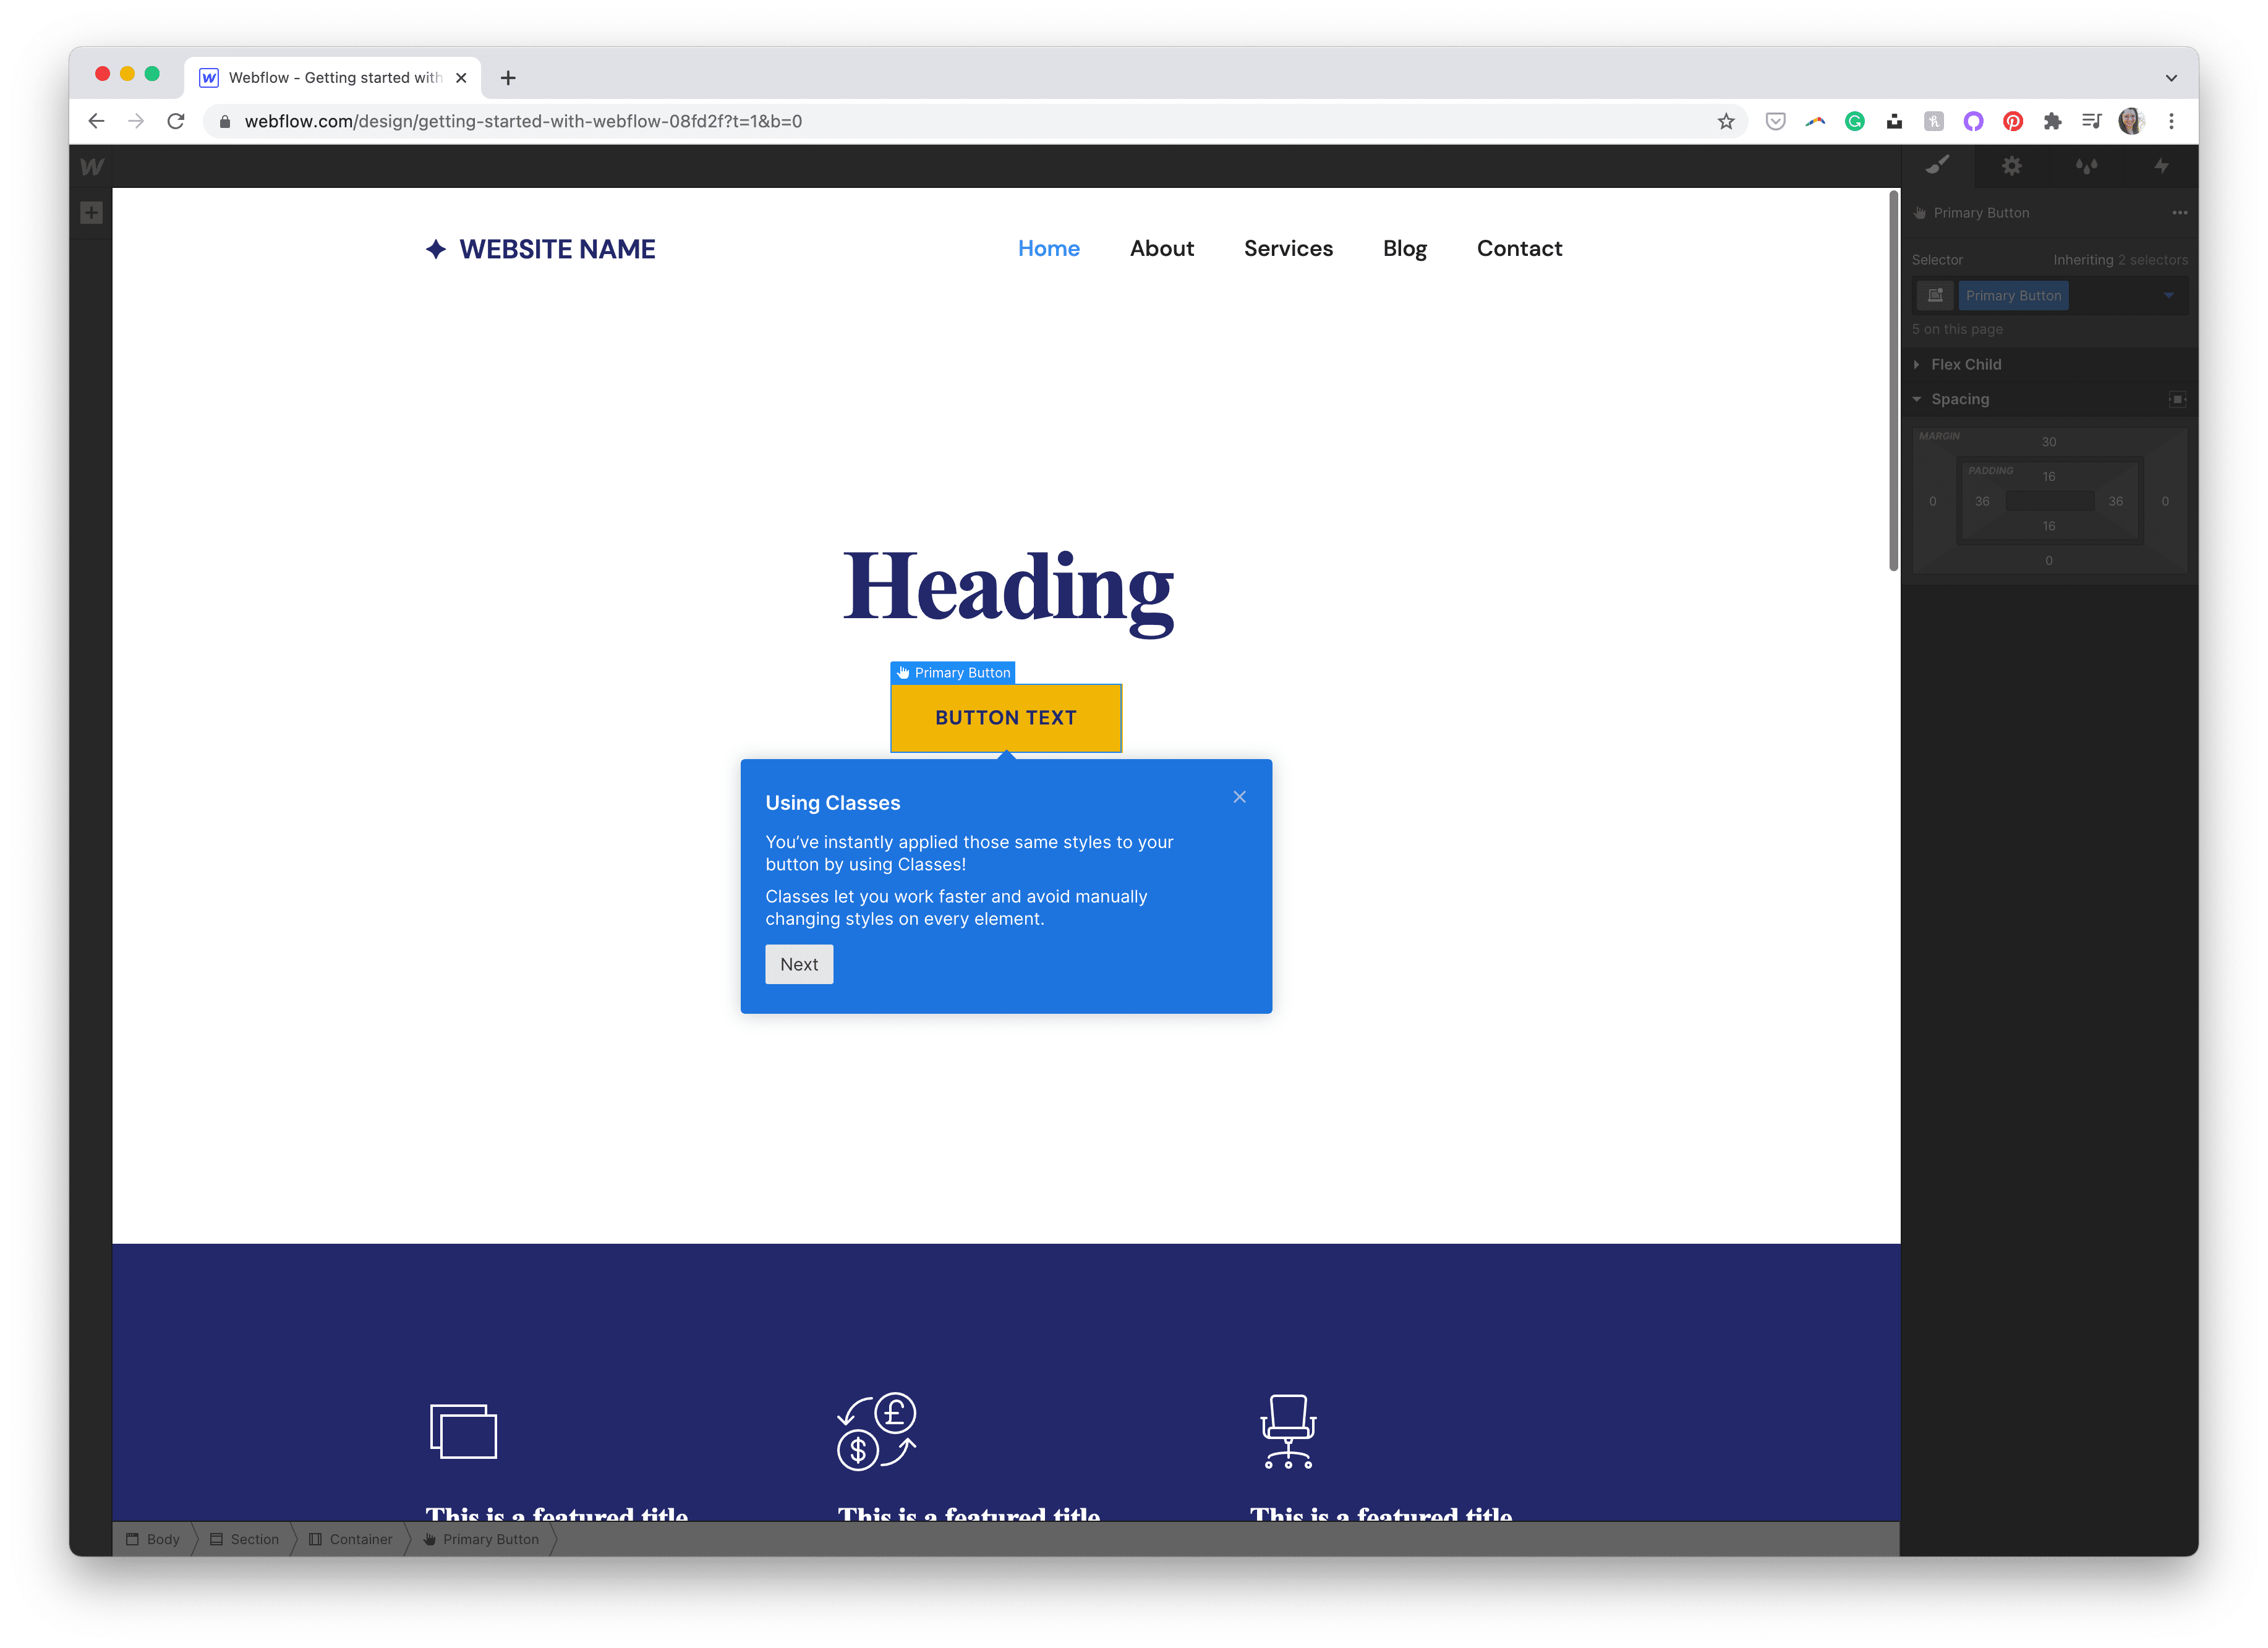
When you’ve gone via the onboarding questionnaire, you’ll be dropped into the Webflow visible editor, known as the Designer, to start out a tutorial. No matter how skilled you might be with net growth, I extremely suggest you spend the time to undergo the tutorial, as it can assist scale back the training curve as you progress on to your first undertaking.
Among the most essential elements of the tutorial that Webflow walks you thru are the Components Panel, courses, the way to make your web site responsive with breakpoints, and ending with details about the way to push your undertaking stay. It’s through the tutorial the place you’re prone to get an excellent understanding of the talents wanted, particularly because it explains completely different net rules to you (like cascading fashion sheets).
When you’ve accomplished the short welcome tutorial, it’s time to start out your first undertaking (as prompted once you’ve accomplished the introductory subjects). Clicking Create New Challenge places you proper into Webflow’s visible editor.

From right here, it’s a “select your individual journey” kind of setup on what path you wish to transfer ahead with. For the sake of studying and understanding how Webflow works, I extremely suggest selecting a template to edit as an alternative of leaping straight right into a clean web site undertaking.
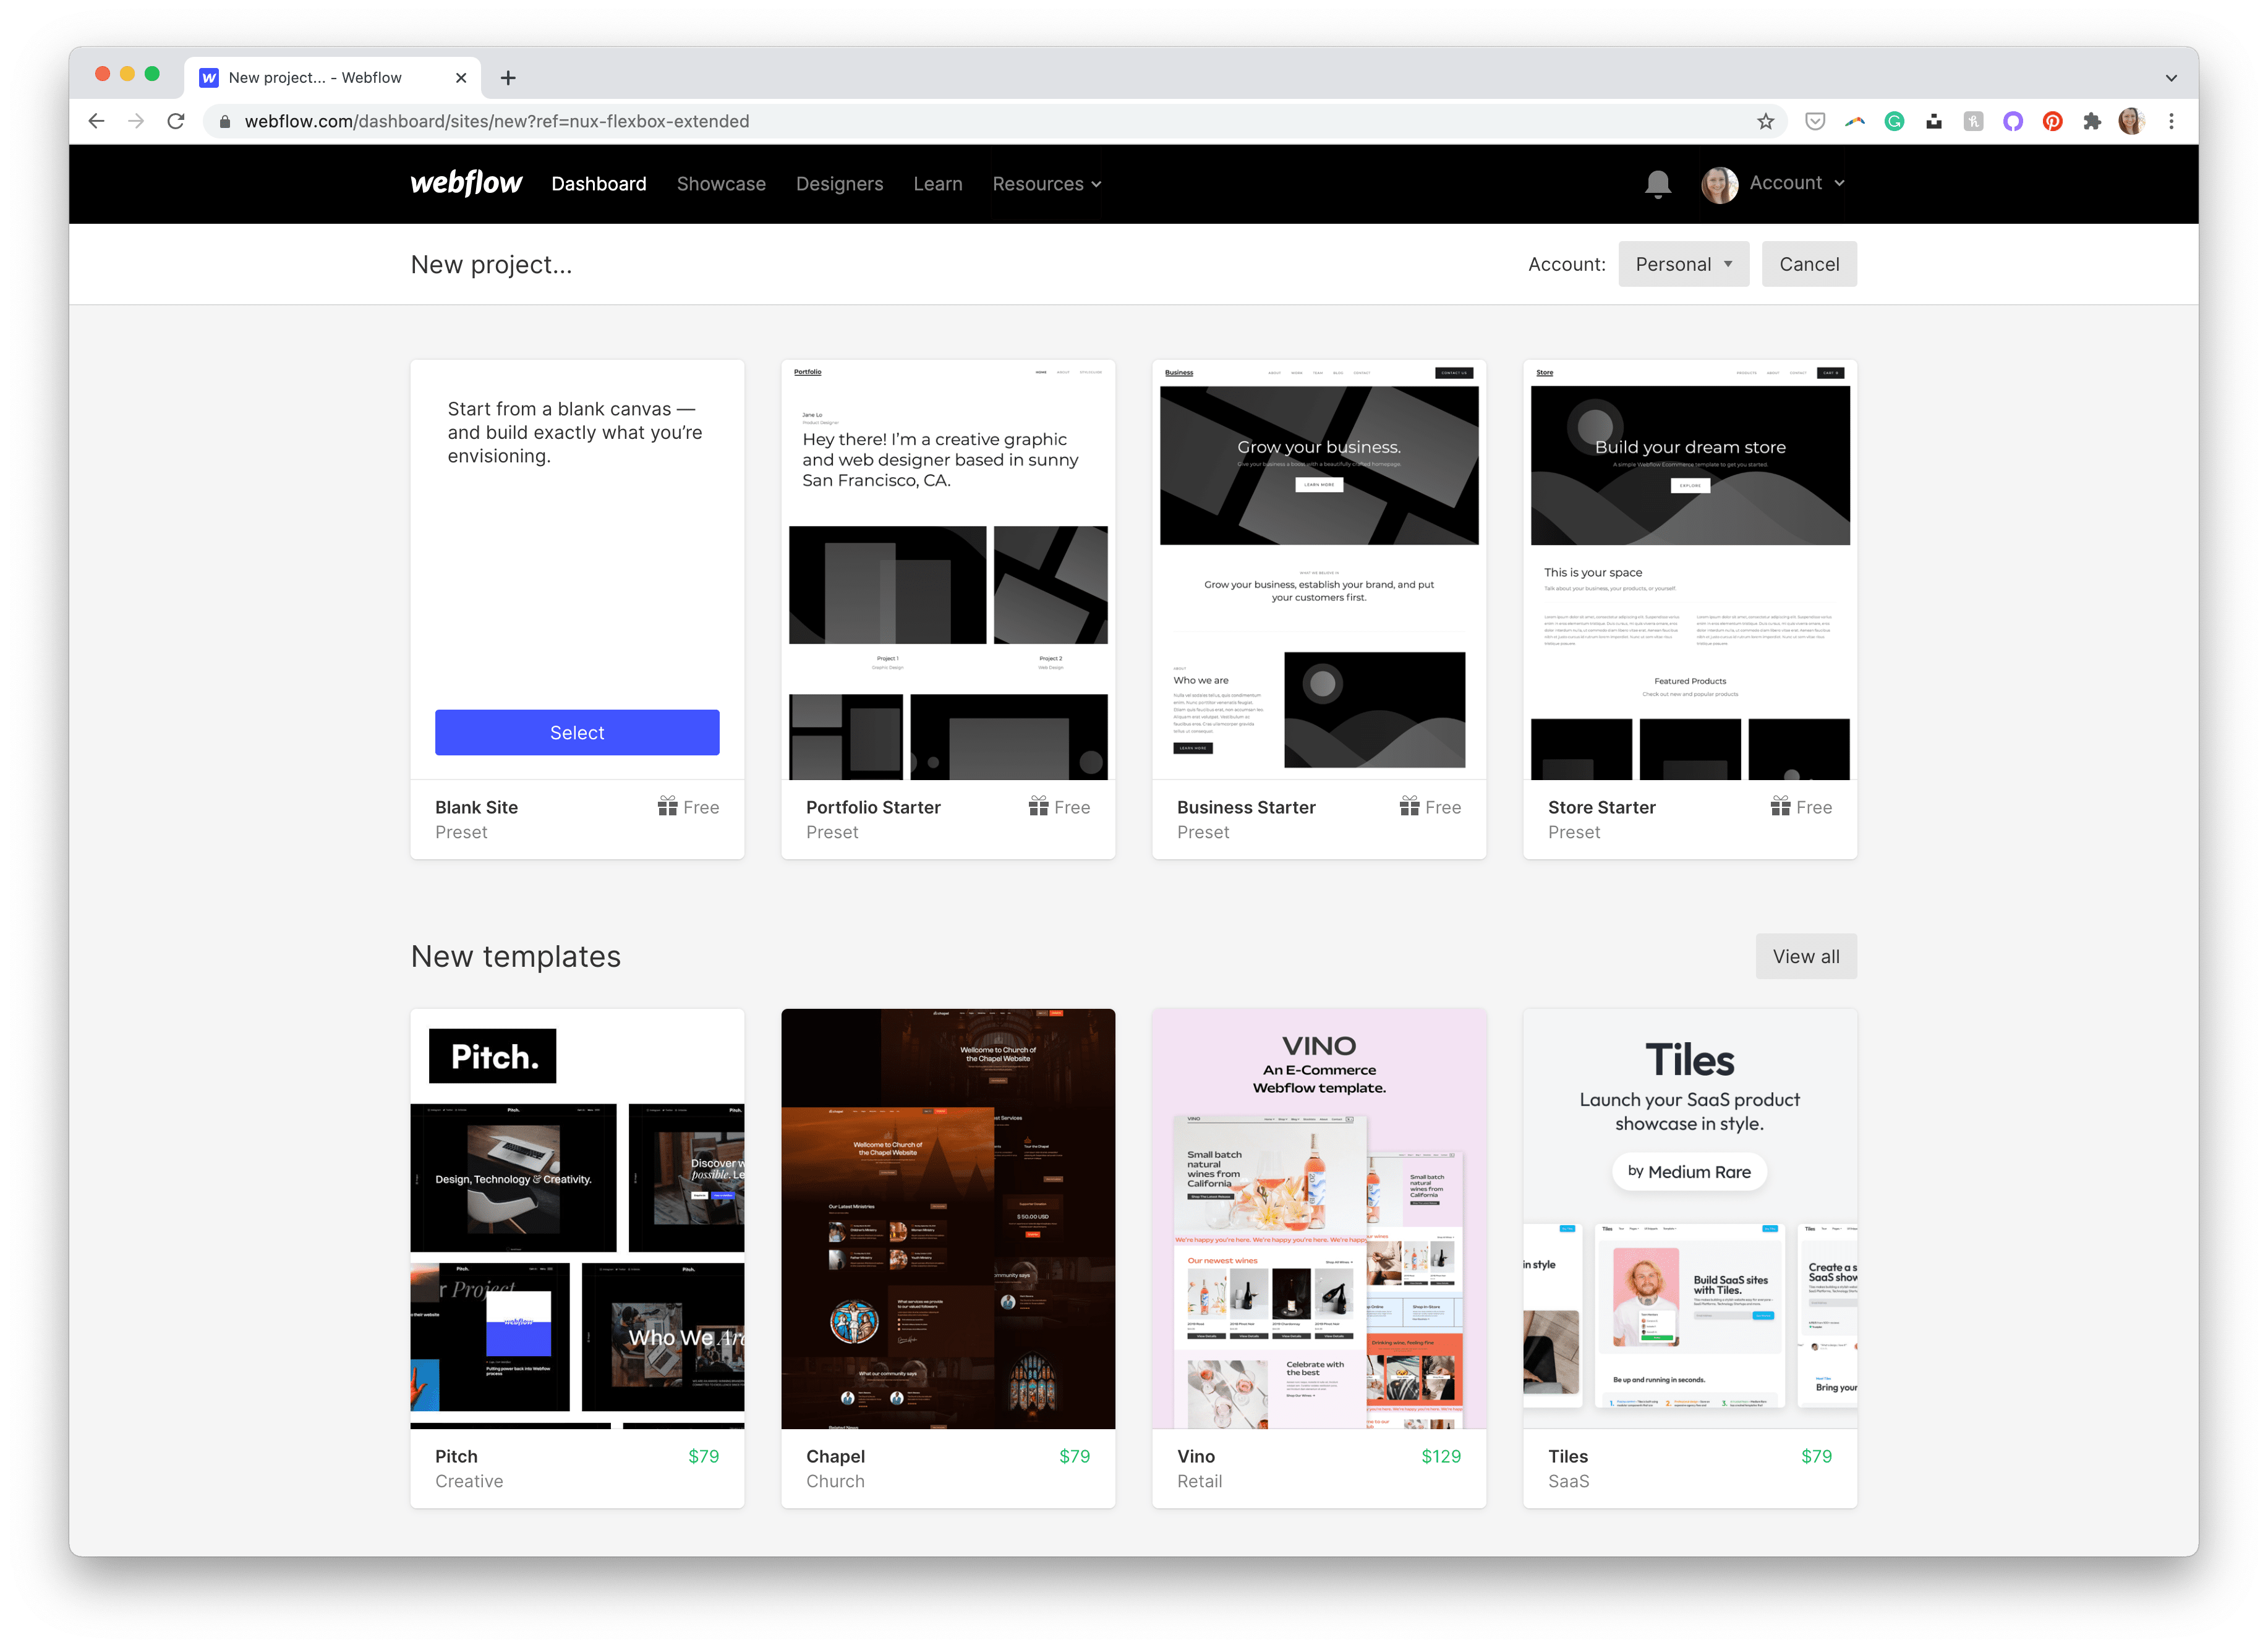
For this how-to tutorial, we’re going to edit an present Webflow template to learn the way the Designer works and the key options of the primary interface you’ll be utilizing inside Webflow.
The Designer
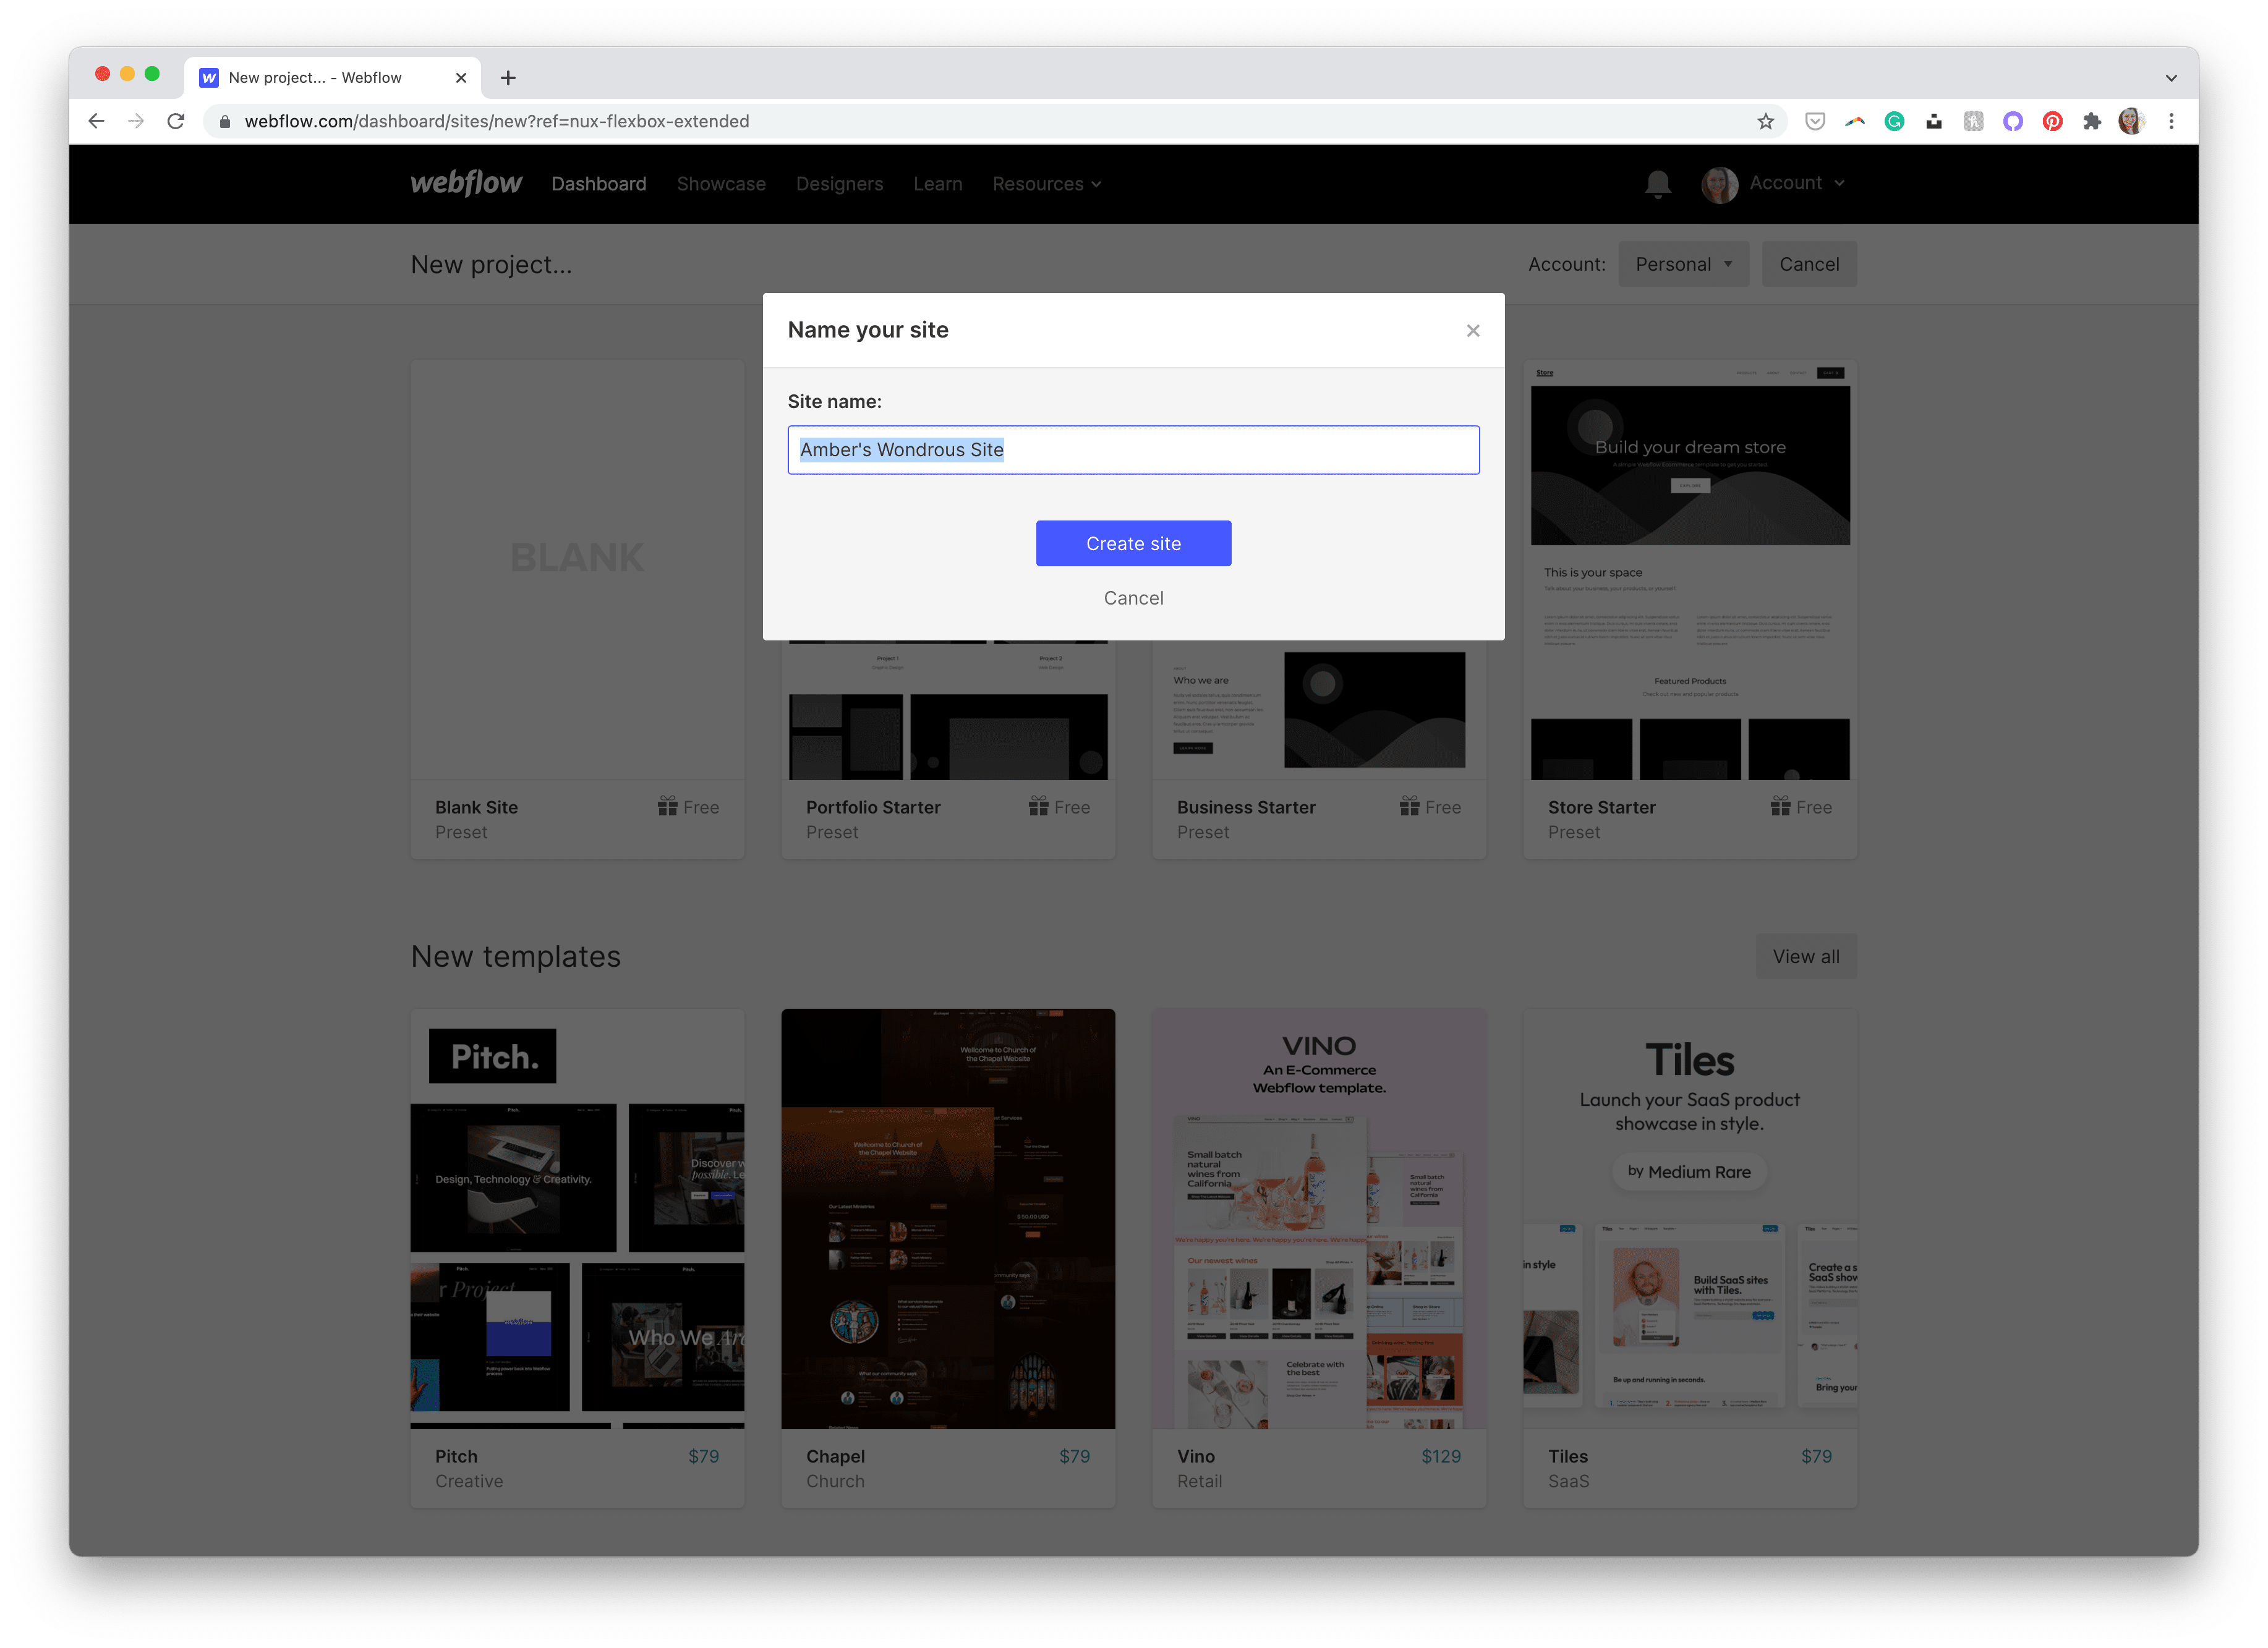
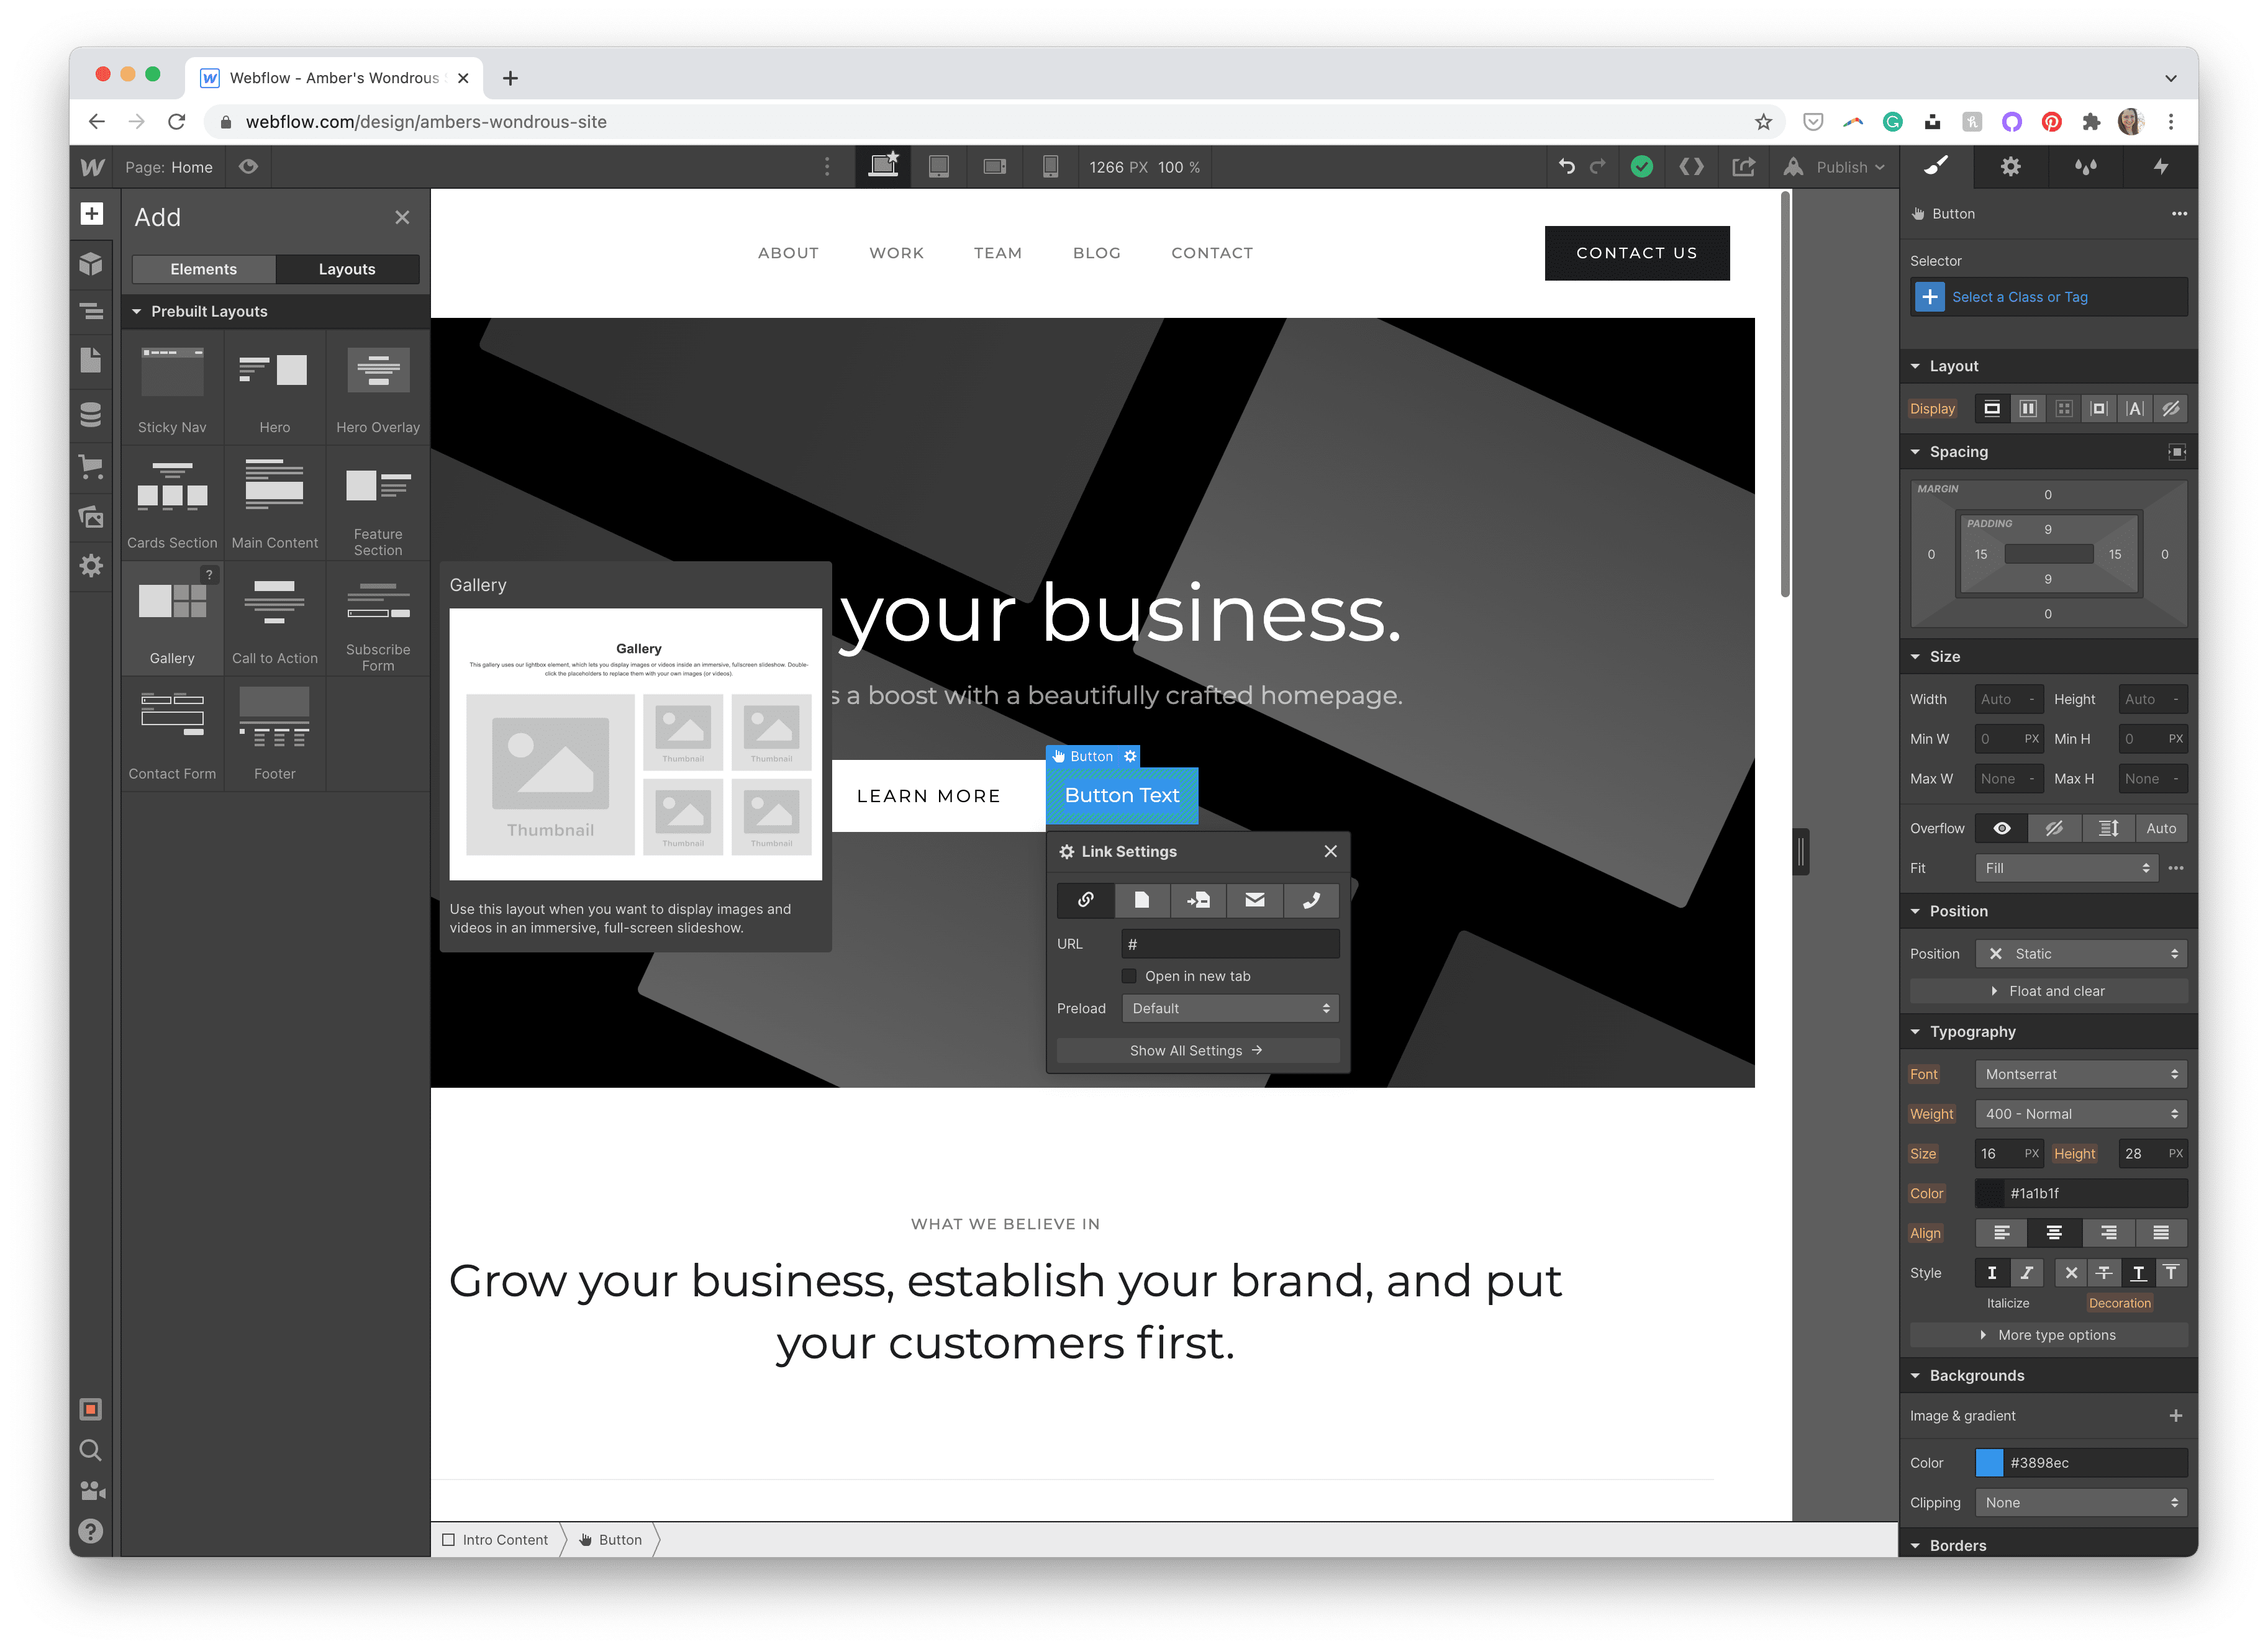
The Designer in Webflow is the visible editor the place the majority of your time will seemingly be when working in Webflow. With a view to get your toes moist with the Designer, let’s edit an present template. For this text, I’m selecting the “Enterprise Starter” template from the record of initiatives. Hover over the template, hit Choose, give it a reputation, then click on Create Website.
Your newly created web site utilizing the Enterprise Starter template opens in Webflow’s Designer. You’ll see toolbars on the left and prime, and a pane of choices on the proper hand facet. Whereas there’s a lot to the Designer that will help you edit and work along with your template, we’re going to give attention to just a few of the extra essential, most steadily used elements of he Designer so you possibly can discover ways to edit your web site to your liking.

Let’s go over a very powerful elements of Webflow’s Designer, those you’ll seemingly be utilizing most steadily: the Components Panel, Fashion Panel, Navigator Panel, and Pages Panel.
The Components Panel
The fundamental constructing blocks of your web site — reminiscent of headings, photographs, and buttons — are known as “Components” in Webflow. Within the prime left-hand nook beneath the Webflow brand is a plus icon, the place you possibly can browse all of the completely different attainable parts and select those you need.
For instance, I wish to add a further button to the hero part of this web site, subsequent to the one at present there. I can click on the button ingredient, and drag it to the place I’d prefer it to be. A smaller window pops up under the ingredient I added to present me extra choices — primarily, on this case, so as to add a hyperlink for the button to work.

The Components panel additionally has different varieties of parts that you could be not count on already loaded and prepared to be used, reminiscent of block quotes, file add, tabs, sliders, and social media parts. All of those are widespread parts on web sites, however Webflow has achieved many of the heavy lifting in the case of coding these parts, by offering these kinds of net parts able to be added to your web site as desired.
Along with parts, you even have layouts in the identical pane. Clicking “Layouts” on the prime will change to the out there layouts you should utilize, such a gallery or contact kind. That is useful in circumstances the place you want a sure format however don’t wish to individually piece collectively every ingredient to make it occur. Webflow makes this simple to insert these layouts into your web site and customise as you want.
The Components panel is kind of dense, with many parts and layouts that may be utilized in your web site. You may learn extra in regards to the Components panel, and all the weather out there, on Webflow College right here.
The Fashion Panel
You’ve seemingly seen that, once we added a button to the hero part of the location, the pane on the right-hand facet modified and supplied many extra choices in your button. This pane is known as the Fashion Panel, and is the place many of the design tweaks and edits occur.
This pane, relying on the ingredient you’re working with, offers you choices reminiscent of font varieties and sizes, alignments, colours, and margins and paddings (to create area between the weather). In different phrases, this panel accommodates all of the settings essential to “fashion” your parts (therefore the title, and a nod to using CSS stylesheets in fashionable net growth to “fashion” or design your web site). That is the place having some net growth information will come in useful to minimize the training curve in understanding what all of these things imply, reminiscent of margin, padding, overflow, and positioning.
Nevertheless, in case you don’t have that have, experimenting with these completely different choices will provide help to study what every of them does and the way altering them impacts the weather you’re working with. Some are extra self explanatory and work much like different varieties of packages, like fonts and colours, whereas others will take a little bit of trial-and-error or experimentation to completely perceive what they will do, reminiscent of positioning and overflow.
In case you aren’t positive what all of the settings imply, or wish to see what settings can be found, Webflow College breaks all of it down for you right here.
The Navigator Panel
One other essential a part of he Designer that you simply’ll frequent whereas utilizing Webflow is the Navigator panel. This panel means that you can group parts collectively, see what parts are in teams collectively, and to reorganize the order of parts on the web page as wanted.
On the left facet of the Designer, click on the icon with three bars (the “Navigator”) icon. This reveals a pane with all your parts discovered on the present web page you’re on. Double-clicking any ingredient there highlights it in the primary window so that you can see.
Clicking “Footer” right here will take you instantly to the footer, the place you can begin working with that individual ingredient. You may click-hold-drag the ingredient within the Navigator pane to reorganize the web page or put parts somewhere else in your web page. This helps you see the place all your parts are on the web page and the way they’re linked to 1 one other.
To study extra in regards to the Navigator panel, click on right here.
The Pages Panel
Lastly, the final main a part of the Designer that you simply’ll end up utilizing typically is the Pages panel. On the left facet of the Designer, click on the Pages icon (forth from the highest) to disclose the Pages panel.
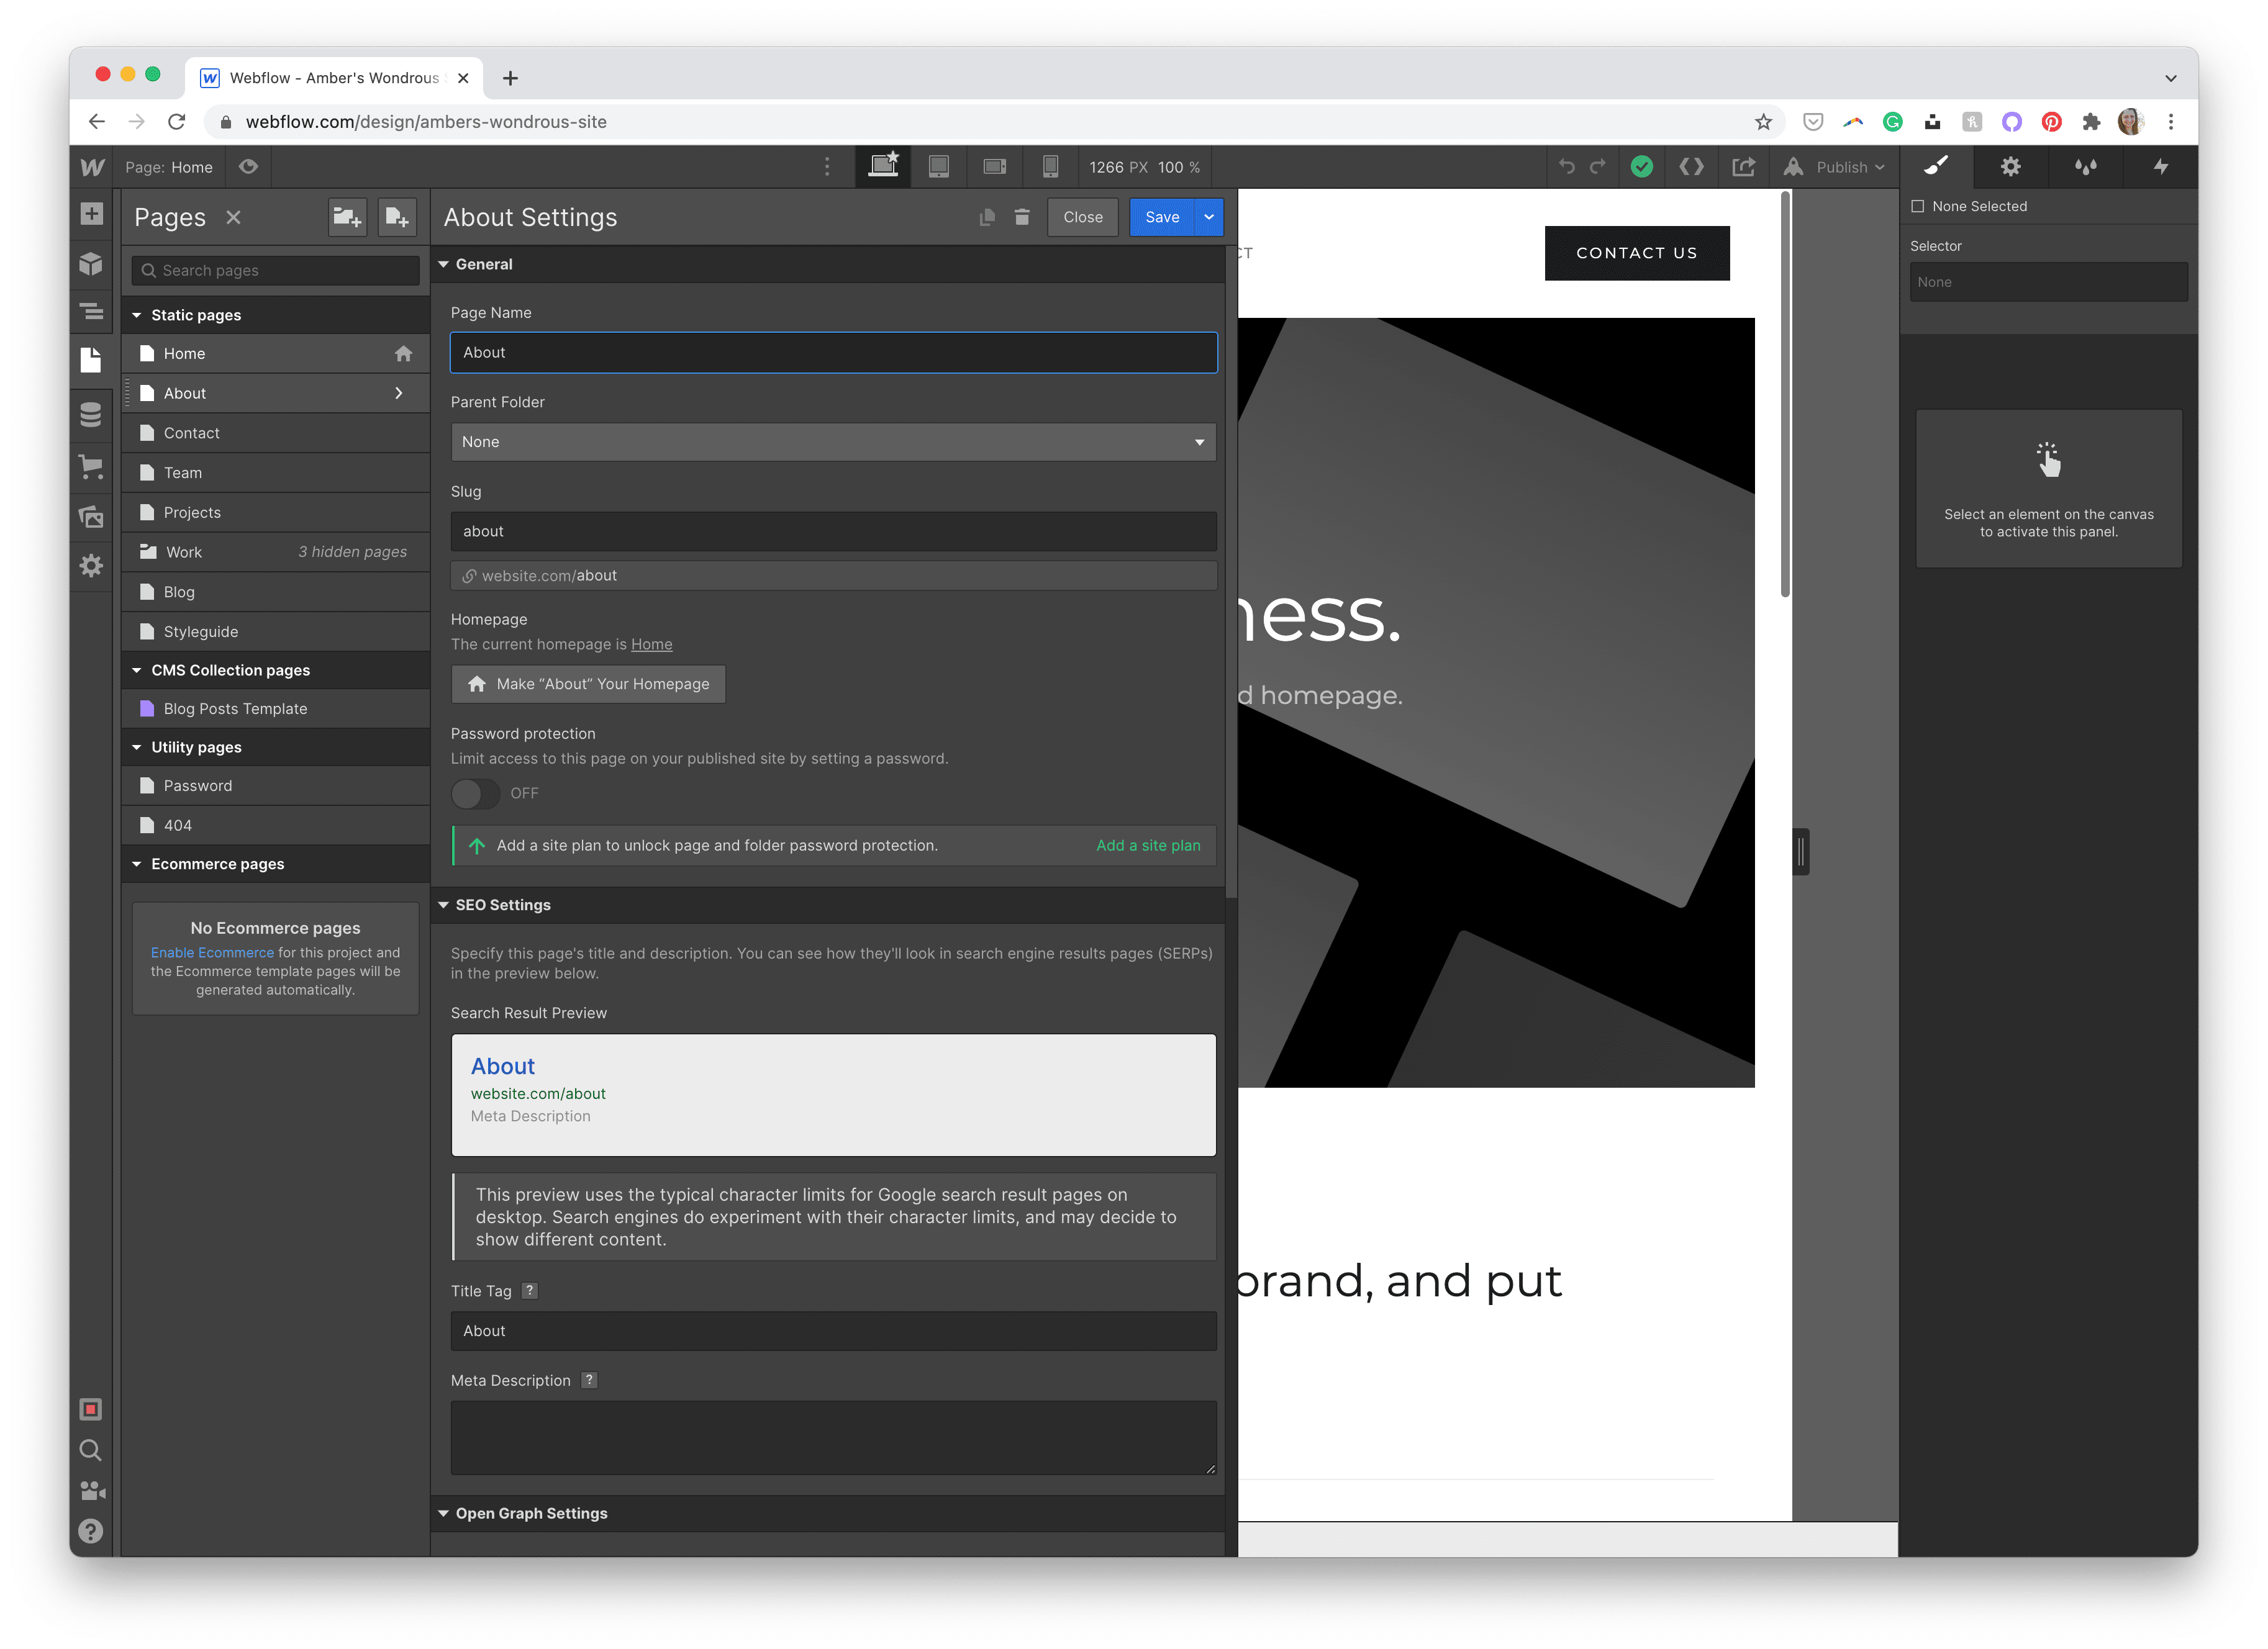
That is the place all your static pages stay, together with different varieties of pages that your web site could have (reminiscent of your 404 web page). That is the place you possibly can set up your pages and content material, together with altering any particular settings you’ll have for any given web page, such because the web page title and slug (or permalink). You can even add and delete pages on this pane as nicely.
Seeing all your pages collectively in a single panel helps you keep organized and see what content material your web site has as you construct it. To study extra in regards to the Pages panel in Webflow, click on right here.
The 4 panels mentioned above barely scratch the floor of all of the performance Webflow has to supply within the Designer. To study extra about the entire completely different panels within the Designer, Webflow College has a wonderful article that outlines every little thing it’s good to know right here.
Which Path Will You Take?
Webflow helps cater to 2 several types of customers: these with restricted expertise, who’ve many templates to start out from, and people with extra expertise, who’ve the power to start out a undertaking from scratch. I discussed above that one of the best factor to do, no matter talent degree, is to start out with a template and work on customizing it in an effort to learn the way all of the panes work and the total capabilities that Webflow has to supply.
Relying in your talent set, you might be comfy taking present starter templates, then customizing to your coronary heart’s content material, or you might wish to begin a undertaking fully from scratch. When you’re completely satisfied, you possibly can then publish your web site on the Webflow platform and also you’re good to go.
Customers who wish to design their very own web site however don’t have a lot design/coding expertise, beginning with premade templates is one of the best path. Decide a template and customise it primarily based on what you need utilizing the Designer and its Components panel to get you the place you need. For customers who’re coming to Webflow with a design in hand (together with expertise in net growth) and wish to recreate it in Webflow, ranging from scratch could also be the most suitable choice to have full management over the undertaking.
In case you ever wish to begin a brand new undertaking (both by closing a template or ranging from a clean web page), you possibly can at all times do that by returning to the Webflow Dashboard by clicking the Webflow brand icon within the prime left nook and clicking Dashboard. Whenever you’re prepared to start out your undertaking, click on the New Challenge button on the prime proper. Clicking the New Challenge button takes you to the record of all their templates, plus the choice to start out from a clean slate.

Webflow has positioned itself as a method to cater to each novices and skilled designers/builders, and permits the liberty and adaptability to maneuver between the 2 as wanted. The trail you’re taking, nevertheless, will vastly rely in your use case, talent degree, and the top end result you’re wanting to realize, so make sure you take these issues into consideration when beginning new initiatives in Webflow.
Conclusion
Webflow has an important useful resource library, known as Webflow College, to assist these getting began with Webflow and for many who simply want to grasp what choices can be found to them. Going via a number of the tutorials in Webflow College, particularly their classes reminiscent of “Getting Began”, may also help you’re taking deeper dives into sure elements of Webflow and net growth itself (which helps reduce the training curve), particularly in case you discover pleasure in utilizing the no-code software and wish to study extra about what every button and image means and might do.
Webflow’s College Lesson Library is discovered at college.webflow.com/lesson.
Total, in case you’re on the hunt for a no-code (or low-code) software that will help you construct web sites for the primary time, or to make your workflow simpler as an skilled net designer/developer, Webflow has made itself a critical contender on this area. In case you’re both opting to start out through the use of certainly one of Webflow’s templates or keen to start out from scratch, Webflow’s Designer will provide help to get your web site wanting and functioning the way in which you need all whereas writing the code within the background for you. The Designer makes it simple to make adjustments to your web site reminiscent of format, spacing, colours, typography and others via its simple to make use of person interface.
Webflow was constructed to allow designers to create totally responsive web sites and, no matter your talent degree, is a viable choice to look into that will help you create your web site with out realizing code, or to assist velocity up your workflow whereas writing clear code within the background. As soon as your web site is prepared for prime time, arrange a paid plan with Webflow to launch your web site on the Webflow platform, or obtain the code to then use with platforms reminiscent of WordPress to host by yourself.