


TL;DR: Let’s see easy methods to combine AI with Syncfusion .NET MAUI DataGrid for predictive information entry. This information covers establishing Azure OpenAI, configuring the DataGrid, and updating columns with AI-generated predictions. Increase your app’s effectivity with AI-driven automation!
Synthetic intelligence (AI) is a game-changer throughout varied sectors in right now’s aggressive world. This text delves into the mixing of AI with Syncfusion .NET MAUI DataGrid. You’ll see easy methods to use the .NET MAUI DataGrid to generate predictive information from earlier inputs. Our detailed information will take you thru the setup and configuration course of, making certain you’ll be able to customise the DataGrid to satisfy your necessities.
Let’s get began!
Step 1: Combine Azure OpenAI with .NET MAUI app
First, open Visible Studio and create a brand new .NET MAUI app.
Then, set up the newest model of Azure.AI.OpenAI and Newtonsoft.Json NuGet packages to facilitate AI operations.
Step 2: Create the AzureOpenAI class
Create a brand new class for OpenAI. This class is designed to work together with OpenAI’s API to generate responses primarily based on consumer prompts. You’ll be able to create an occasion of OpenAI and name the GetResponseFromOpenAI technique with a immediate. It will return the AI-generated response primarily based on the supplied immediate.
public class OpenAi
{
    personal readonly HttpClient _httpClientFactory;
    const string endpoint = "YOUR-AI-ENDPOINT";
    const string deploymentName = "YOUR-DEPLOYMENT-NAME";
    const string key = "YOUR-KEY";

    public OpenAi() {

    }
    public async Job<string> GetResponseFromOpenAI(string immediate)
    {
        strive
        {
            var consumer = new OpenAIClient(new Uri(endpoint), new AzureKeyCredential(key));
            var chatCompletionsOptions = new ChatCompletionsOptions
            {

                DeploymentName = deploymentName,
                Temperature = (float)0.5,
                MaxTokens = 800,
                NucleusSamplingFactor = (float)0.95,
                FrequencyPenalty = 0,
                PresencePenalty = 0,

            };

            // Add the system message and consumer message to the choices.
            chatCompletionsOptions.Messages.Add(new ChatRequestSystemMessage("You're a predictive analytics assistant"));
            chatCompletionsOptions.Messages.Add(new ChatRequestUserMessage(immediate));

            var response = await consumer.GetChatCompletionsAsync(chatCompletionsOptions);
            var message = response.Worth.Decisions[0].Message.Content material;
            return message;
        }
        catch (Exception ex)
        {
            return null;
        }
    }
}
Step 3: Design the DataGrid web page
Set up the Syncfusion.Maui.DataGrid package deal from NuGet Gallery. Right here, we’ll create the .NET MAUI DataGrid to show the coed information and their marks with the required columns.
<syncfusion:SfDataGrid ItemsSource="{Binding PredictiveDatas}">
 <syncfusion:SfDataGrid.Columns>
  <syncfusion:DataGridTextColumn MappingName="StudentID" />
  <syncfusion:DataGridTextColumn MappingName="StudentName" />
  <syncfusion:DataGridNumericColumn MappingName="FirstYearGPA" />
  <syncfusion:DataGridNumericColumn MappingName="SecondYearGPA" />
  <syncfusion:DataGridNumericColumn MappingName="ThirdYearGPA" />
 </syncfusion:SfDataGrid.Columns>
</syncfusion:SfDataGrid>
Now, add the Syncfusion .NET MAUI Button management to the XAML web page for predictive calculations of every pupil’s last marks utilizing OpenAI.
<button:SfButton x:Title="button" Clicked="Button_Clicked"/>
Step 4: Allow predictive information integration
Within the button click on occasion, we’ll replace the DataGrid in your .NET MAUI app with the calculated values for Closing 12 months GPA, Complete GPA, and Complete Grade primarily based on earlier yr GPAs.
- Outline the immediate: Create a string immediate to specify the factors for updating the Closing 12 months GPA, Complete GPA, and Complete Grade.
- Initialize GenerateGridReport: Create an occasion of GenerateGridReport and initialize it with the info supply from the DataGrid’s binding context.
- Generate consumer enter for OpenAI: Serialize the info supply into JSON format, validate the immediate, and mix it with the serialized information to generate the consumer enter.
- Fetch response from OpenAI: Name the GetResponseFromOpenAI technique with the generated consumer enter. If a response is obtained, deserialize it right into a GenerateGridReport object.
- Replace DataGrid columns: Add new columns for Closing 12 months GPA, Complete GPA, and Complete Grade to the DataGrid.
- Replace DataGrid rows: The DataGrid rows are up to date with the brand new values for Closing 12 months GPA, Complete GPA, and Complete Grade primarily based on the response from OpenAI. The DataGrid is refreshed after every replace with a slight delay.
Check with the next code instance.
async personal void Button_Clicked(object sender, EventArgs e)
{
     string immediate = "Closing yr GPA column must be up to date primarily based on GPA of FirstYearGPA, SecondYearGPA and ThirdYearGPA columns. Complete GPA must be up to date primarily based on common of all years GPA. Complete Grade replace primarily based on whole GPA. Up to date the grade primarily based on following particulars, 0 - 2.5 = F, 2.6 - 2.9 = C, 3.0 - 3.4 = B, 3.5 - 3.9 = B+, 4.0 - 4.4 = A, 4.5 - 5 = A+. common worth decimal shouldn't exceed 1 digit";
    GenerateGridReport gridReport = new GenerateGridReport()
    {
        GenerateDataSource = (this.datagrid?.BindingContext as GenerateDataCollection)!.PredictiveDatas,
    };
    var gridReportJson = GetSerializedGridReport(gridReport);
    string userInput = ValidateAndGeneratePrompt(gridReportJson, immediate);
    var end result = await openAi.GetResponseFromOpenAI(userInput);
    if (end result != null)
    {
        GenerateGridReport deserializeResult = new GenerateGridReport();
        strive
        {
            end result = end result.Exchange("```json", "").Exchange("```", "").Trim();
            deserializeResult = DeserializeResult(end result);
            var FinalYearGPA = new DataGridTextColumn() { HeaderText = "Closing 12 months GPA", MappingName = "FinalYearGPA", MinimumWidth = 150 };
            var TotalCgpa = new DataGridTextColumn() { HeaderText = "CGPA", MappingName = "TotalGPA", MinimumWidth = 150 };
            var TotalGrade = new DataGridTextColumn() { HeaderText = "Complete Grade", MappingName = "TotalGrade", MinimumWidth = 150 };
            this.datagrid.Columns.Add(FinalYearGPA);
            this.datagrid.Columns.Add(TotalCgpa);
            this.datagrid.Columns.Add(TotalGrade);
            int index = 0;
            if (DeviceInfo.Platform == DevicePlatform.Android)
            {
                if (datagrid != null)
                {
                    await datagrid.ScrollToColumnIndex(5);
                }
            }
            foreach (var merchandise in gridReport.GenerateDataSource)
            {
                if (merchandise != null)
                {
                    if (merchandise.StudentID == gridReport.GenerateDataSource[index].StudentID)
                    {
                        if (deserializeResult != null && deserializeResult.GenerateDataSource != null)
                        {
                            gridReport.GenerateDataSource[index].FinalYearGPA = deserializeResult.GenerateDataSource[index].FinalYearGPA;
                            gridReport.GenerateDataSource[index].TotalGrade = deserializeResult.GenerateDataSource[index].TotalGrade;
                            gridReport.GenerateDataSource[index].TotalGPA = deserializeResult.GenerateDataSource[index].TotalGPA;
                        }
                    }
                }
                index++;
                datagrid!.Refresh();
                await Job.Delay(250);
            }
        }
    }
    }
}
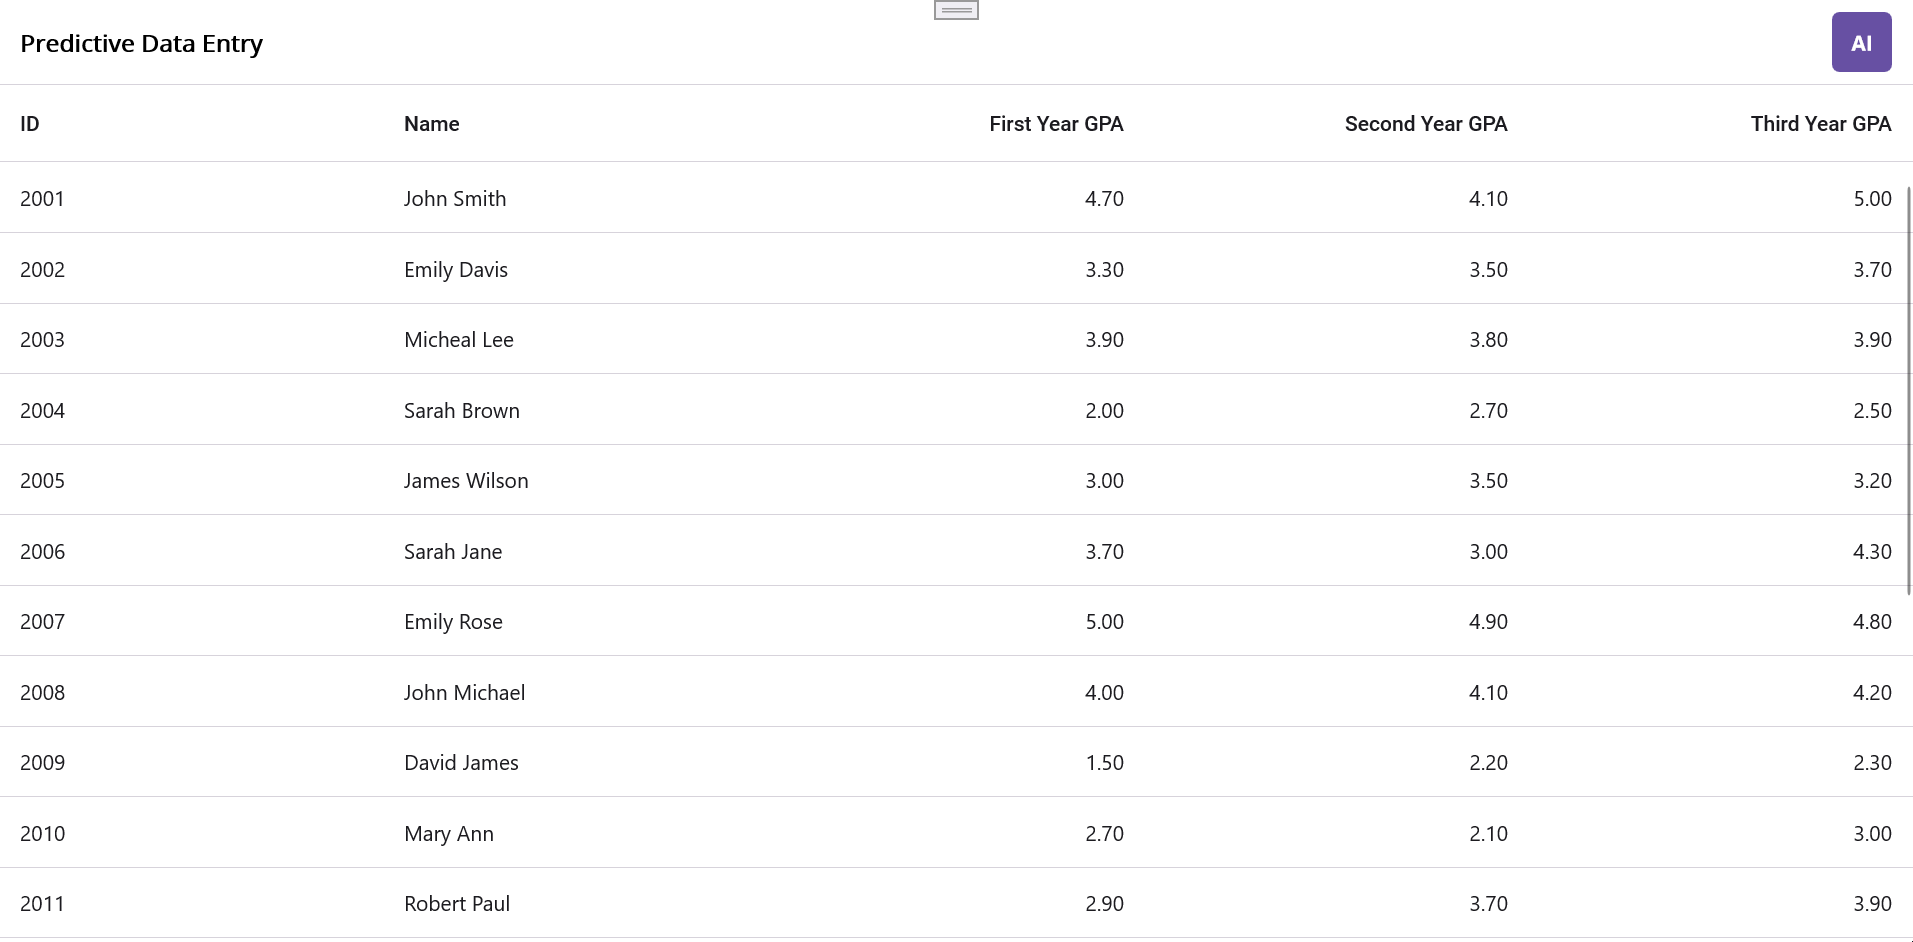
Check with the next output picture.
GitHub reference
For extra particulars, consult with the AI-powered sensible .NET MAUI DataGrid for predictive information entry GitHub demo.

Attempt It Free
Conclusion
Thanks for studying! On this weblog, we’ve explored easy methods to combine AI with Syncfusion .NET MAUI DataGrid for predictive information integration. This information supplies a transparent path to arrange and configure your apps successfully. With minimal setup, you’ll be able to automate information entry duties, permitting you to concentrate on extra crucial features of your initiatives.
This function is included within the newest 2024 Quantity 3 launch. For added particulars, go to our Launch Notes and What’s New pages.
Present clients can entry the brand new model of Important Studio on the License and Downloads web page. In case you aren’t a Syncfusion buyer, strive our 30-day free trial to expertise our unbelievable options.
Be happy to succeed in out by way of our assist discussion board, assist portal, or suggestions portal. We’re right here to assist!