

PowerShell is a strong scripting language, and scripting means capability for automation. However putting in PowerShell on a Mac is usually a bit tough. Fear not, although! This tutorial will stroll you thru putting in PowerShell on a Mac.
After following this tutorial, you should utilize PowerShell in your Mac as on any Home windows laptop.
Learn on to energy up your Mac with PowerShell!
Stipulations
This tutorial shall be a hands-on demonstration. For those who’d prefer to comply with alongside, ensure you may have a Mac with macOS Excessive Sierra (or later), Homebrew, and Xcode put in.
Putting in PowerShell for Mac Utilizing Homebrew
Homebrew is a bundle supervisor for Mac, like apt for Ubuntu or Yum for Fedora. It makes putting in software program on a Mac extra handy than doing it manually.
Homebrew allows you to set up the newest secure or preview PowerShell for Mac model in your laptop by operating a couple of instructions.
Putting in PowerShell for Mac (Secure)
A secure model implies that the software program has been totally examined and is appropriate to be used in a manufacturing setting.
To put in the secure PowerShell for Mac utilizing Homebrew, comply with these steps:
1. Launch the Terminal software.
2. Run the under command to put in PowerShell. The brew portion is the core Homebrew command, and the cask portion is an extension that enables Homebrew to put in macOS functions.
brew set up --cask powershellAs soon as the set up completes, you will notice an output just like the one under. The most recent secure PowerShell model is 7.2.6 as of this writing.

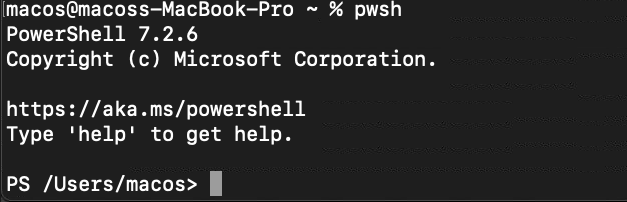
3. Lastly, run the under command to launch PowerShell.
You will notice one thing just like the screenshot under, which signifies that PowerShell is operating in your Mac.
Putting in PowerShell for Mac (Preview)
Microsoft additionally releases preview variations of PowerShell. These variations comprise new options that haven’t been totally examined but and aren’t advisable for manufacturing use. However you could wish to set up a preview model to check the brand new options.
To put in a preview model of PowerShell for Mac, comply with the steps under.
1. Run the under command so as to add the Homebrew variations repository. This repository incorporates preview variations of varied functions, together with PowerShell.
brew faucet homebrew/cask-versions 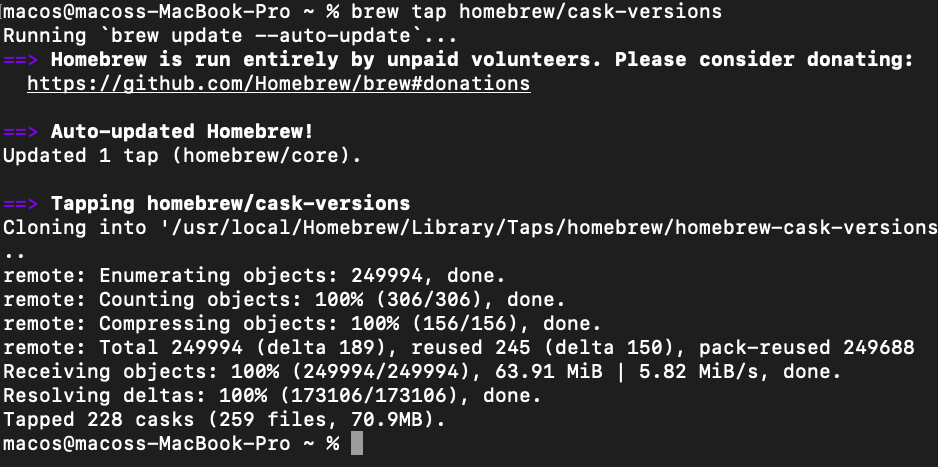
2. Subsequent, run the under command to put in the newest PowerShell Preview model.
brew set up --cask powershell-previewAs soon as the set up completes, you will notice an output just like the one under. As of this writing, the newest PowerShell Preview model is 7.3-preview.7.

3. To launch PowerShell Preview, run the under command in your Terminal.

Upgrading PowerShell for Mac
PowerShell for Mac receives common releases, and you may improve to the newest one utilizing Homebrew. New variations usually comprise bug fixes and efficiency enhancements.
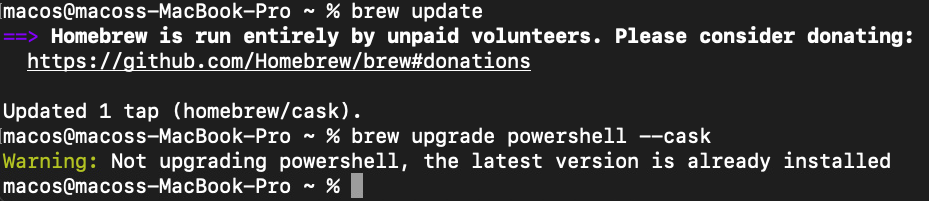
To improve PowerShell for Mac to the newest secure, run the under instructions in your Terminal. The primary command updates Homebrew’s bundle checklist. The second and third instructions improve PowerShell for Mac to the newest secure and preview variations, respectively.
# Replace the Homebrew bundle checklist
brew replace
# Improve PowerShell (Secure)
brew improve powershell --cask
# Improve PowerShell (Preview)
brew improve powershell-preview --cask

Putting in PowerShell for Mac Utilizing PKG Information
Microsoft additionally presents PowerShell for Mac within the type of PKG installer information. You possibly can obtain these information from the PowerShell GitHub releases web page.
The PKG installer is for you in case you choose putting in software program utilizing the GUI as a substitute of the command line. To put in PowerShell utilizing a PKG file, comply with these steps:
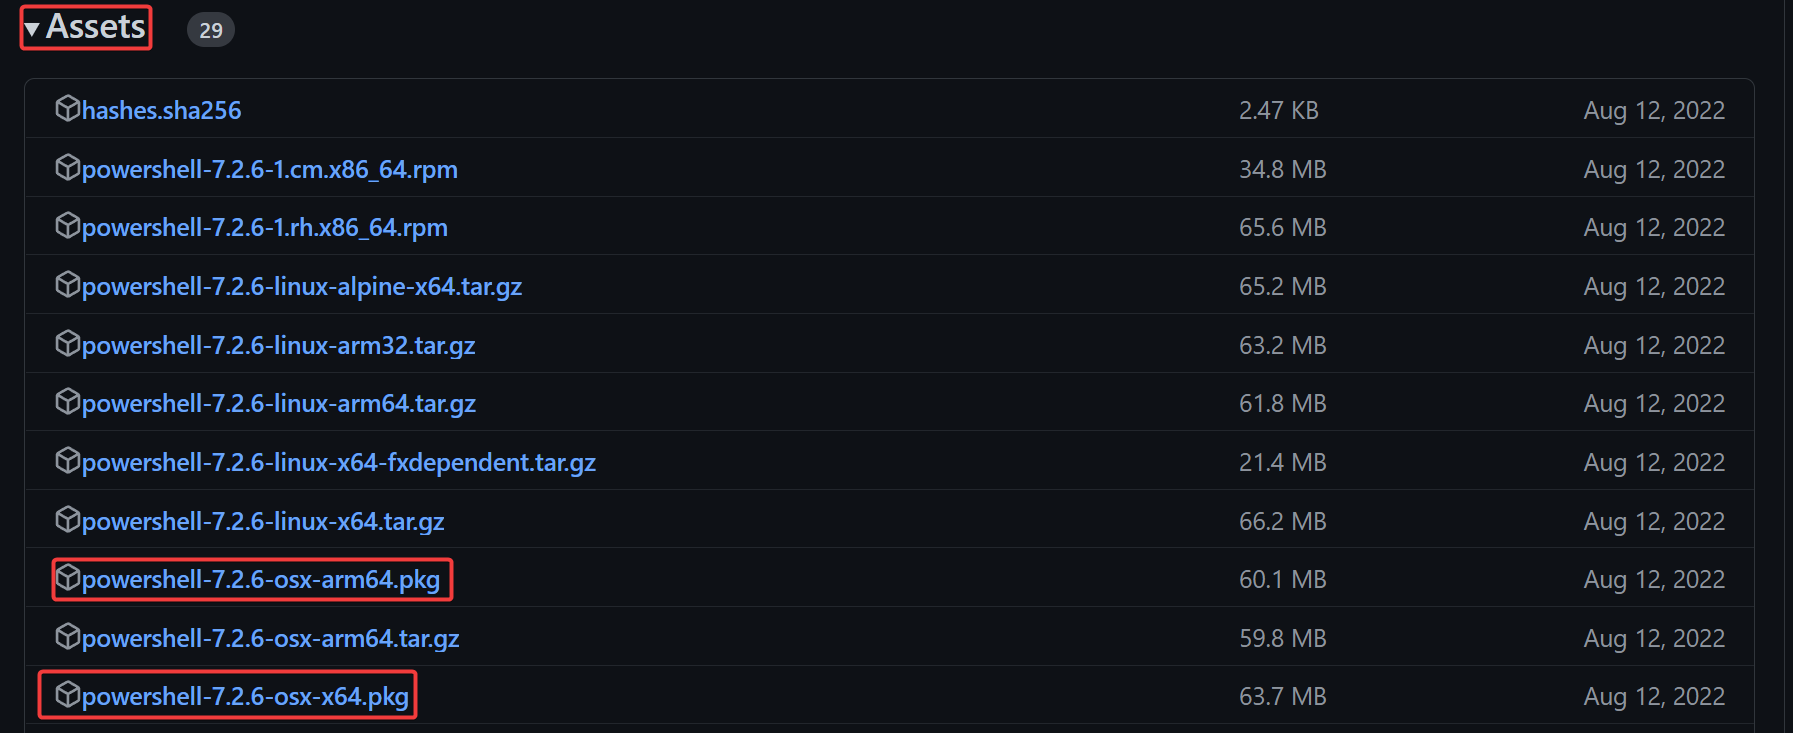
1. Open your browser, open the PowerShell GitHub newest releases web page and click on the Belongings drop-down menu.
2. Click on on the PowerShell PKG file hyperlink on your laptop’s CPU sort. You probably have a Mac with an M1 chip, choose the arm64 choice; in any other case, select the x64 hyperlink. As of this writing, the newest secure model is 7.2.6.
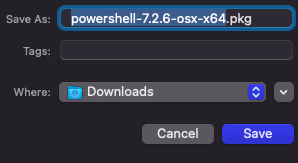
3. Save the file to your Downloads folder.
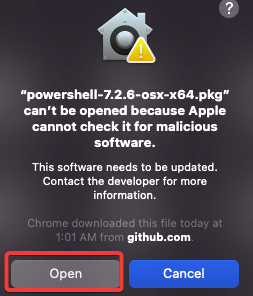
4. After downloading the file, double-click on it to launch the installer and click on Open.
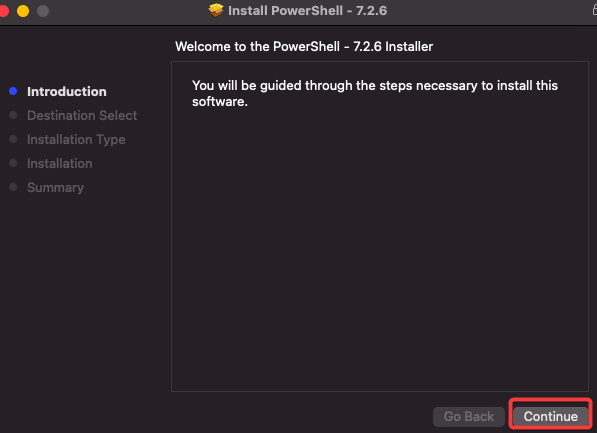
5. Click on Proceed on the Introduction display.
PowerShell for Mac solely helps set up on the present person account. You can’t select a customized set up vacation spot path.
6. Click on Set up on the Set up sort display.

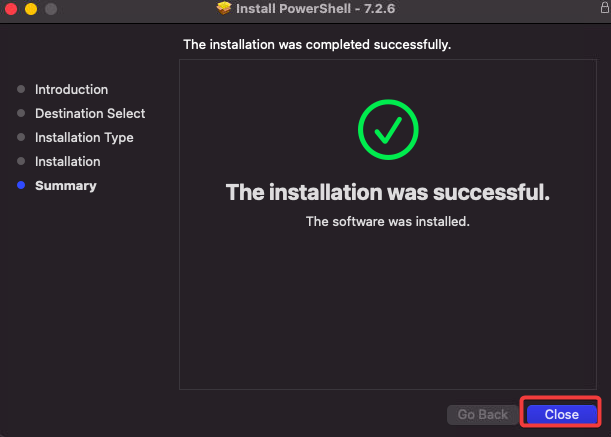
7. Click on Shut on the Abstract display to finish the set up.
8. Lastly, launch PowerShell from the Launchpad and sort PowerShell within the Search subject. Click on on PowerShell from the outcomes to open it.

Putting in PowerShell for Mac Utilizing Dot Web Developer CLI
One other method to set up PowerShell for Mac is utilizing the Dot Web Developer CLI. The Dot Web Developer CLI is a cross-platform DOTNET command-line interface (CLI) that lets you develop, construct, run, and publish DOTNET functions.
In case you are a developer and have already got dotnet CLI put in in your Mac, this methodology may be probably the most accessible method to set up PowerShell.
1. Run the under command to put in PowerShell utilizing dotnet CLI.
dotnet device set up --global PowerShellAs soon as the set up completes, you will notice an output just like the one under.

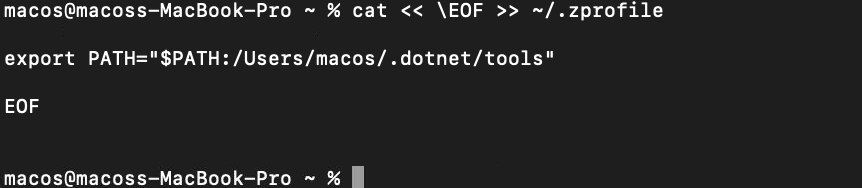
2. Now, run the under cat command to replace the PATH variable. This command will add the PowerShell set up listing to your PATH setting variable to be able to launch PowerShell from any listing.
3. Subsequent, run the under command to reload the setting variable in your terminal session.

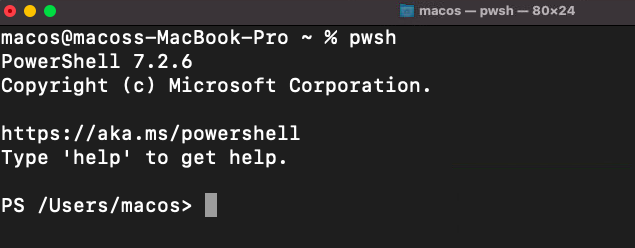
4. Lastly, launch PowerShell by operating the pwsh command in your Terminal.
Conclusion
PowerShell is a wonderful device for automating duties on any platform it helps. This tutorial taught you the way to set up PowerShell on your Mac utilizing Homebrew, PKG information, and the Dot Web Developer CLI.
At this level, it’s best to have understanding of the way to set up PowerShell in your Mac. Now you can begin utilizing PowerShell to automate duties in your Mac. With this newfound data, as an administrator, why not begin scripting some advanced processes that you understand will prevent time?
Who is aware of, possibly your subsequent script might be the one which helps you automate your organization’s launch course of!